What is the Filter Block?
The Filter block in Phonely allows you to split your call flow based on conditions. Think of it as a decision-making point that checks if certain criteria are met, like whether the caller’s name matches a specific value, or if a collected variable exists, and then routes the call accordingly. This helps you create personalized, dynamic, and logic-based flows where outcomes depend on user input, call data, or system variables.
Key Use Cases
Here are common scenarios where the Filter block is useful:- Routing Based on Caller Type: Direct callers to different paths depending on who they are. For example, If caller_type = existing_customer, route to Account Manager; otherwise, to Sales Intake.
- Time-Based Call Handling: Handle calls differently based on time or day For example, If current_time is after 6 PM, route to After-Hours Voicemail; else continue to Live Agent.
- Service Level Routing: Serve customers according to their plan or service tier. For example, If plan_type = Premium, send to Priority Support; if not, route to Standard Support.
- Geographic Routing: Route calls based on caller location or language preference. For example, If caller_country = USA, connect to US Team; if caller_country = South Africa, route to Cape Town Team.
- Priority-Based Escalation: Automatically escalate high-priority or urgent cases. For example, If ticket_urgency = High and customer_status = VIP, route to Escalation Queue.
Understanding How It Works
When the Filter block is added to your flow, it evaluates one or more conditions using variables and comparison rules. Based on the outcome:- True path > Executes the next connected block when all/any conditions are met.
- False path > Executes the next block when conditions fail.

How to Set Up a Filter Block
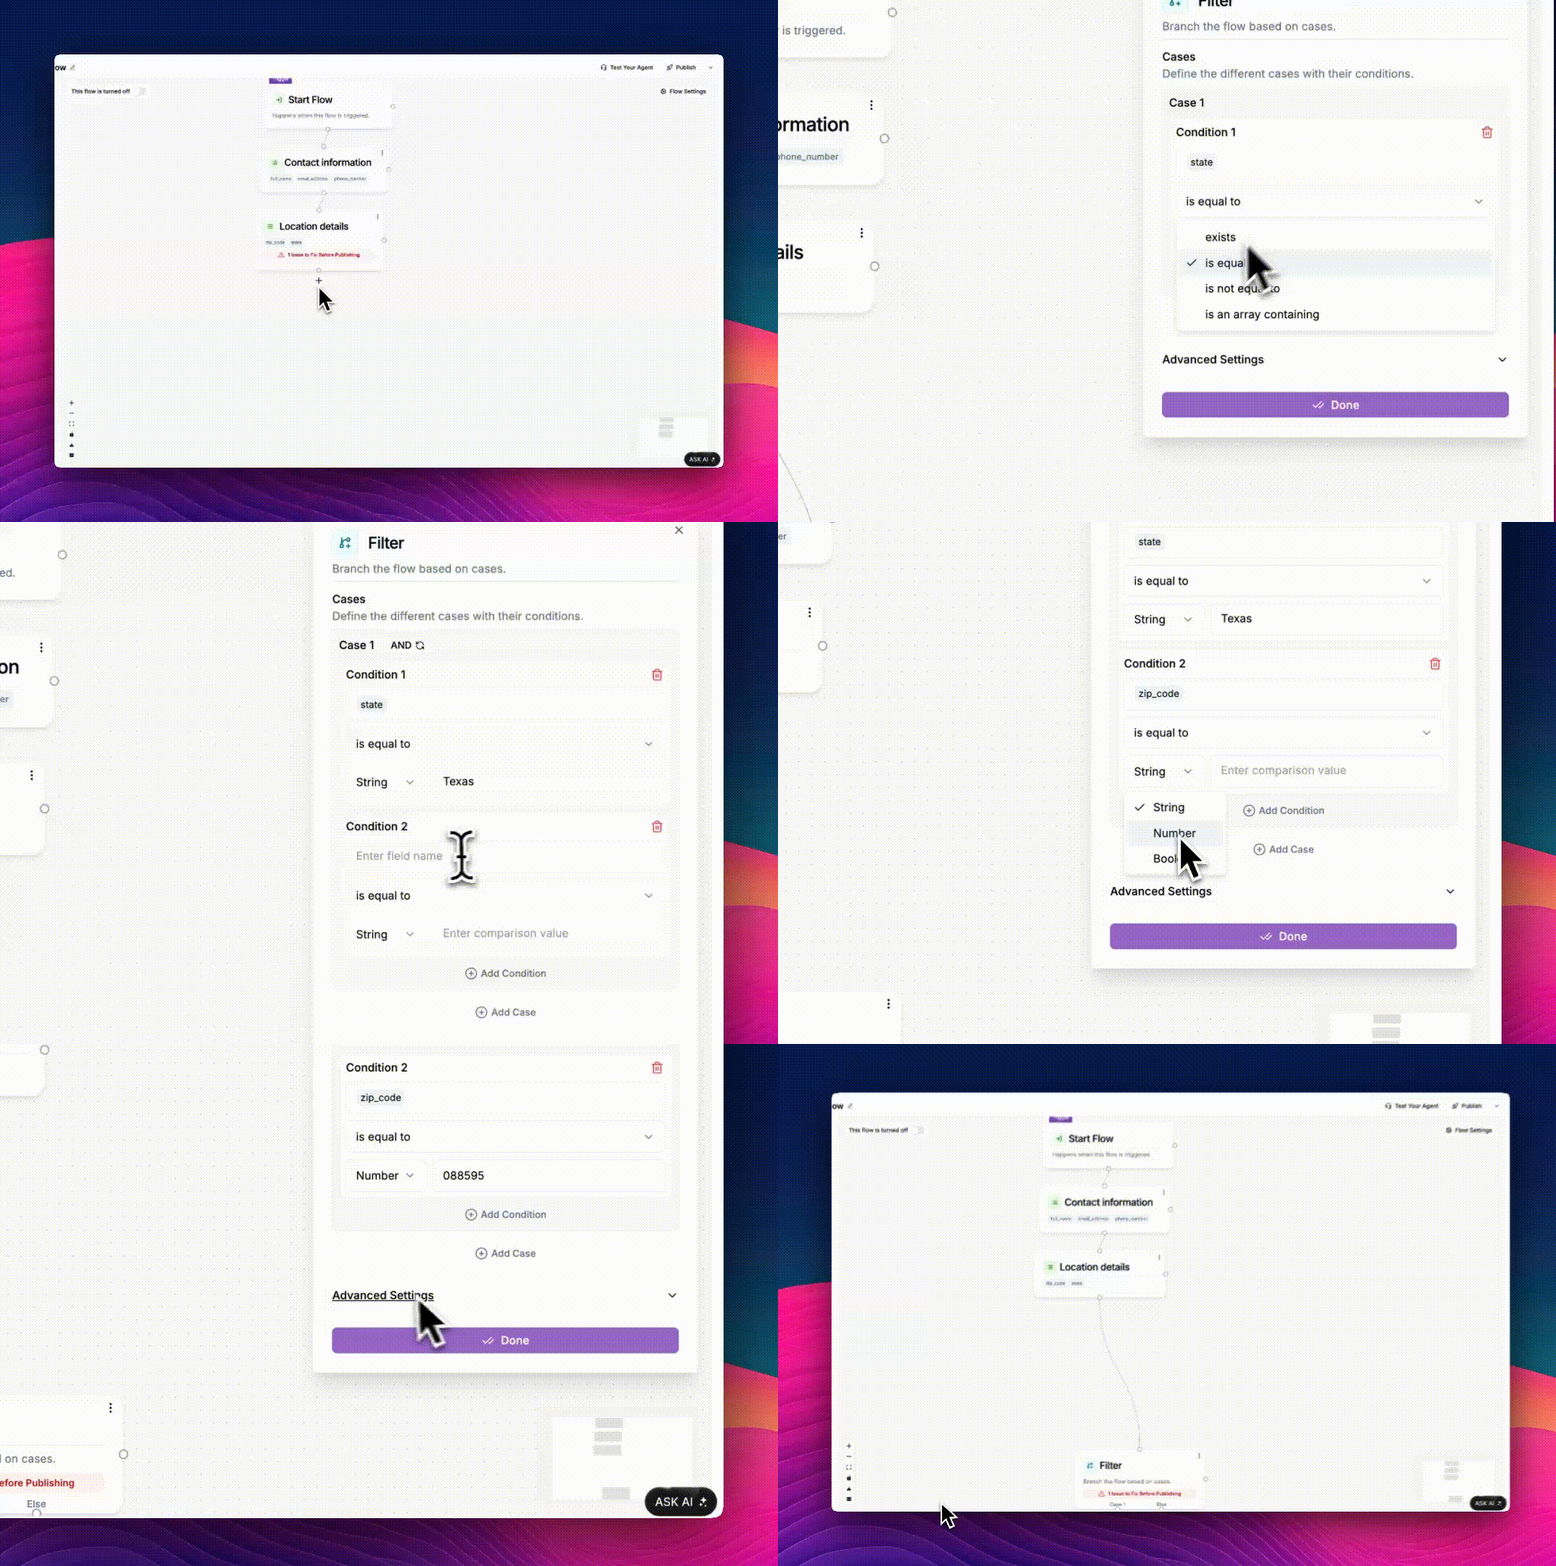
Let’s walk through every part of the setup shown in your screenshots.Add the Filter Block
In your flow, click the “+” icon after any existing block. Under Flow Actions, choose Filter. The Filter block will appear with two output paths: True and False.Define Your Conditions
Each condition is a rule that tells Phonely what to check. Click the Filter block to open its configuration panel. Under Conditions, click into Condition 1. You’ll see three main fields:| Field | Description |
|---|---|
| Define Field | The variable or data point you want to evaluate (e.g., caller_phone, customer_name, response). |
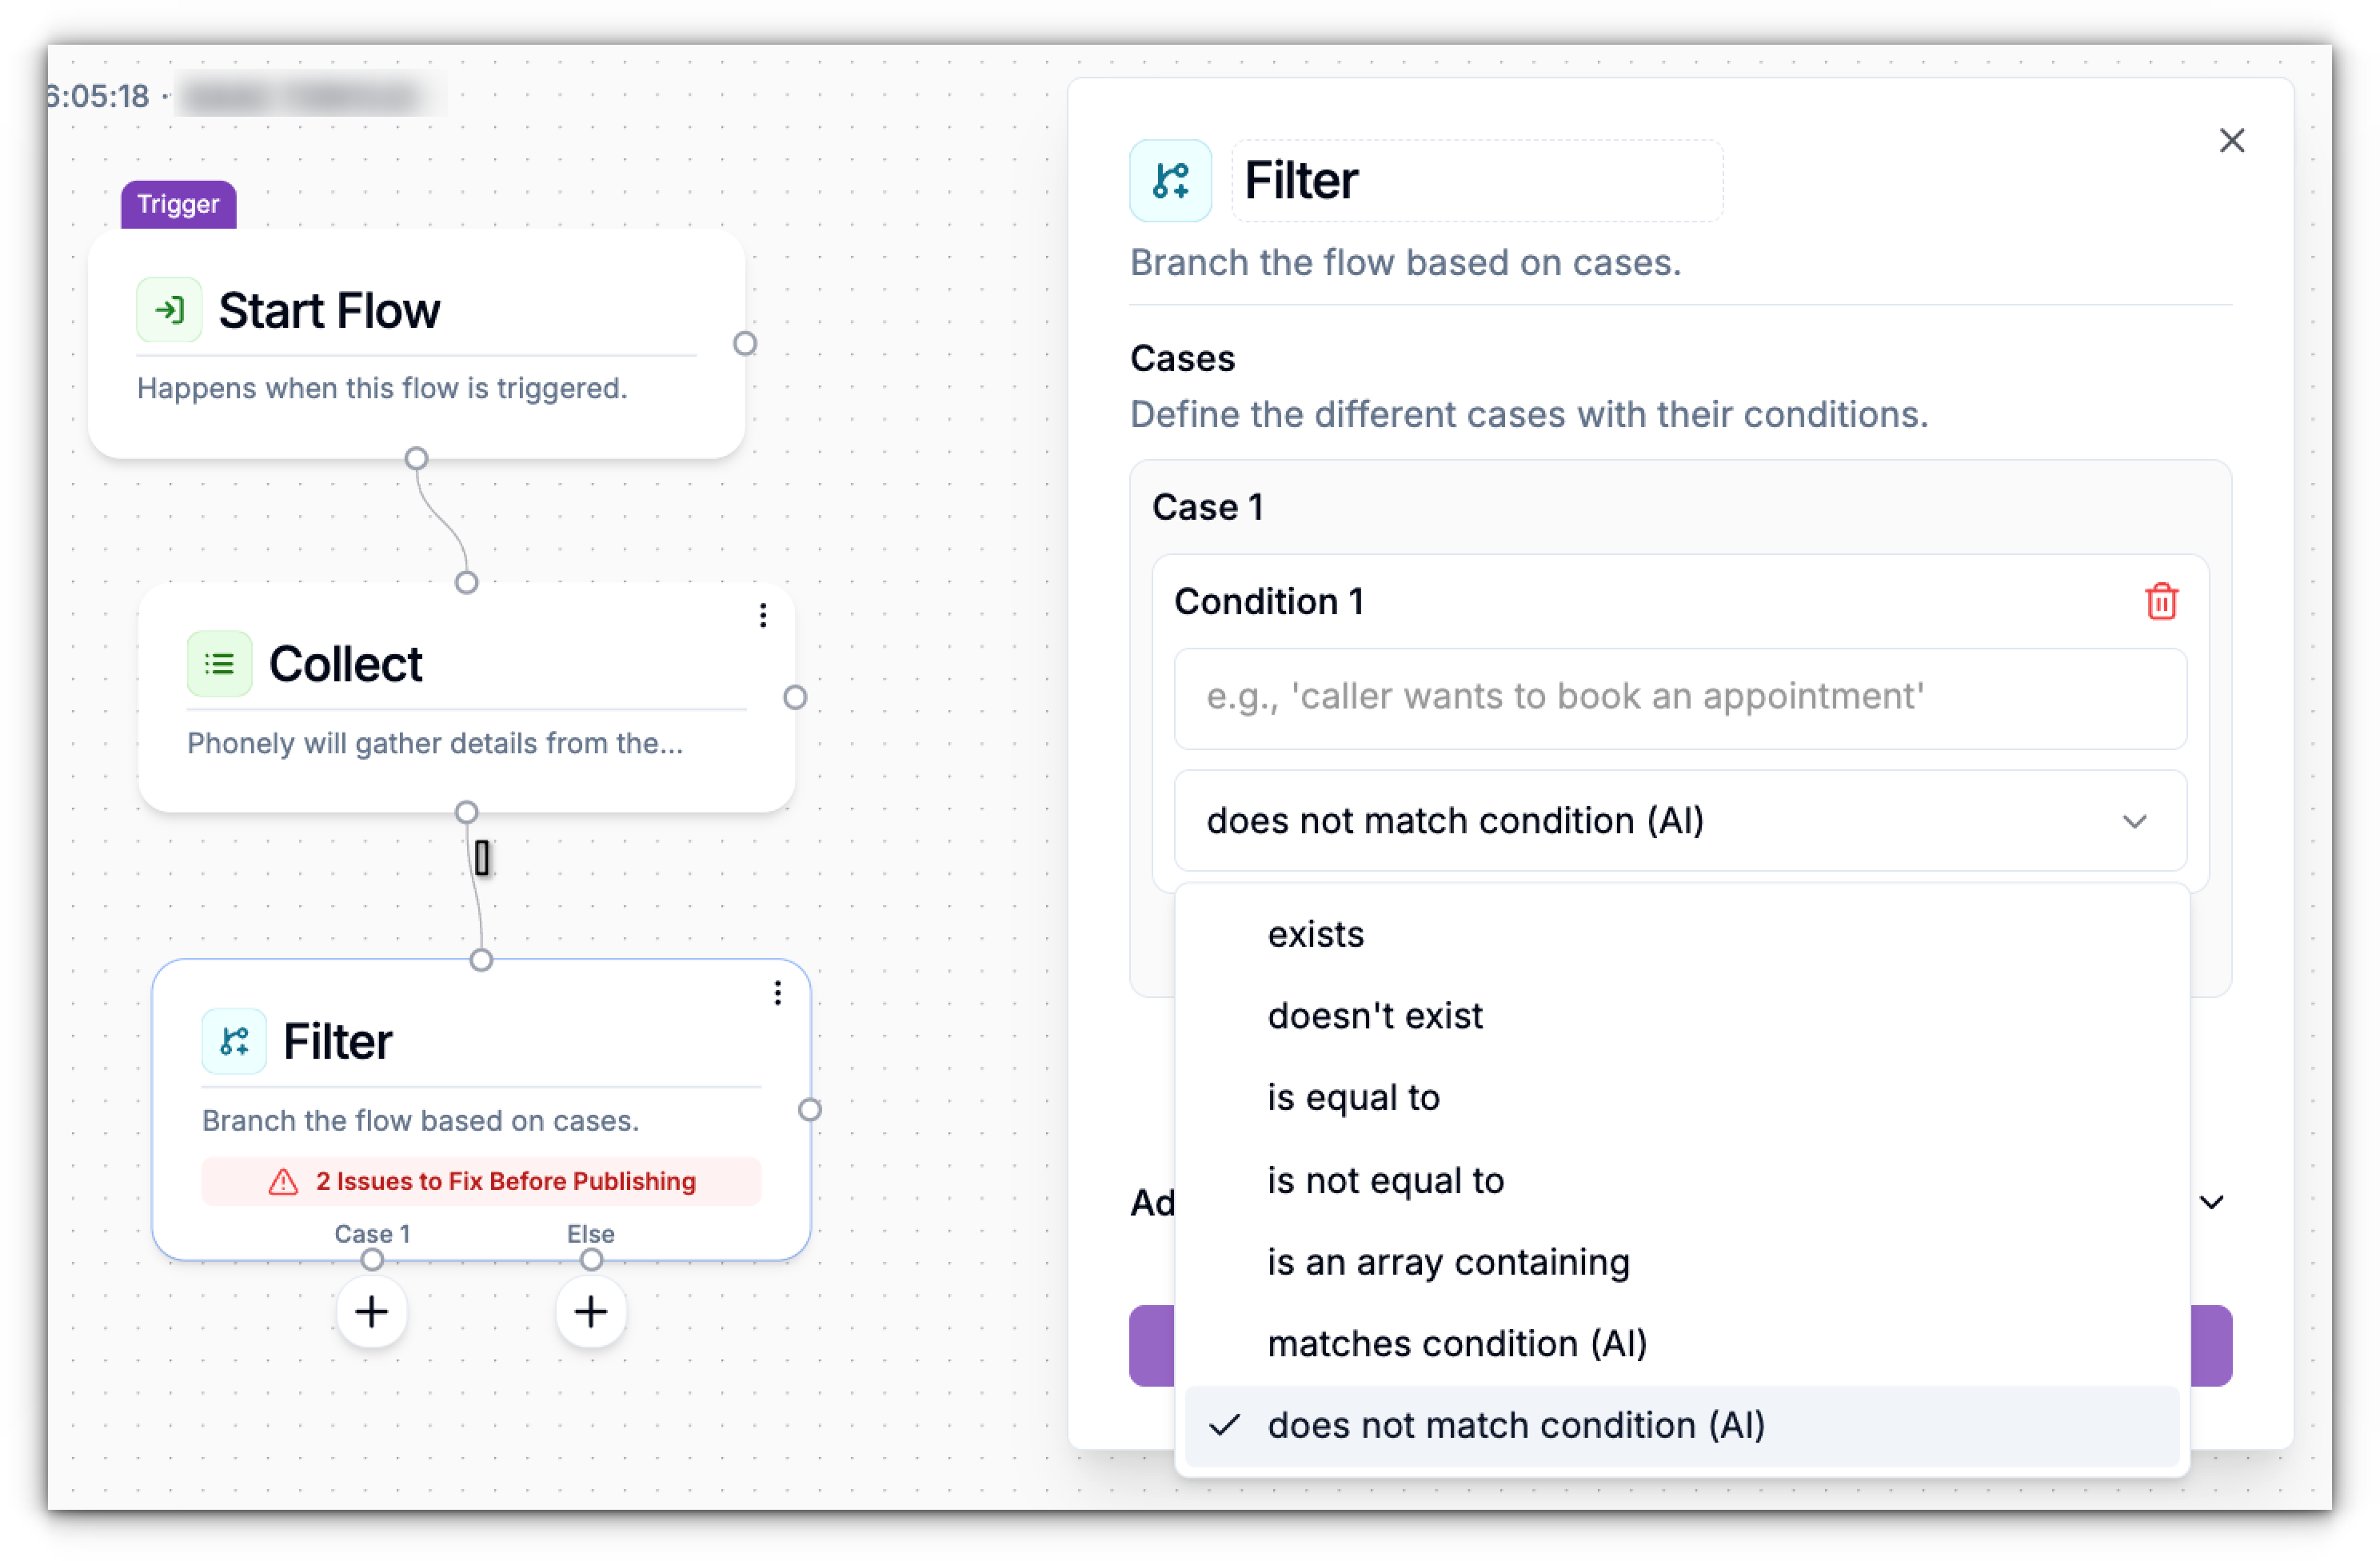
| Comparison Operator | Defines how the field is compared — options include: • exists • doesn’t exist • is equal to • is not equal to • is an array containing • matches condition (AI) • does not match condition (AI) |
| Value Type & Comparison Value | Select the data type (String, Number, or Boolean) and specify the value to compare against. AI-based operators do not require a value type — they evaluate natural-language intent statements. |
Choose Available Variables
Click inside Define Field, this opens the Available Variables panel. Here you’ll find:- Call Variables – System-generated details like caller ID, phone number, or call metadata.
- Custom Variables – Variables you’ve defined manually.
- Auto-Gather Variables (Beta) – Prompts the caller at the moment a block needs a value (name, email, date, etc.) no extra Talk block required.
- Collect Caller Details – Inputs from Collect or Ask Exactly blocks (e.g.,
caller_name,caller_phone).
Select the Comparison Operator
Click the dropdown that says “is equal to” to see other options:- exists: Checks whether the variable has any value. Useful for verifying that earlier blocks captured caller input.
- doesn’t exist: True when the variable is empty, null, or was never set.
- is equal to: Compares the field to a specific value.
- is not equal to : True when the field does not match the provided value.
- is an array containing: Used when the variable is a list and you need to check if it contains a specific item.
- matches condition (AI)
Uses AI to evaluate whether the caller’s message or extracted intent semantically matches a natural-language condition you define.
Examples:
- “caller wants to book an appointment”
- “caller is asking for refund”
- “caller needs technical support”
- does not match condition (AI)
The inverse of the above. True when the caller’s message or intent does not match your natural-language condition.
Examples:
- “caller is not asking about appointments”
- “caller is not requesting order status”.
| Data Type | When to Use |
|---|---|
| String | For text values like names or words. |
| Number | For numeric comparisons like age, amount, or count. |
| Boolean | For true/false logic (e.g., is_verified = true). |
Add Multiple Cases and Conditions
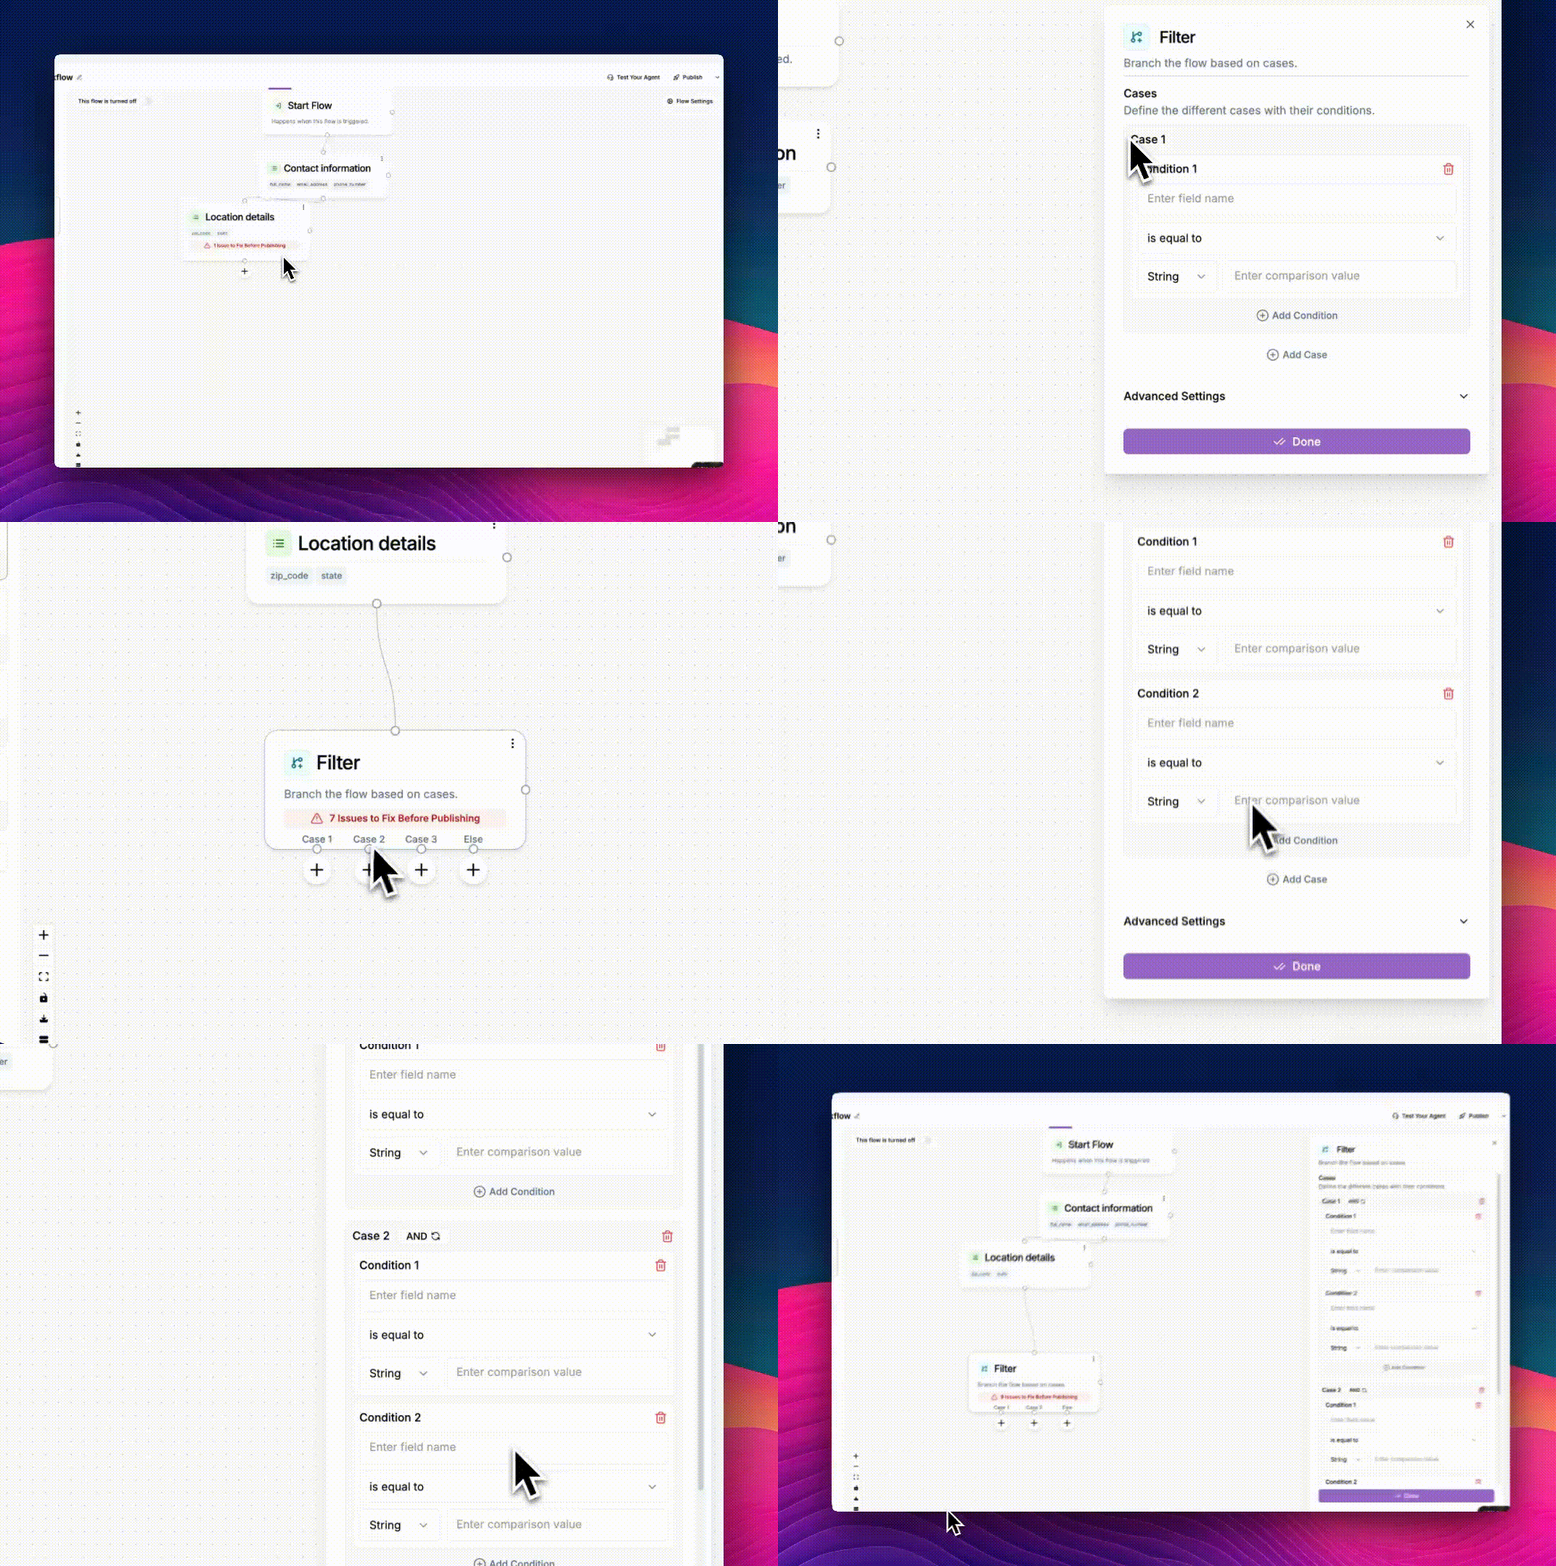
You can branch your flow based on cases, where each case represents a possible path or scenario. Each case can contain one or more conditions, which define the logic that must be met for that path to trigger.
Cases
A case represents a distinct route your flow can take. For example, Case 1 might handle verified callers, while Case 2 handles unverified callers.Use ➕ Add Case to create a new case with its own set of conditions.
Conditions
Within each case, you can define one or more conditions to check specific rules or data values.- Click ➕ Add Condition to add another rule within the same case.
- Each condition can evaluate a different variable, such as caller name, phone number, or appointment type.
Logic Operators
When you have multiple conditions in a case, choose how they interact using a Logic Operator:| Logic Option | Description |
|---|---|
| And | All conditions must be true for the case to match. |
| Or | Only one condition needs to be true for the case to match. |
Example
- And →
caller_name = Johnandcaller_phone = 123456 - Or →
caller_name = Johnorcaller_name = Jane
Configure Advanced Settings
Scroll down to Advanced Settings. Here’s what you can adjust:Interim Message
Enable this if you want to play a message to the caller while Phonely checks the conditions.- Post Interim Message Delay: Adds a short delay before continuing.
- Interim Message Prompt: You can write or auto-generate a 3–7 word message such as “Please hold while I check” or “Verifying your input.”
Call Outcome Tagging
Optionally, add a keyword tag to label this flow’s result (e.g.,validated, invalid_number). This helps track call outcomes later in reports or analytics.
Save the Filter
Click Done to confirm and exit. Once done:- The block shows True and False outputs.
- Connect the True path to actions to perform if all conditions pass.
- Connect the False path to fallback or error handling actions.
Example: Using Variables in Filter Logic
Let’s say your Collect block gathered two inputs from the caller:caller_phonecaller_zip_code
- Condition 1:
caller_phonestarts with “+1-312” (Chicago area code) - Condition 2:
caller_zip_codeis equal to “60601” (Downtown Chicago ZIP code)
“Sorry, we couldn’t find a nearby store based on your location. Please check your ZIP code and try again.”

