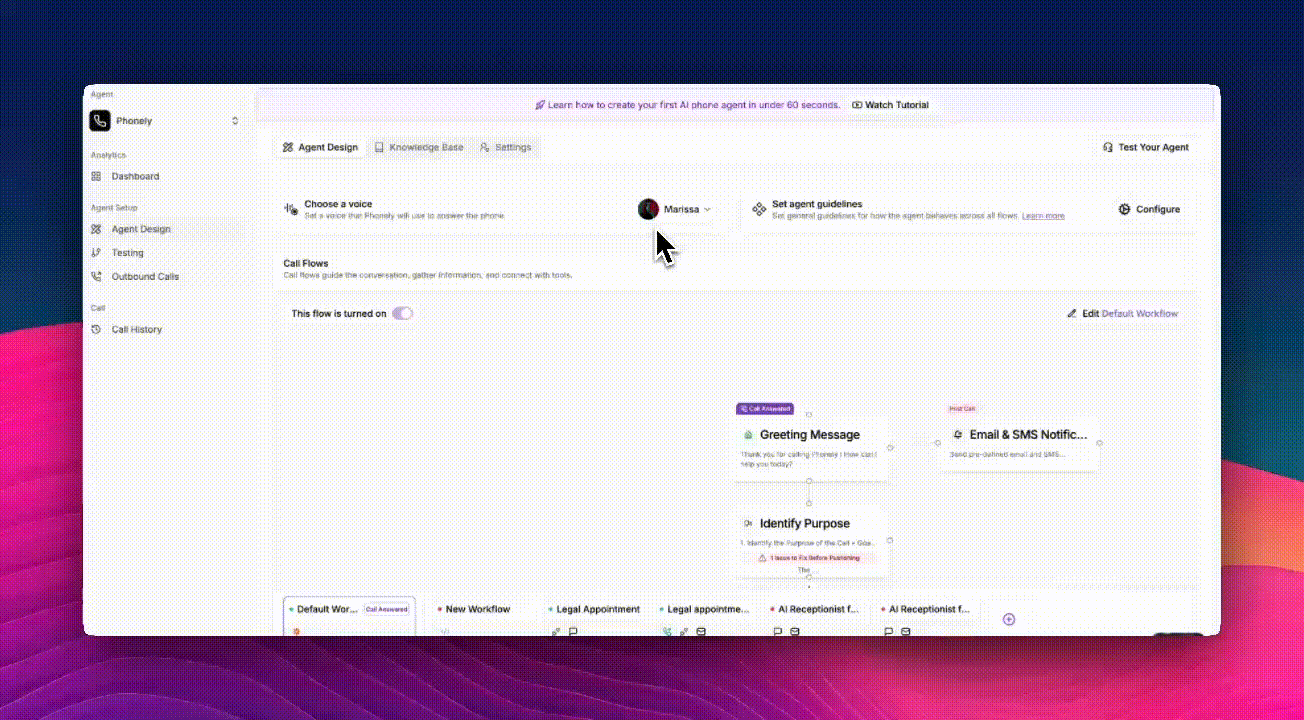
- Go to Agent Design > Settings from the left sidebar.
- Click the Phone Numbers tab.
- Click + Add a Number to open the phone number setup window.
- New Number: to generate a Phonely-hosted number.
- Import Number: to connect an existing number from Twilio, Vonage, or another carrier.
- Create SIP Address: Generate a SIP endpoint for inbound call routing.
Generate a New Number
Use this option to instantly create a new Phonely number that supports both calling and SMS.- Select the New Number tab.
- Choose your Country Code from the dropdown (e.g., United States +1).
- Optionally enter an Area Code for local targeting (e.g., 646 for Manhattan NYC).
- Click Generate. Phonely lists available numbers that match your criteria.
- Review the list and click Select next to your preferred number.
-
Click Get Number to confirm.
Import your Number
If you already use a provider like Twilio or Vonage, you can connect those numbers directly to Phonely.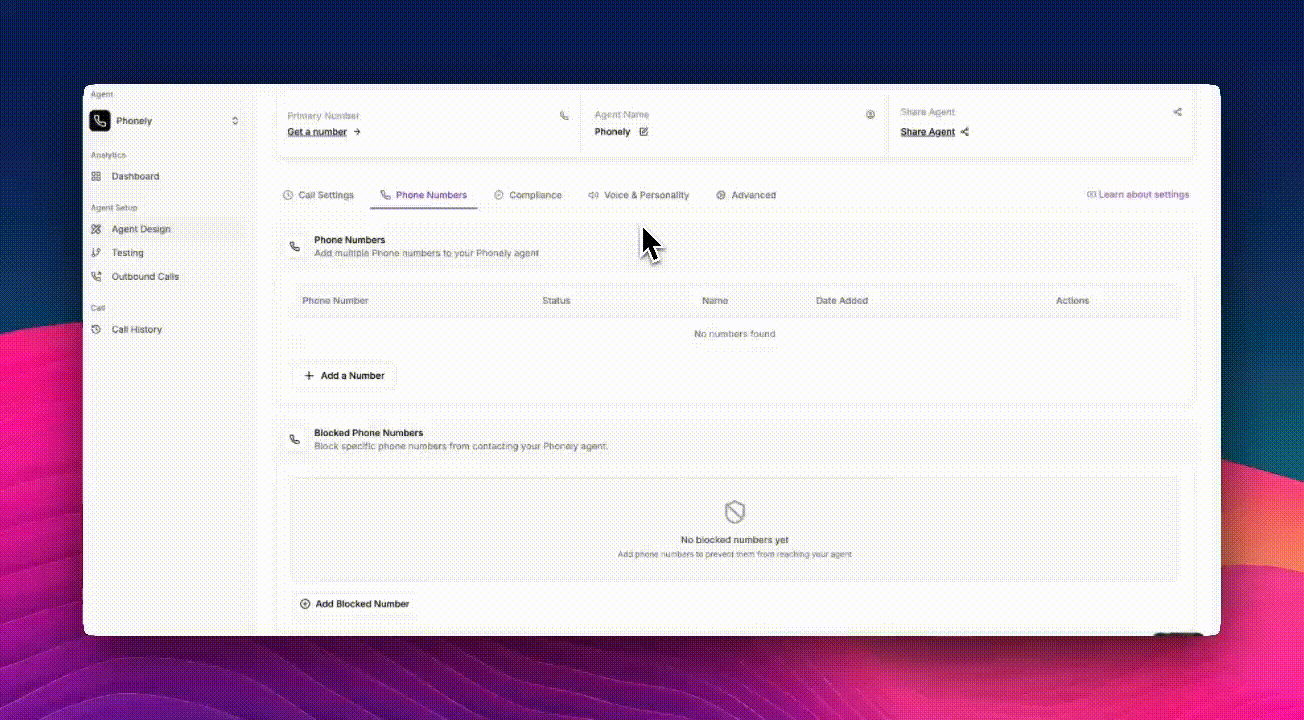
Import from Twilio
- Select the Import Number tab.
- From the import your number dropdown, choose From Twilio.
- Enter your Twilio account SID and auth token.
- Click Import Number. Your Twilio number(s) will appear in the dashboard once verified.
Import from Vonage
- Under Import your number, select From Vonage.
- Enter: the phone number, Vonage API key, and the Vonage API secret.
- Click Import Number to connect.
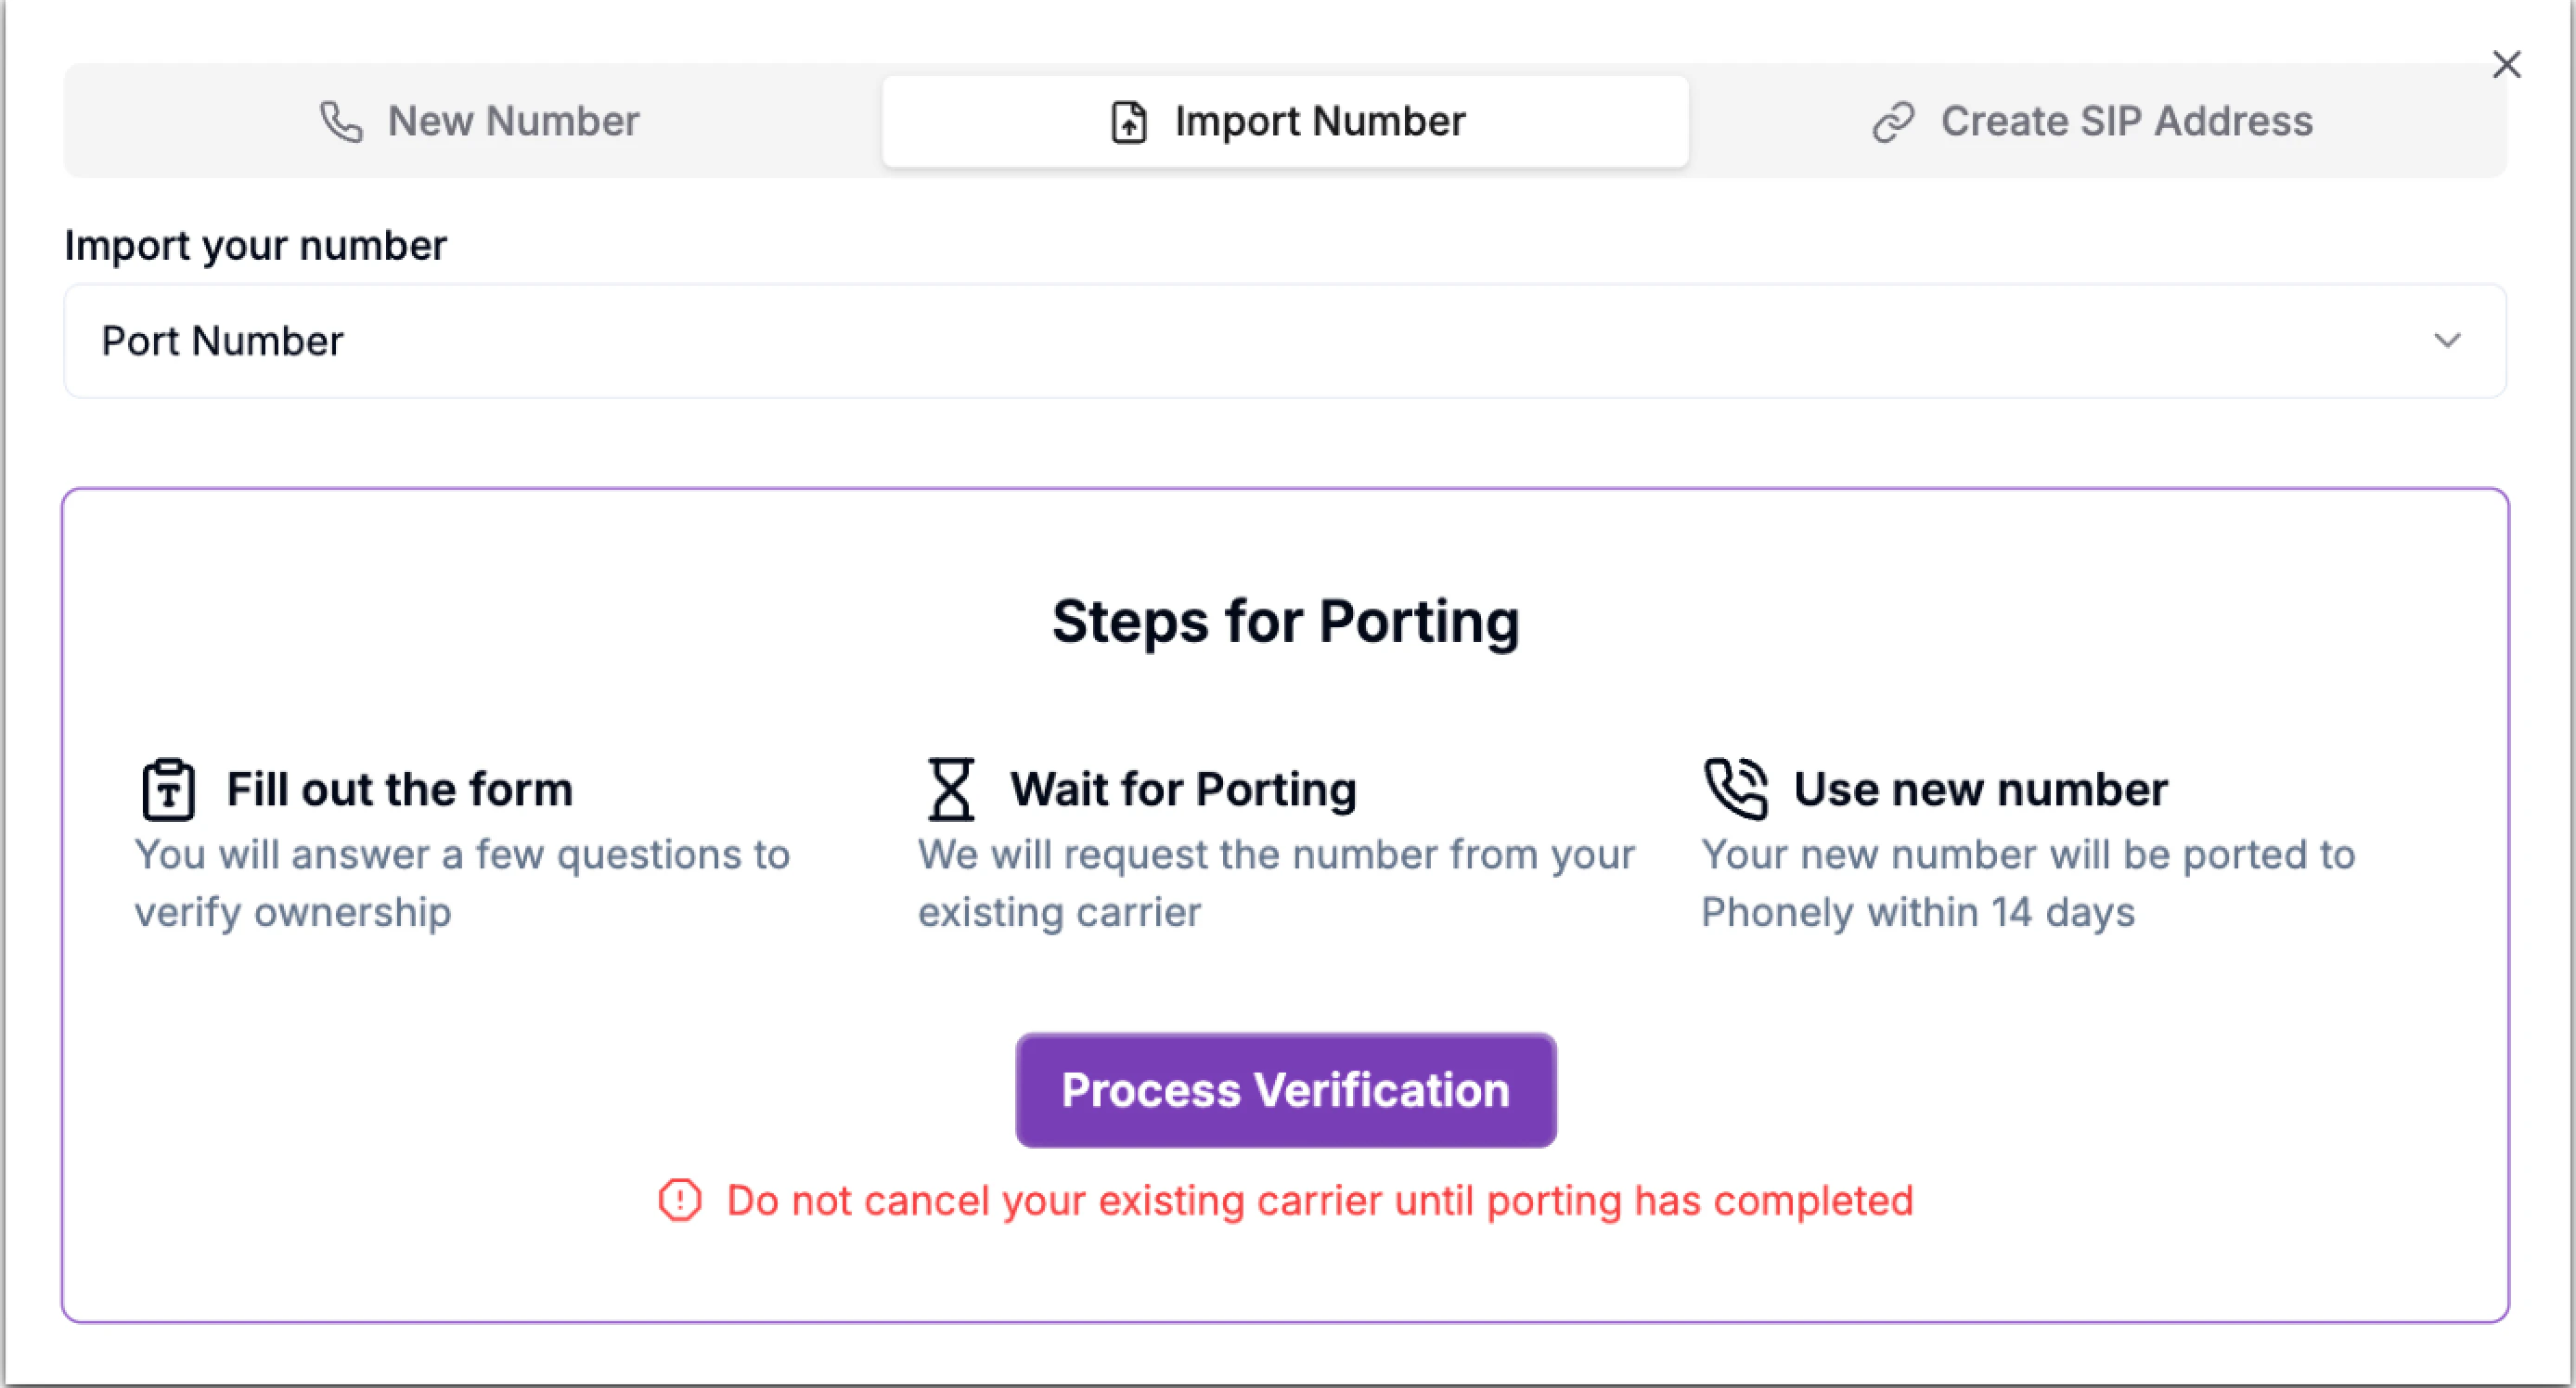
Port a Number
You can transfer (port) your current phone number to Phonely if you prefer to keep it.- Select Import Number > Port Number.
- Review the porting steps below:
- Click Process Verification to open the portt request form.
Do not cancel your existing carrier until Phonely confirms port completion.
Create SIP Address
Phonely allows you to generate a dedicated SIP address for inbound calling. This is ideal if you already have a SIP-based phone system, PBX, or softphone that you want to route calls to. A SIP address works like an internet-based phone number. It allows external systems, such as Twilio SIP Domains, SIP-enabled devices, VoIP softphones, or PBX systems to send calls directly into your Phonely Agent.- Open + Add a Number from the Phone Numbers panel.
- Switch to the Create SIP Address tab and click Enable SIP Address.
- Your SIP channel becomes active for inbound traffic.
- Phonely automatically generates a SIP endpoint for your account.
- Click the Copy icon to copy the SIP URI to your clipboard.
- Your SIP Address is now ready for use. To disable this address, click Disable SIP Address.

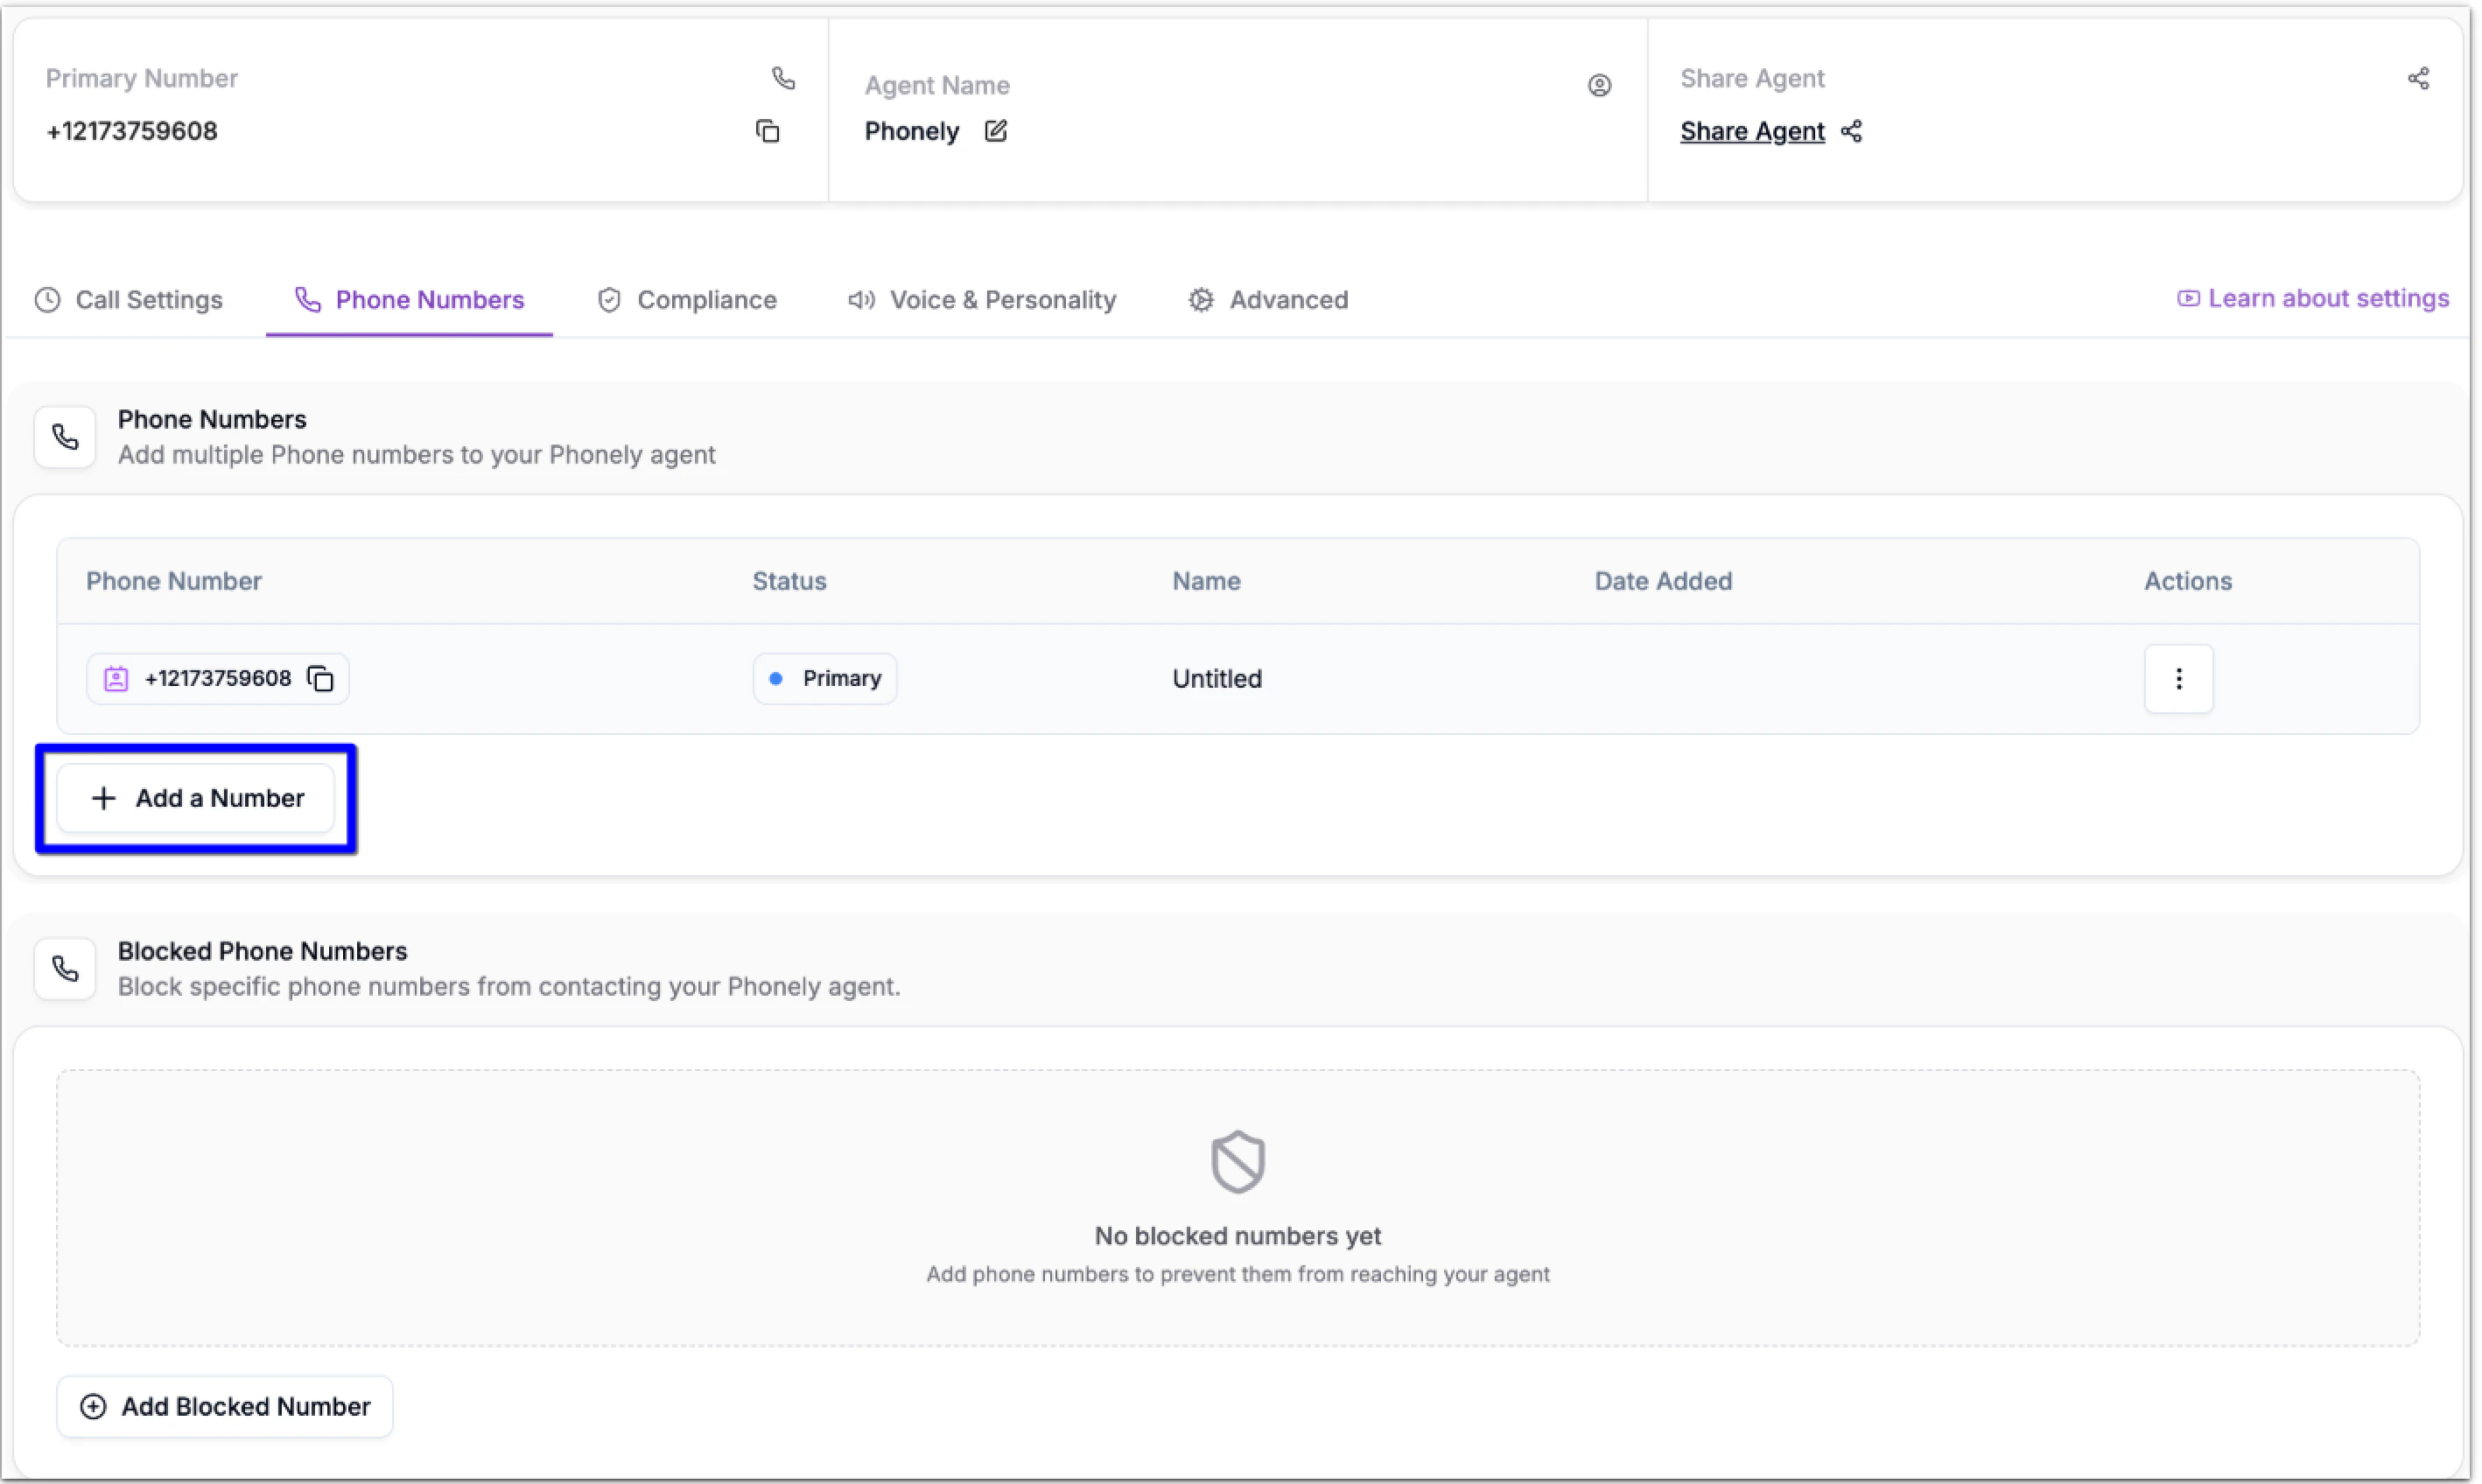
Manage Phone Numbers
Once added, your numbers appear in the Additional Phone Numbers table.Set as Primary
- Click the three-dot men (⋮) next to the number.
- Select Set as Primary to make this the default outgoing line for your agent.
- Only one number can be primary at a time.
- Calls and messages initiated by your agent will default to the primary number unless overridden in a specific flow.
Release a Number
Click the (:) actions menu corresponding to the number you want to release. Click Release Number.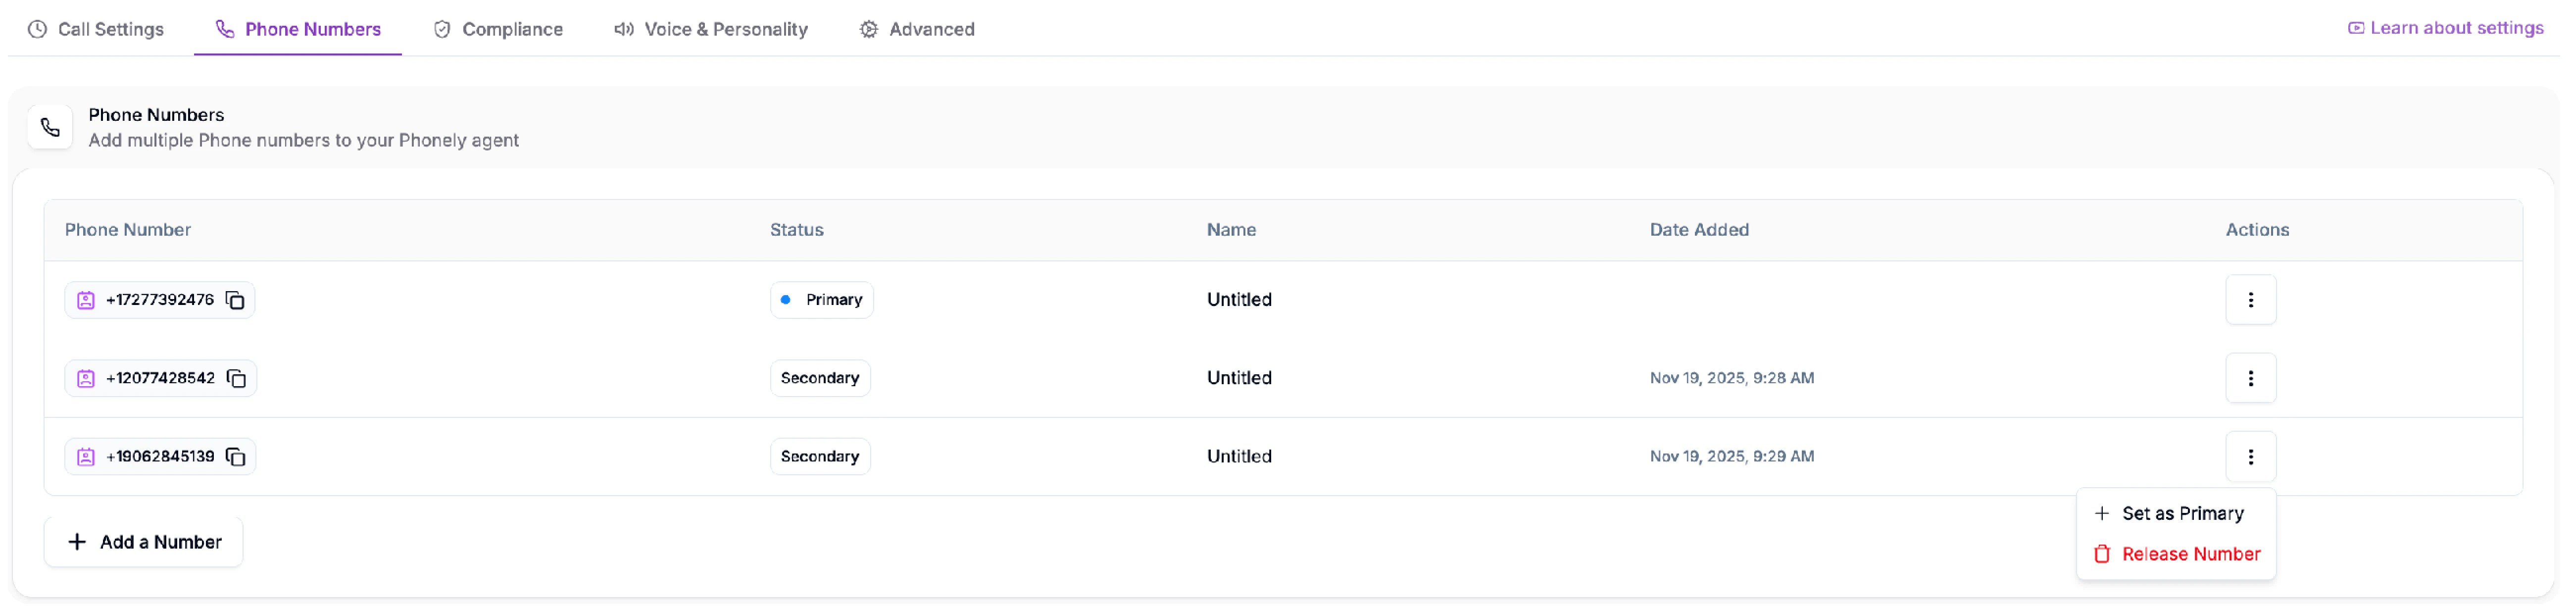
Block Phone Numbers
Phonely also allows you to block specific phone numbers from contacting your agent. At the bottom of this page:- Click the Add Blocked Number button.
- Choose the country code of this phone number.
- Enter the phone number that you want to block and click the enter button on your keyboard to add them.
- To remove a phone number from the blocked list hover over the number and click the trash icon corresponding to this number.
