Open the Voice Library
From the Agent Design page, click on the Choose a Voice section. Once the Voice Library opens, click Clone Voice at the top-right corner of the window.This opens the Create Your Voice Clone window, where you’ll provide and audio sample and define key voice settings.
Upload or Record a Voice Sample
You can add a voice sample in one of two ways:
- Upload a Sample: Drag and drop or click to upload a 1–2 minute audio clip in a supported format.
- Record Audio: Click Record Audio to capture your sample directly within Phonely.
Provide Voice Details
Next, fill in the required details to define your voice profile: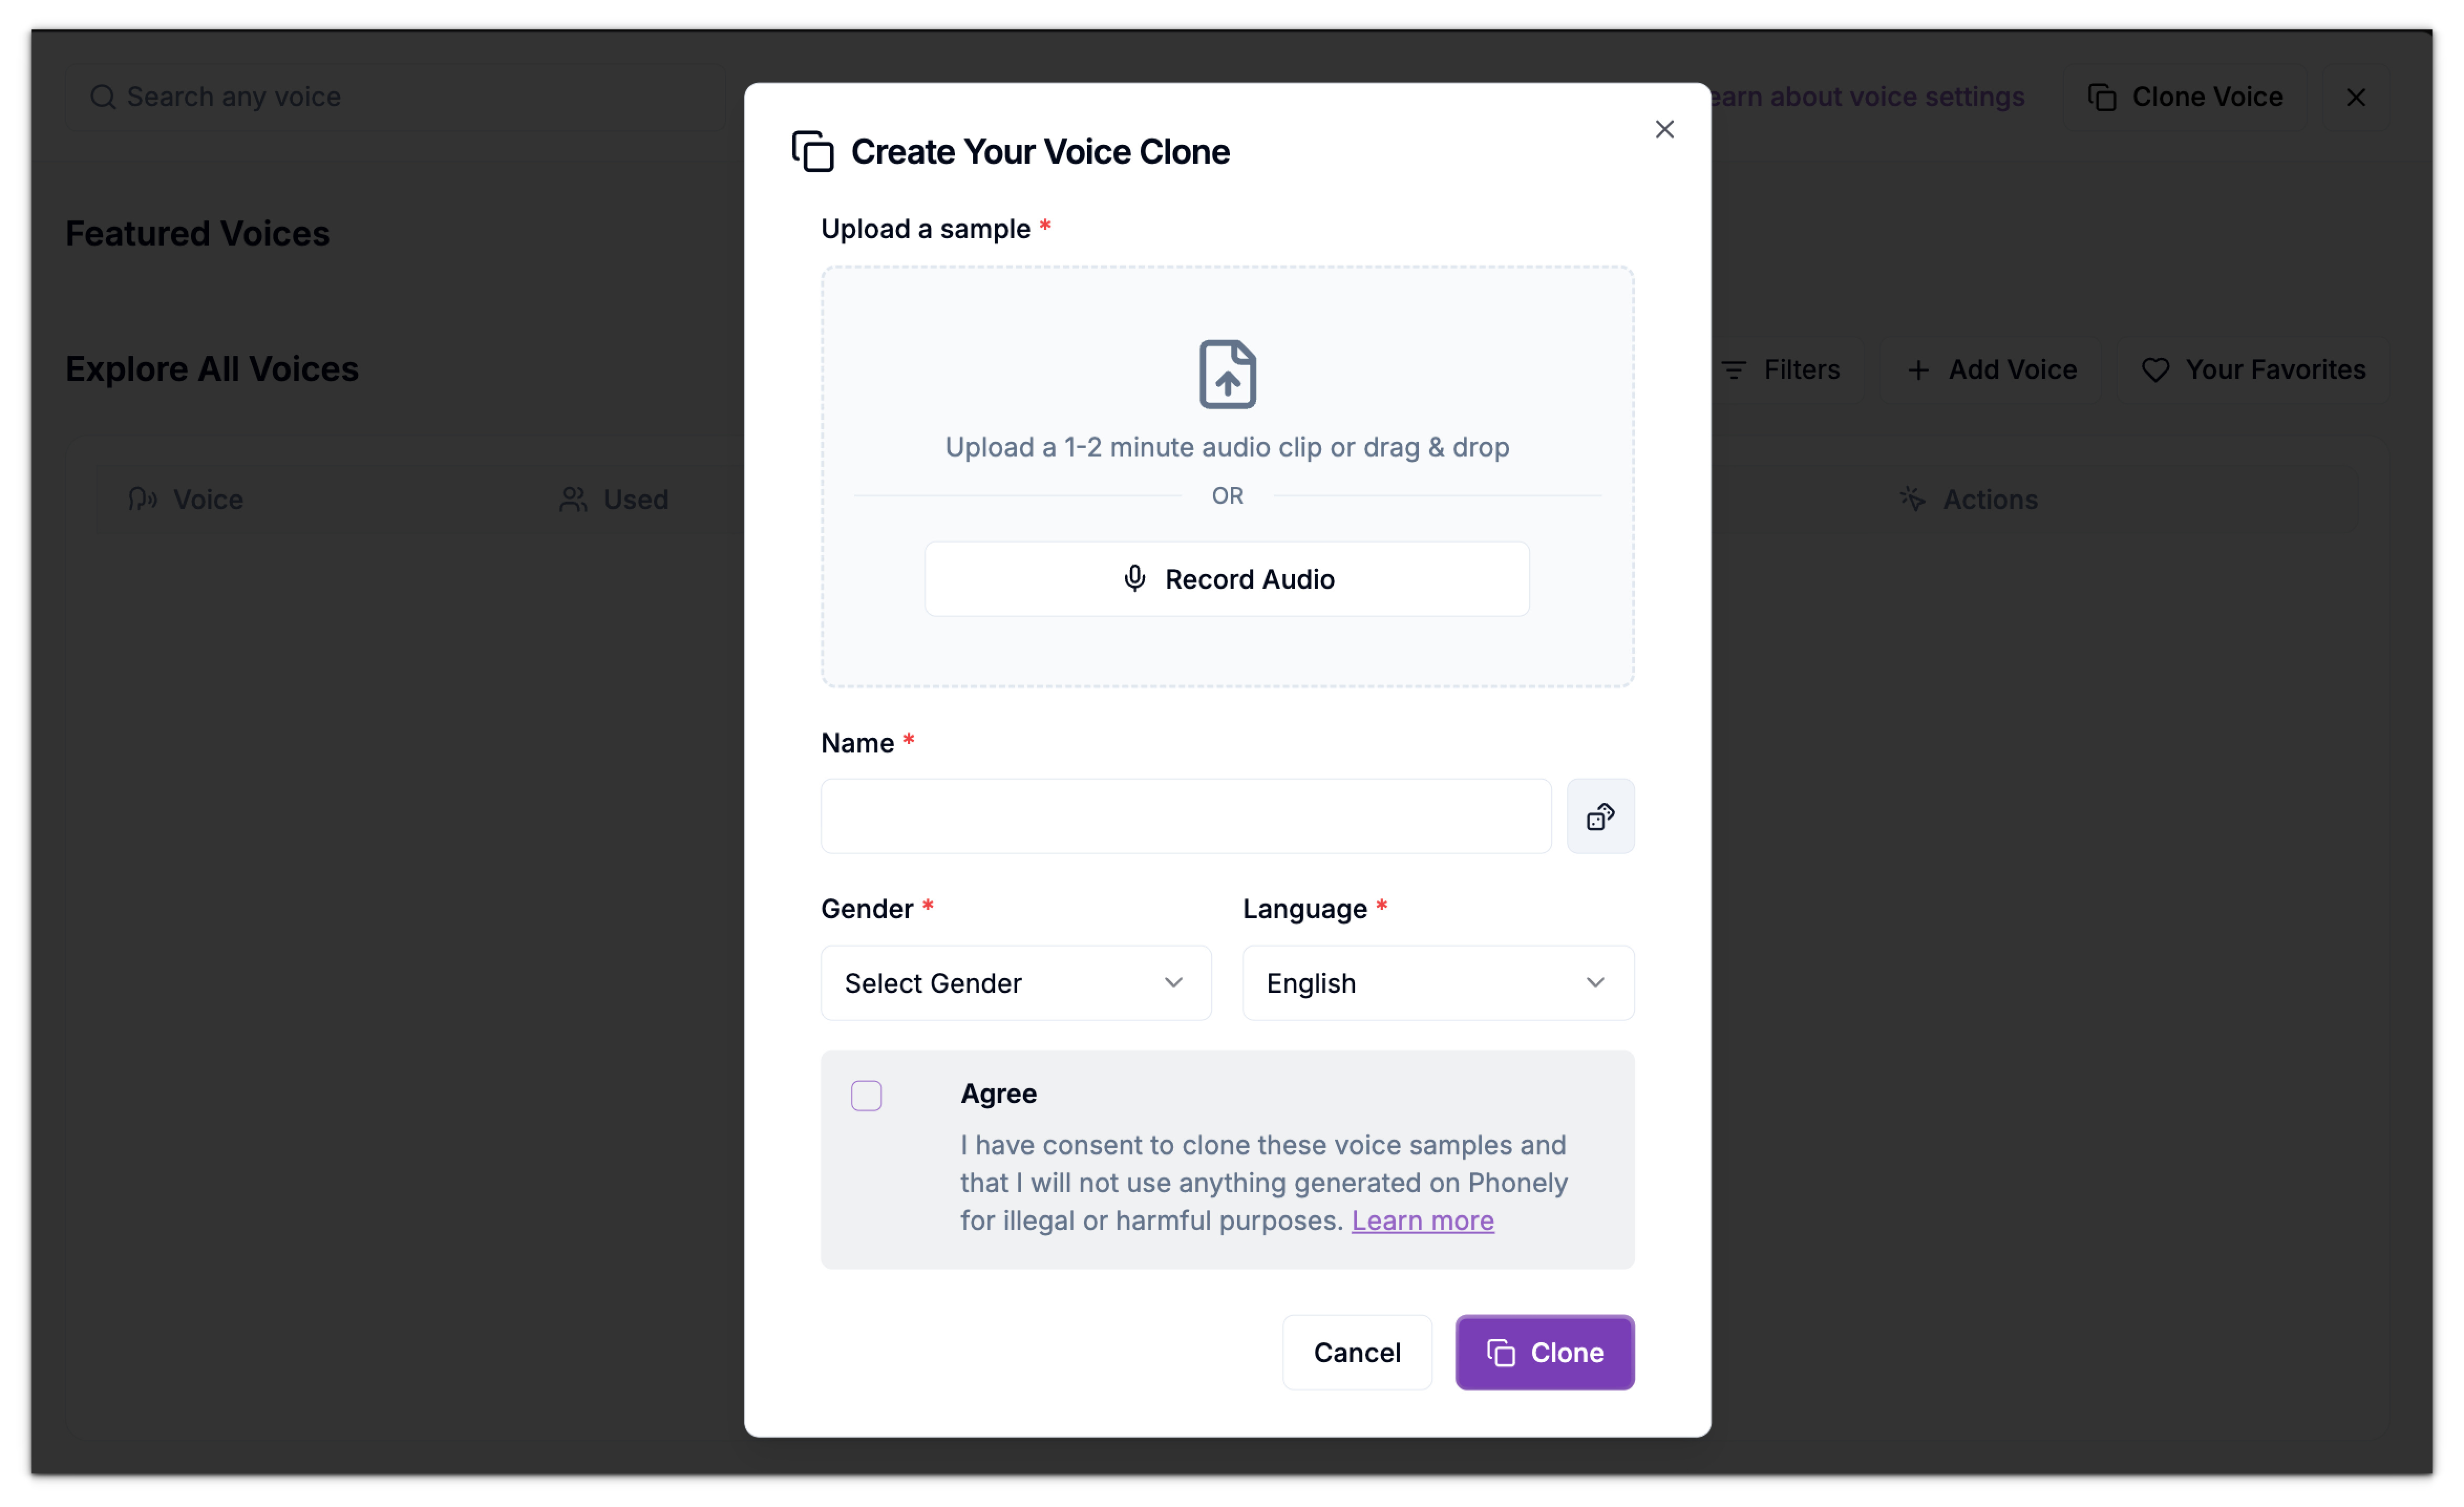
- Name: Give your cloned voice a name.
- Gender: Select the gender that best represents the voice (e.g., Male, Female).
- Language: Choose the language the voice will primarily speak. Supported languages include English, Spanish, French, German, Italian, Portuguese, Russian, Hindi, Dutch, Swedish, and Danish.
Review and Select a Sample
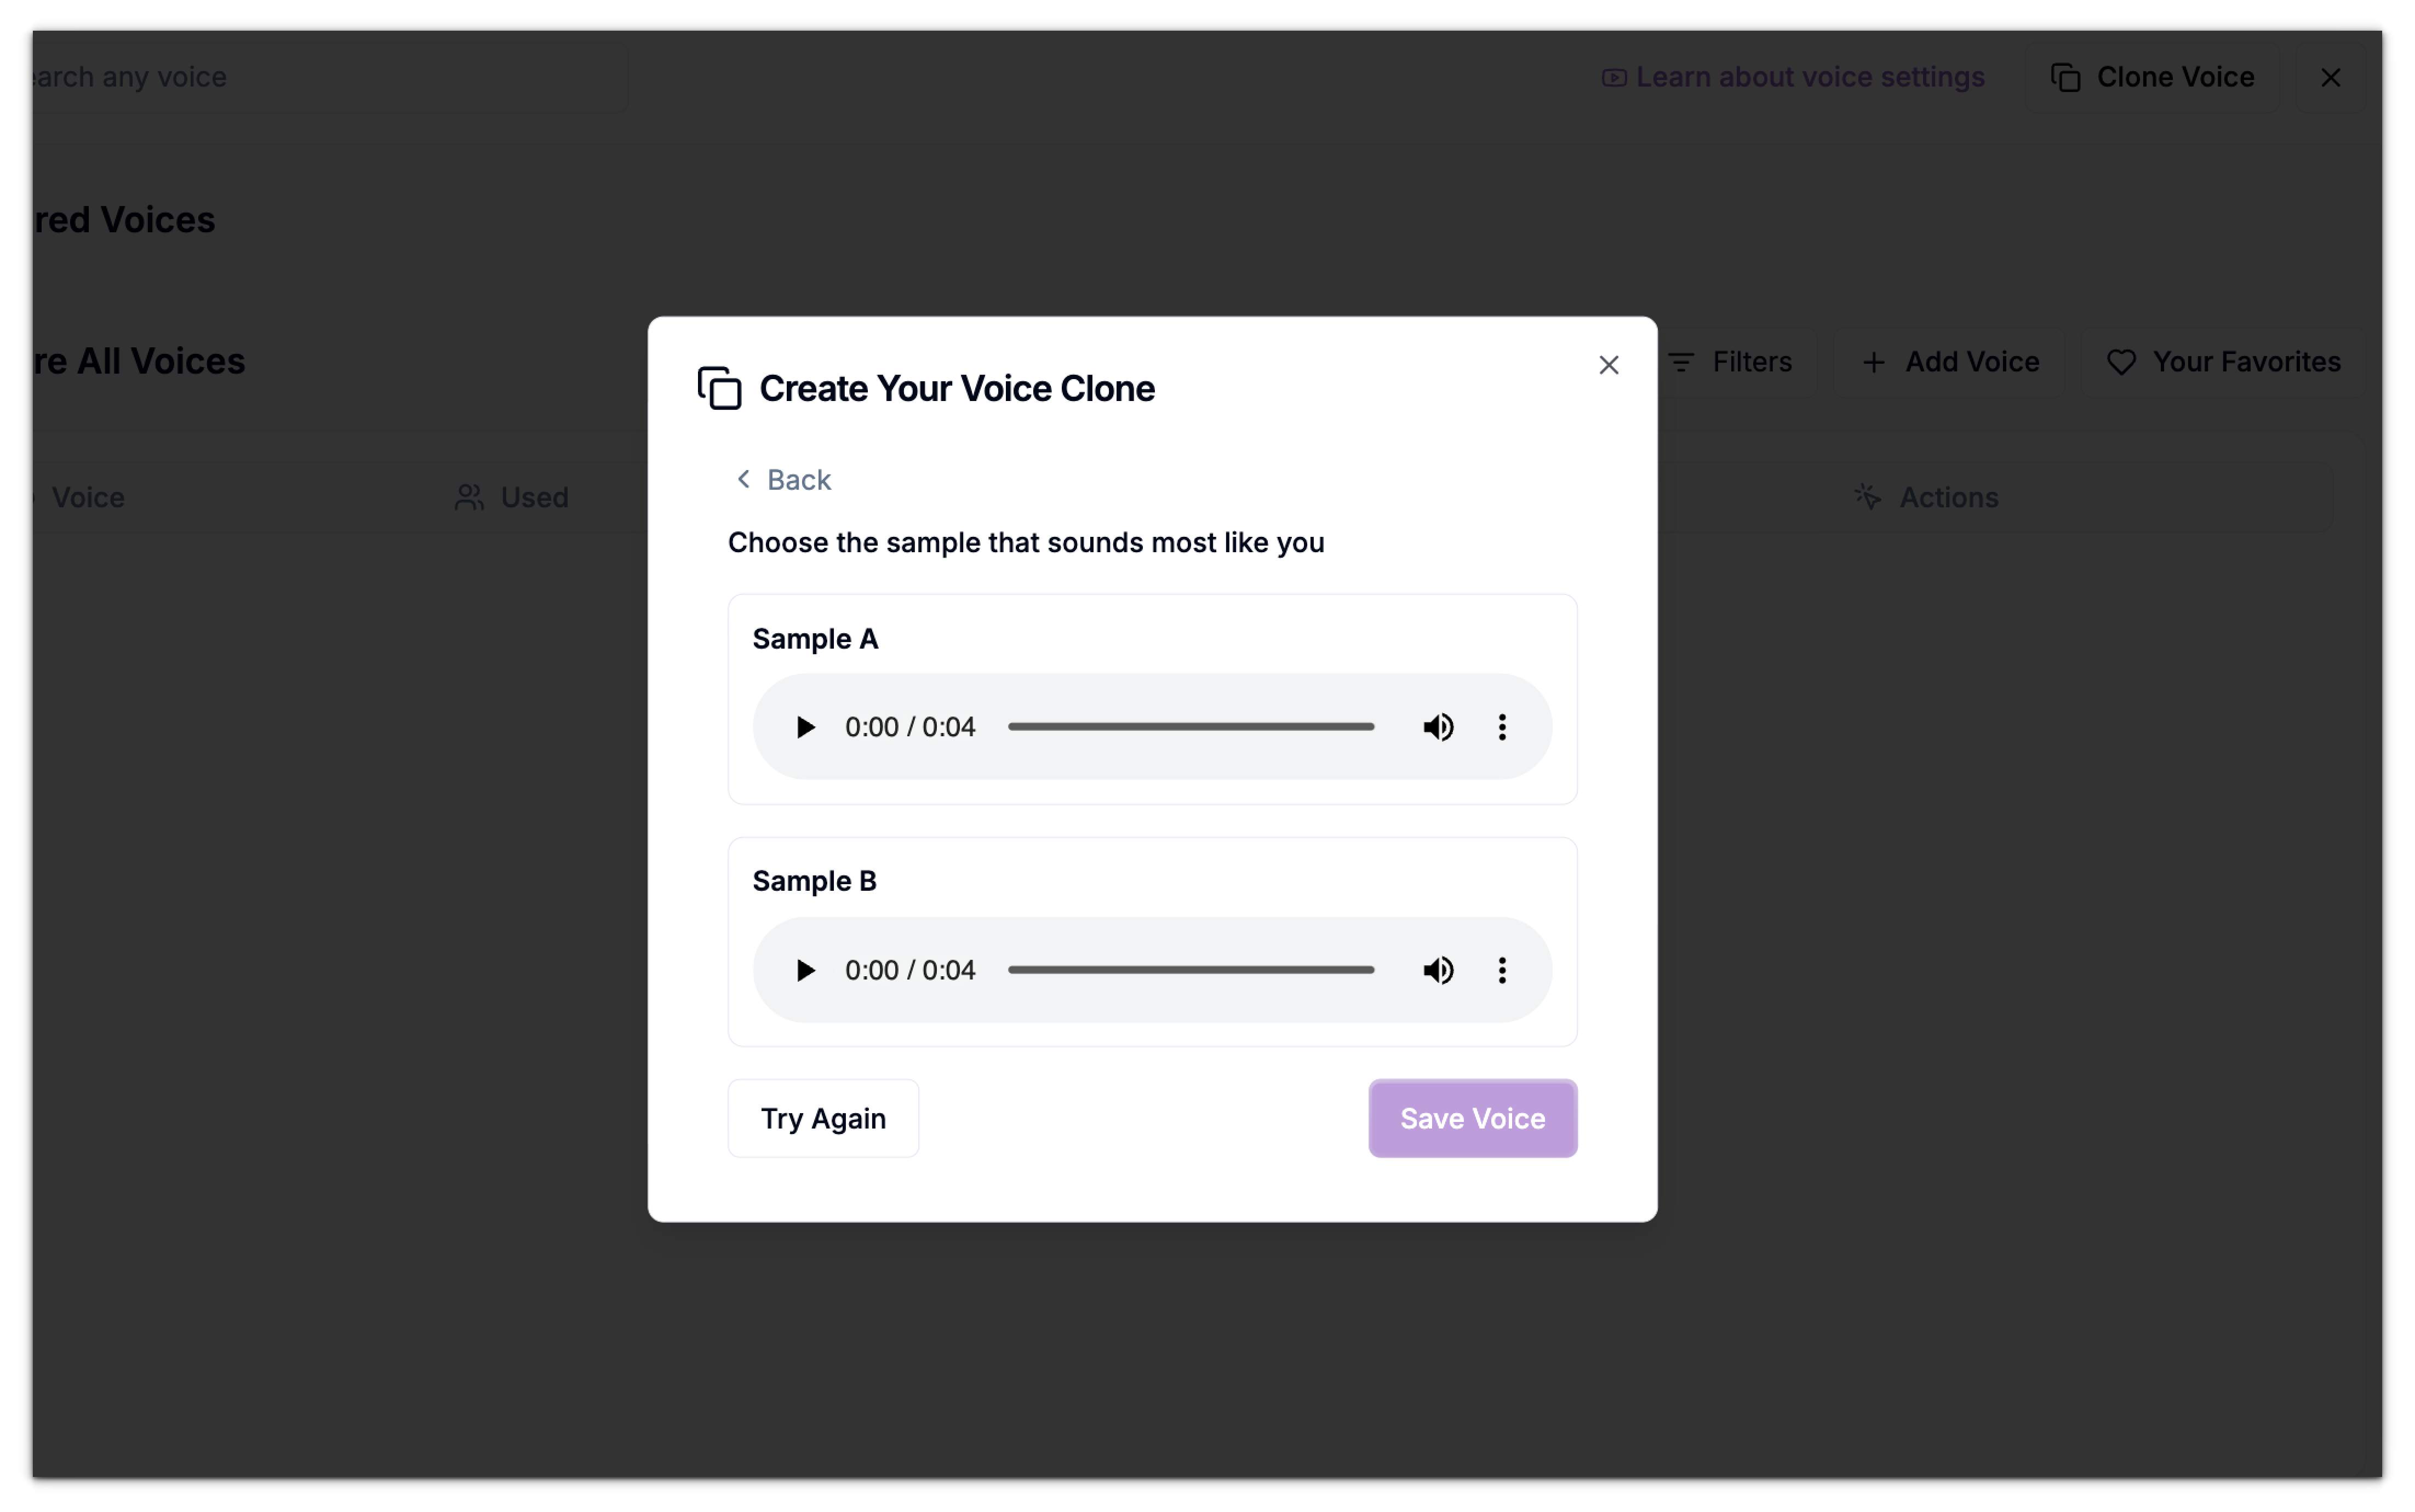
After the system processes your submission, Phonely generates one or more sample variations of your clones voice.You’ll be prompted to choose a sample that sounds most like you:
- Each sample is displayed with a playback bar (e.g., Sample A or Sample B).
- Click the Play button to listen to each one.
-
If none sound right, click Try Again to re-upload or record a new sample.
Save and Confirm the Voice
Once saved, the new cloned voice is automatically added to your Voice Library under the Explore All Voices section. You’ll see it listed alongside other available voices, compete with usage stats, tags, and actions.You can then:
- Preview it by clicking the Play button.
- Set it as your active agent voice by clicking Select under the Actions column.
- Further customize it by clicking the Settings icon to adjust speed or multilingual options.