You’ll see two tabs:
- Documents: for uploaded or internally created files.
- Websites: for external URLs and pages linked as sources.
Managing Documents
Uploading or Creating Documents
Phonely lets you enrich your AI’s understanding by adding content in several ways. You can upload existing documents, create new ones, or import files from connected platforms.- Upload File: Upload supported file types such as PDF, DOCX, or TXT directly from your computer. To see step-by-step instructions and best practices, refer to the guide on Uploading Files to the Knowledge Base.
- Blank Document: Create a new document directly inside Phonely for adding internal notes, FAQs, or call scripts. For more details on editing and structuring blank documents, see the guide on Creating and Editing Blank Documents.
- Import from External: Bring in content from connected sources such as LivePro. To learn how to connect and sync your external platforms, refer to Importing External Files into Phonely.
Sorting and Filtering Documents
Each column header (like Name or Last Updated At) allows sorting and display options.- Asc: Sorts in ascending order (A-Z or oldest first).
- Desc: Sorts in descending order (Z-A or newest first).
- Hide: Removes the columns from the current view.
Editing a Document
Blank documents can be edited directly:- Click the three-dot menu(⋯) beside a file.
- Select Edit.
- Make changes within the editor window and save them.
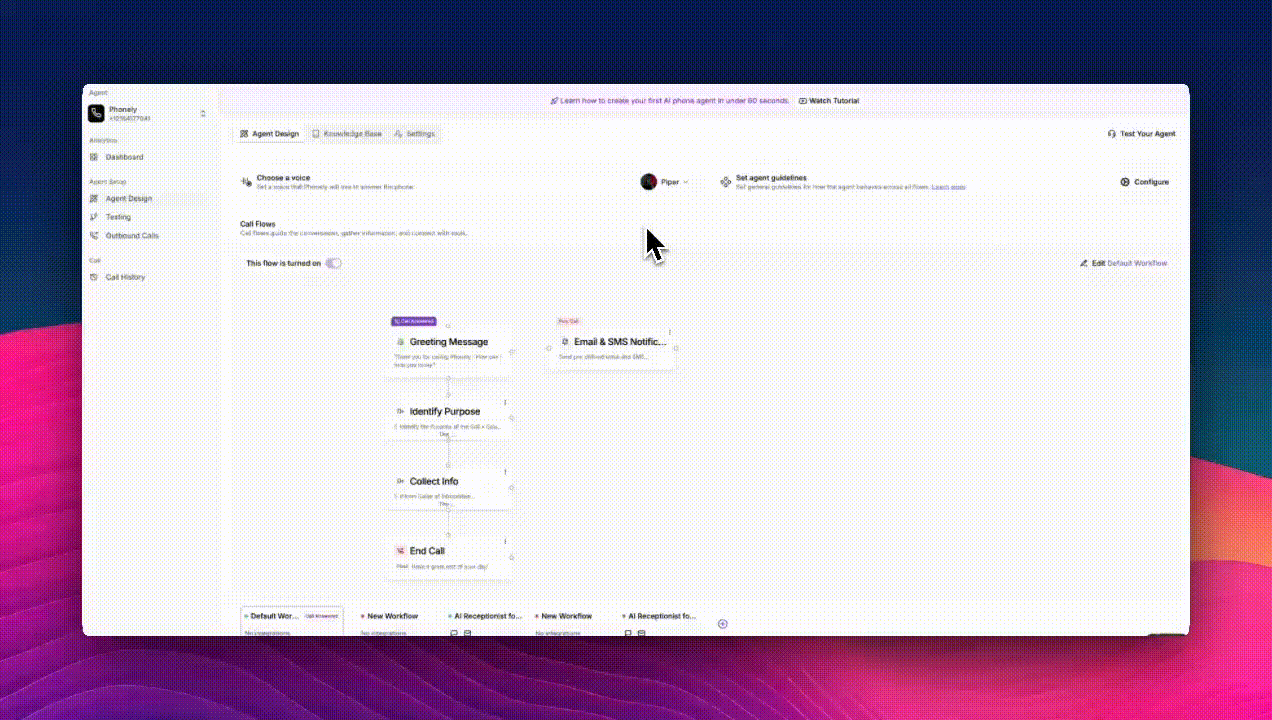
Activating or Deactivating Documents
Each document has an Active toggle to control whether it’s included in AI responses. To deactivate, switch off the toggle or select multiple files and click Deactivate.- A confirmation dialog will appear. Click Deactivate to confirm. The document will remain stored but won’t be used for AI responses.
- Confirm the prompt to re-enable its use in AI-generated replies.

Downloading or Deleting Documents
You can retrieve or permanently remove files as needed: Download:- Click the three-dot menu (⋯) beside a document.
- Select Download to save the file locally.
- Select one or more documents.
- Click Delete at the bottom of the screen.
- Confirm deletion.
Managing Website Sources
Add a Website.
You can add a new website as a knowledge source by entering its URL and display name under the websites tab, to learn the full setup process and management options, see the guide on Adding Website Sources.Edit a Website
Websites can be edited to update content, replace URLs, or revise extracted text.- Click the three-dot menu (⋯) beside the website entry.
- Select Edit.
- In the editor, modify the extracted content, add notes, or correct links.
- Click Publish to apply updates, or Save as Draft to continue later.
Activate or Deactivate Websites
Just like documents, websites can be toggled active or inactive: Deactivate: Turn off the toggle or select entries and click Deactivate. Confirm in the dialog box. The site will remain listed but its data will be excluded from AI responses. Activate: Reactivate by turning on the toggle or selecting and clicking Activate. Confirm in the popup. The content will once again feed into your AI agent’s knowledge context.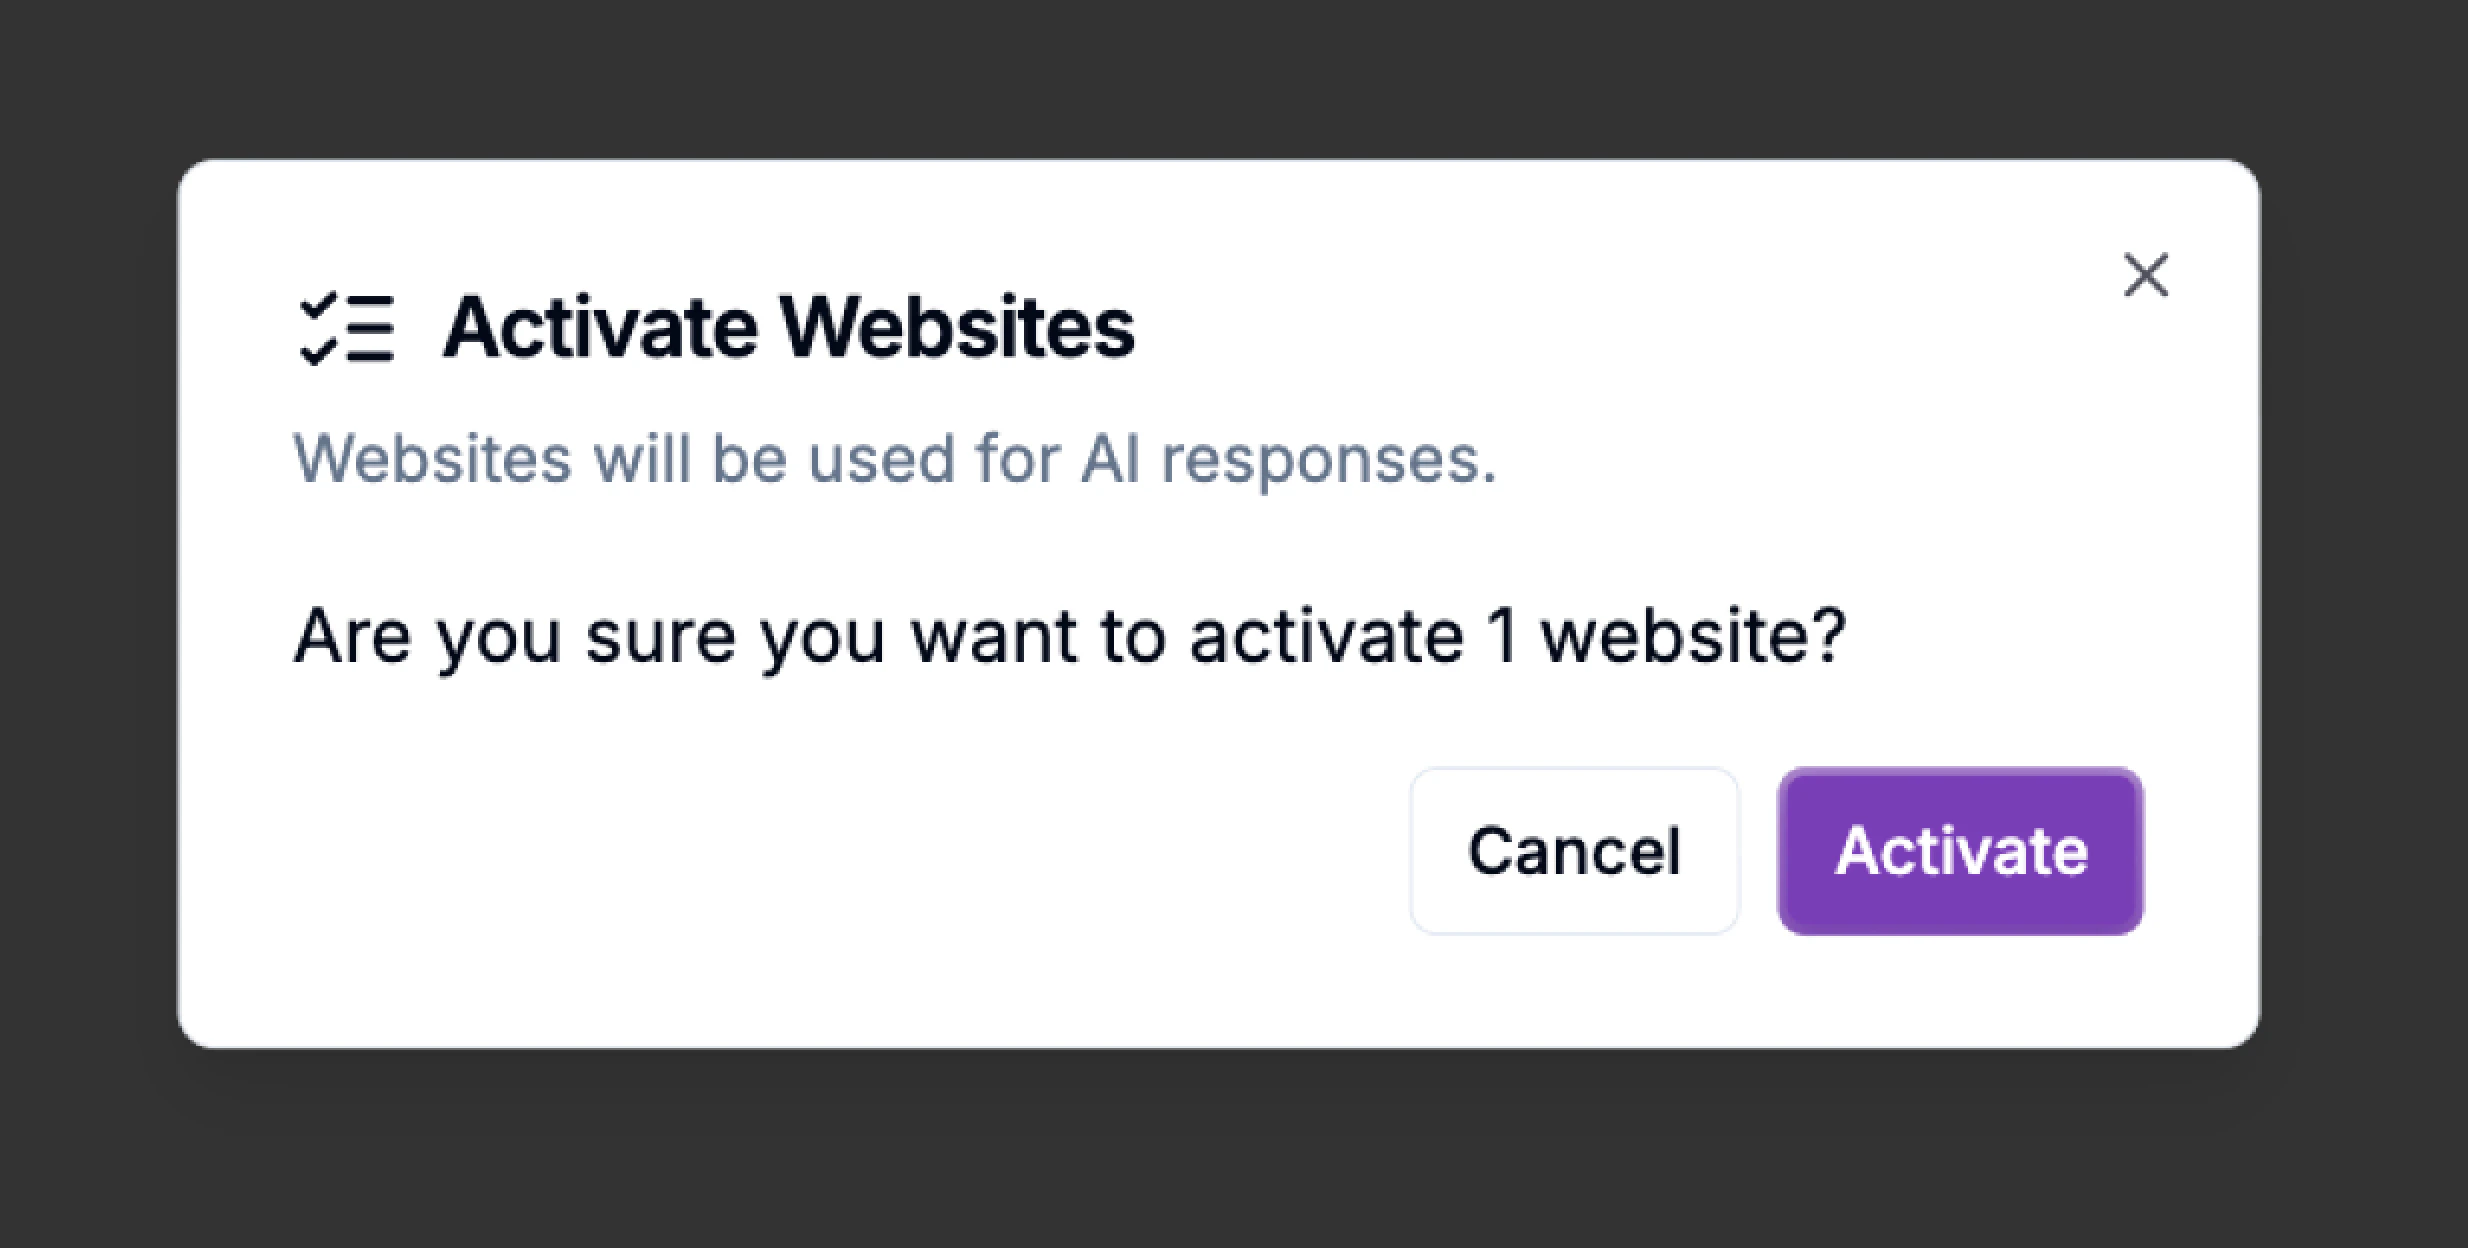
Deleting a Website
To remove a website permanently:- Select the checkbox beside one or more URLs.
- Click Delete at the bottom of the page.
- Confirm the action.
Filtering and Sorting Websites
Use the Filter websites… bar to search by name or URL. You can also filter by Active/Inactive using the toggle menu at the top right.Sort columns (Name, URL, Last Updated At) in ascending or descending order for better navigation.
