What you can manage on the Account page
The Account page is organized into four main sections:- Account
- Preferences
- Access
- Organization
Account
The Account section is where you manage your personal details. From here, you can:- change your profile photo
- update your full name
- review the email address linked to your account
- add or update your phone number
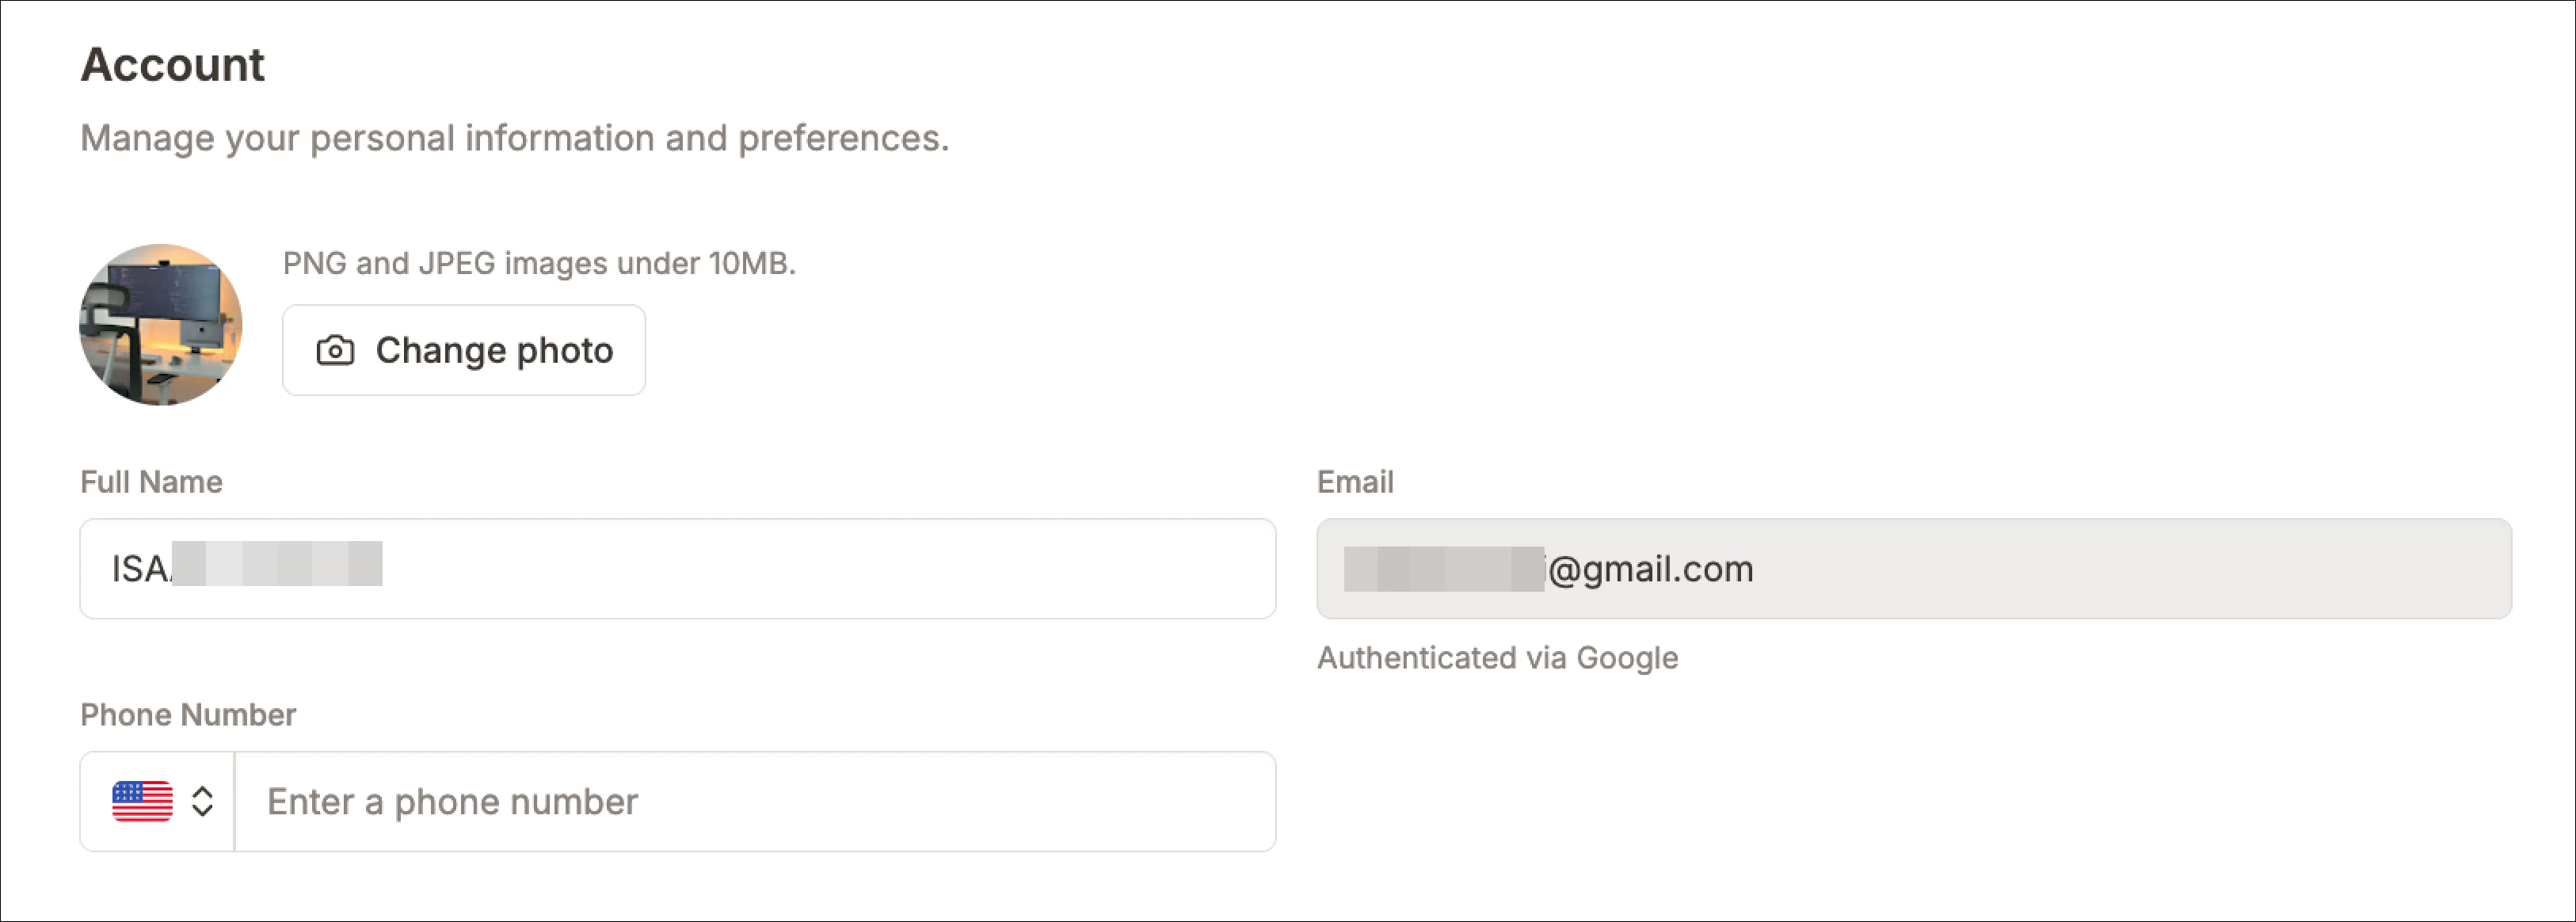
Change your profile photo
Your profile photo appears at the top of the page. To update it:- Click Change photo.
- Select an image from your device.
- Upload the new image.
Update your full name
Use the Full Name field to change the name associated with your account. This name may be shown in different parts of the workspace, so it is a good idea to keep it accurate and consistent with how you want to appear to teammates.Review your email address
The Email field shows the email address linked to your account. This section also shows how your account is authenticated, such as Google sign-in. This helps you confirm which sign-in method is connected to your account. Depending on how your workspace is configured, the email field may not be editable from this page.Add or update your phone number
Use the Phone Number field to add or update the phone number associated with your account. This field includes a country selector and phone number input. Keeping this information current can be useful for account management and workspace identification.Preferences
The Preferences section controls account-level settings that affect how Phonely behaves for you across the workspace. From here, you can manage:- timezone
- marketing emails
- private recordings
Set your timezone
Use the timezone setting to choose your default timezone. This timezone is used across the workspace and affects how time-based information is shown to you. Set this carefully so that dates, times, and activity records match your local working context. To update it:- Open the timezone dropdown.
- Select the preferred timezone.
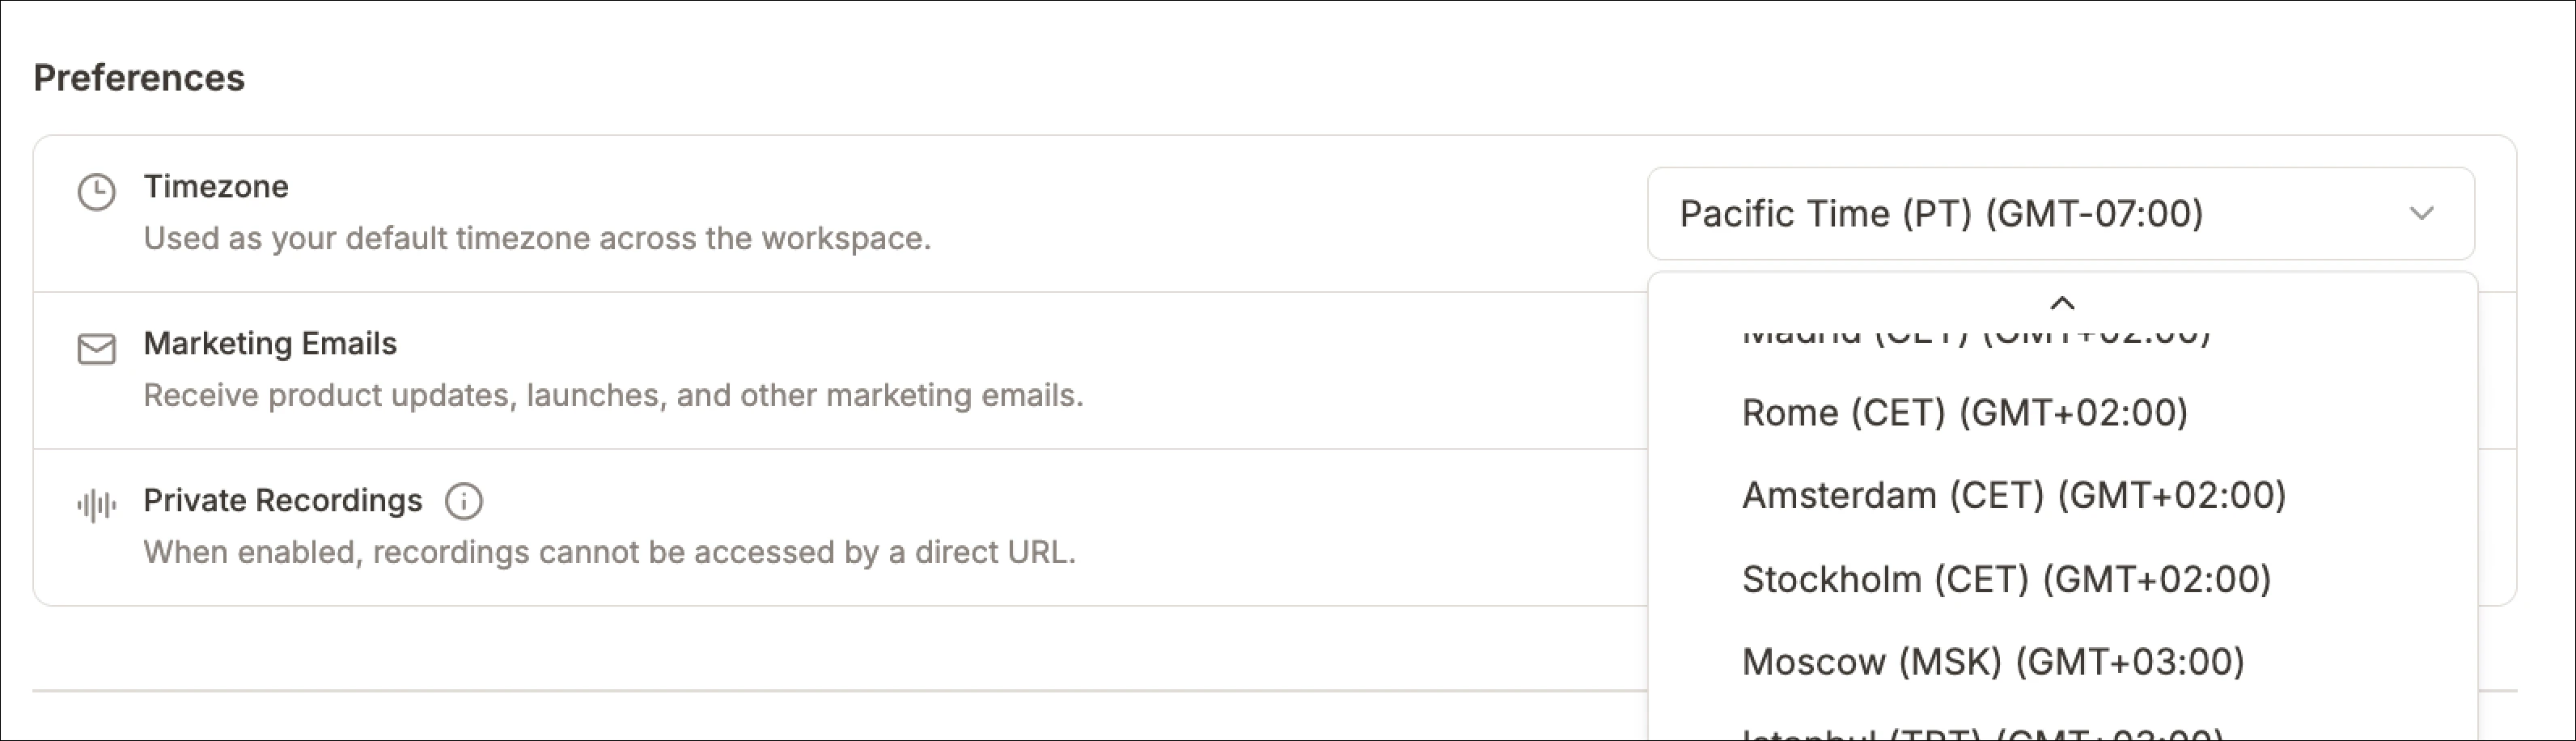
Marketing Emails
Use the marketing emails toggle to control whether you receive product announcements and promotional updates by email. Turn this on if you want to receive:- Product updates
- launch announcements
- other marketing communications
Private Recordings
Use the private recordings setting to control how recordings can be accessed. When this setting is enabled, recordings cannot be accessed directly by URL. This adds an extra layer of privacy and helps restrict casual sharing of recording links. Turn this on when your workspace requires tighter control over recording access.Access
The Access section contains your technical account identifiers and security-related controls. From here, you can review and copy:- API Key
- User ID
- Organization ID
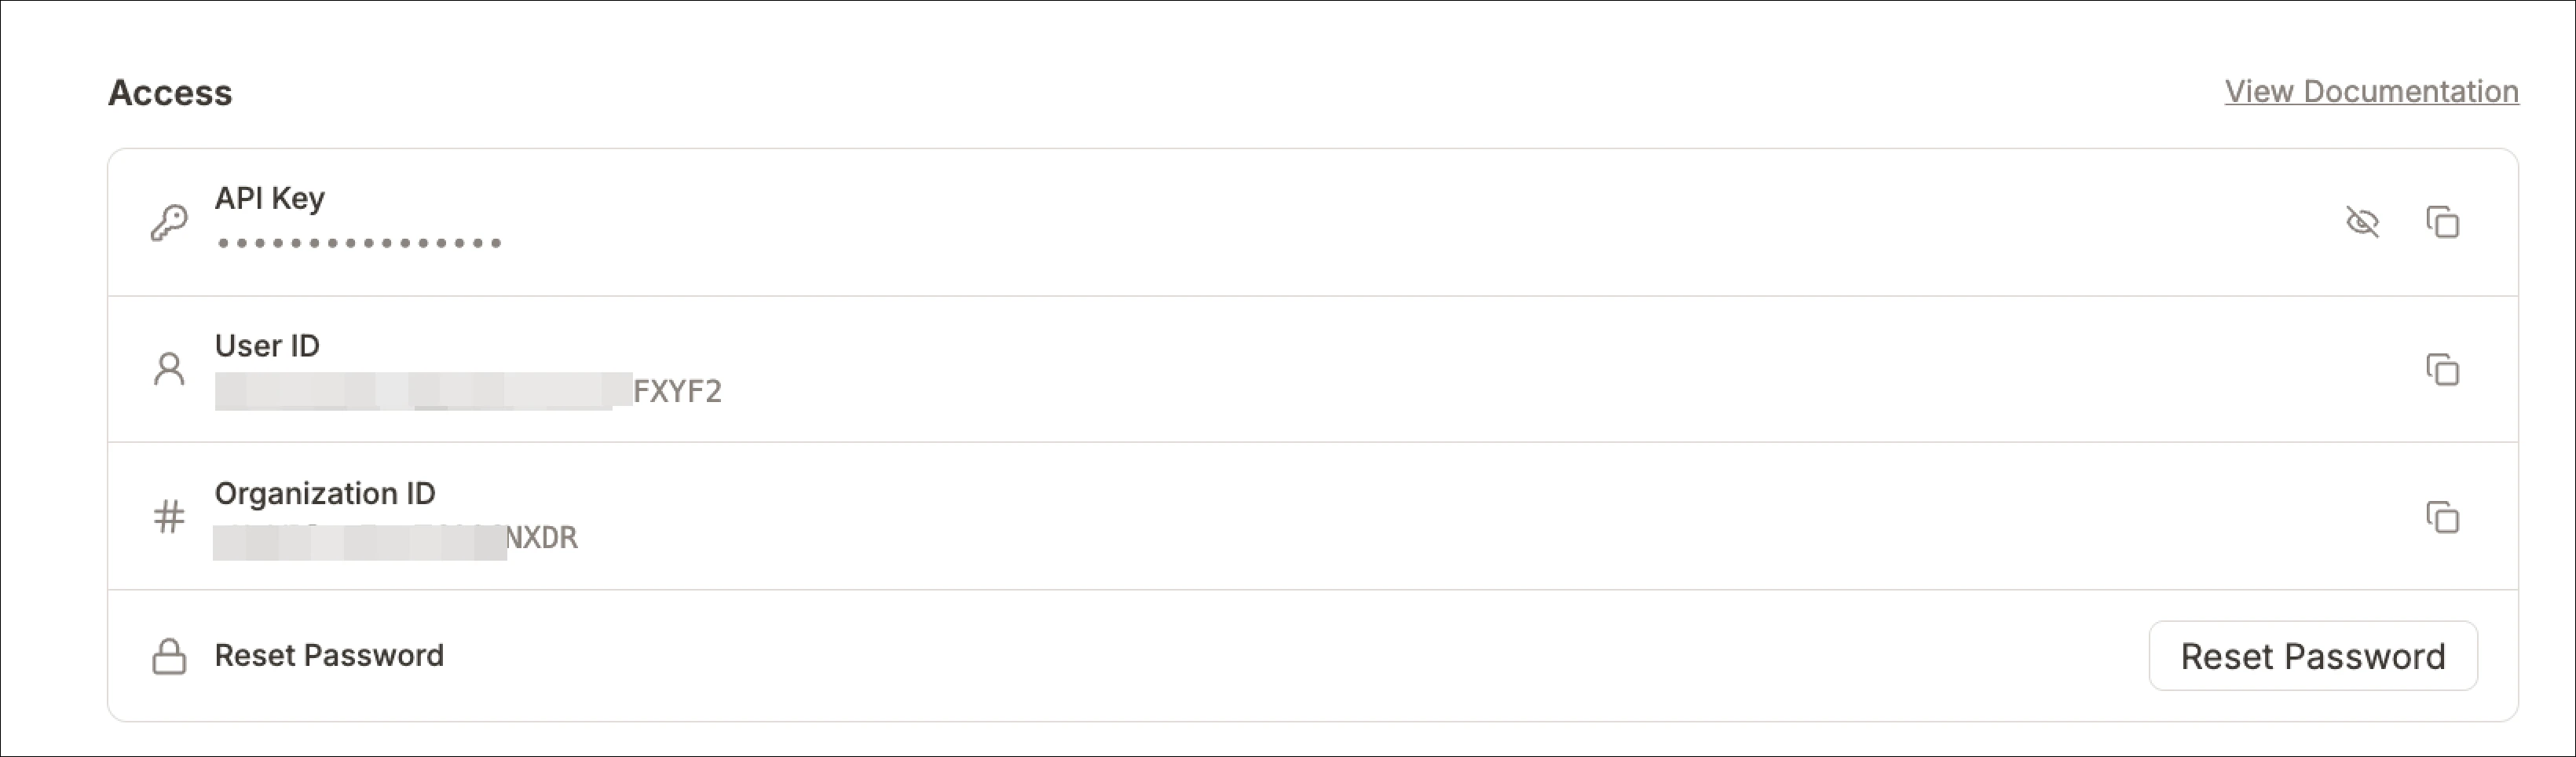
API Key
Your API Key is used for integrations and API-based workflows. This row includes controls to:- reveal or hide the key
- copy the key
User ID
Your user ID uniquely identifies your user account. Use the copy button if you need to share or use this identifier for setup, support, or technical workflows.Organization ID
Your organization ID identifies the workspace or organization linked to your account. Use the copy button if you need this value for integrations, support requests, or organization-level setup.Reset your password
Use reset password to start the password reset flow for your account. To do this:- Click Reset Password.
- Check your email for the reset link and instructions.
Organization
The Organization section shows the organization details linked to your account. From here, you can review:- Team Name
- Billing Account
