Phonely’s Gmail integration allows your automated call flows to send emails directly from your Gmail account, perfect for follow-ups, confirmations, or notifications triggered during live calls.
This guide walks you through every step of connecting your Gmail account and testing the integration successfully.
Add the Gmail Block to Your Flow
-
In your flow editor, locate the point where you want to send an email.
-
Click the ➕ (plus) icon under the block.

-
From Live Call Actions, select Gmail.
You’ll now see a new Gmail block added to your flow.
Choose the Gmail Action
When the Gmail setup panel opens:
- In the Action dropdown, choose Send Email.
This is the default and only Gmail action currently supported, it lets your flow compose and send emails through your Gmail account.
- Click Continue to move to the Connection setup.
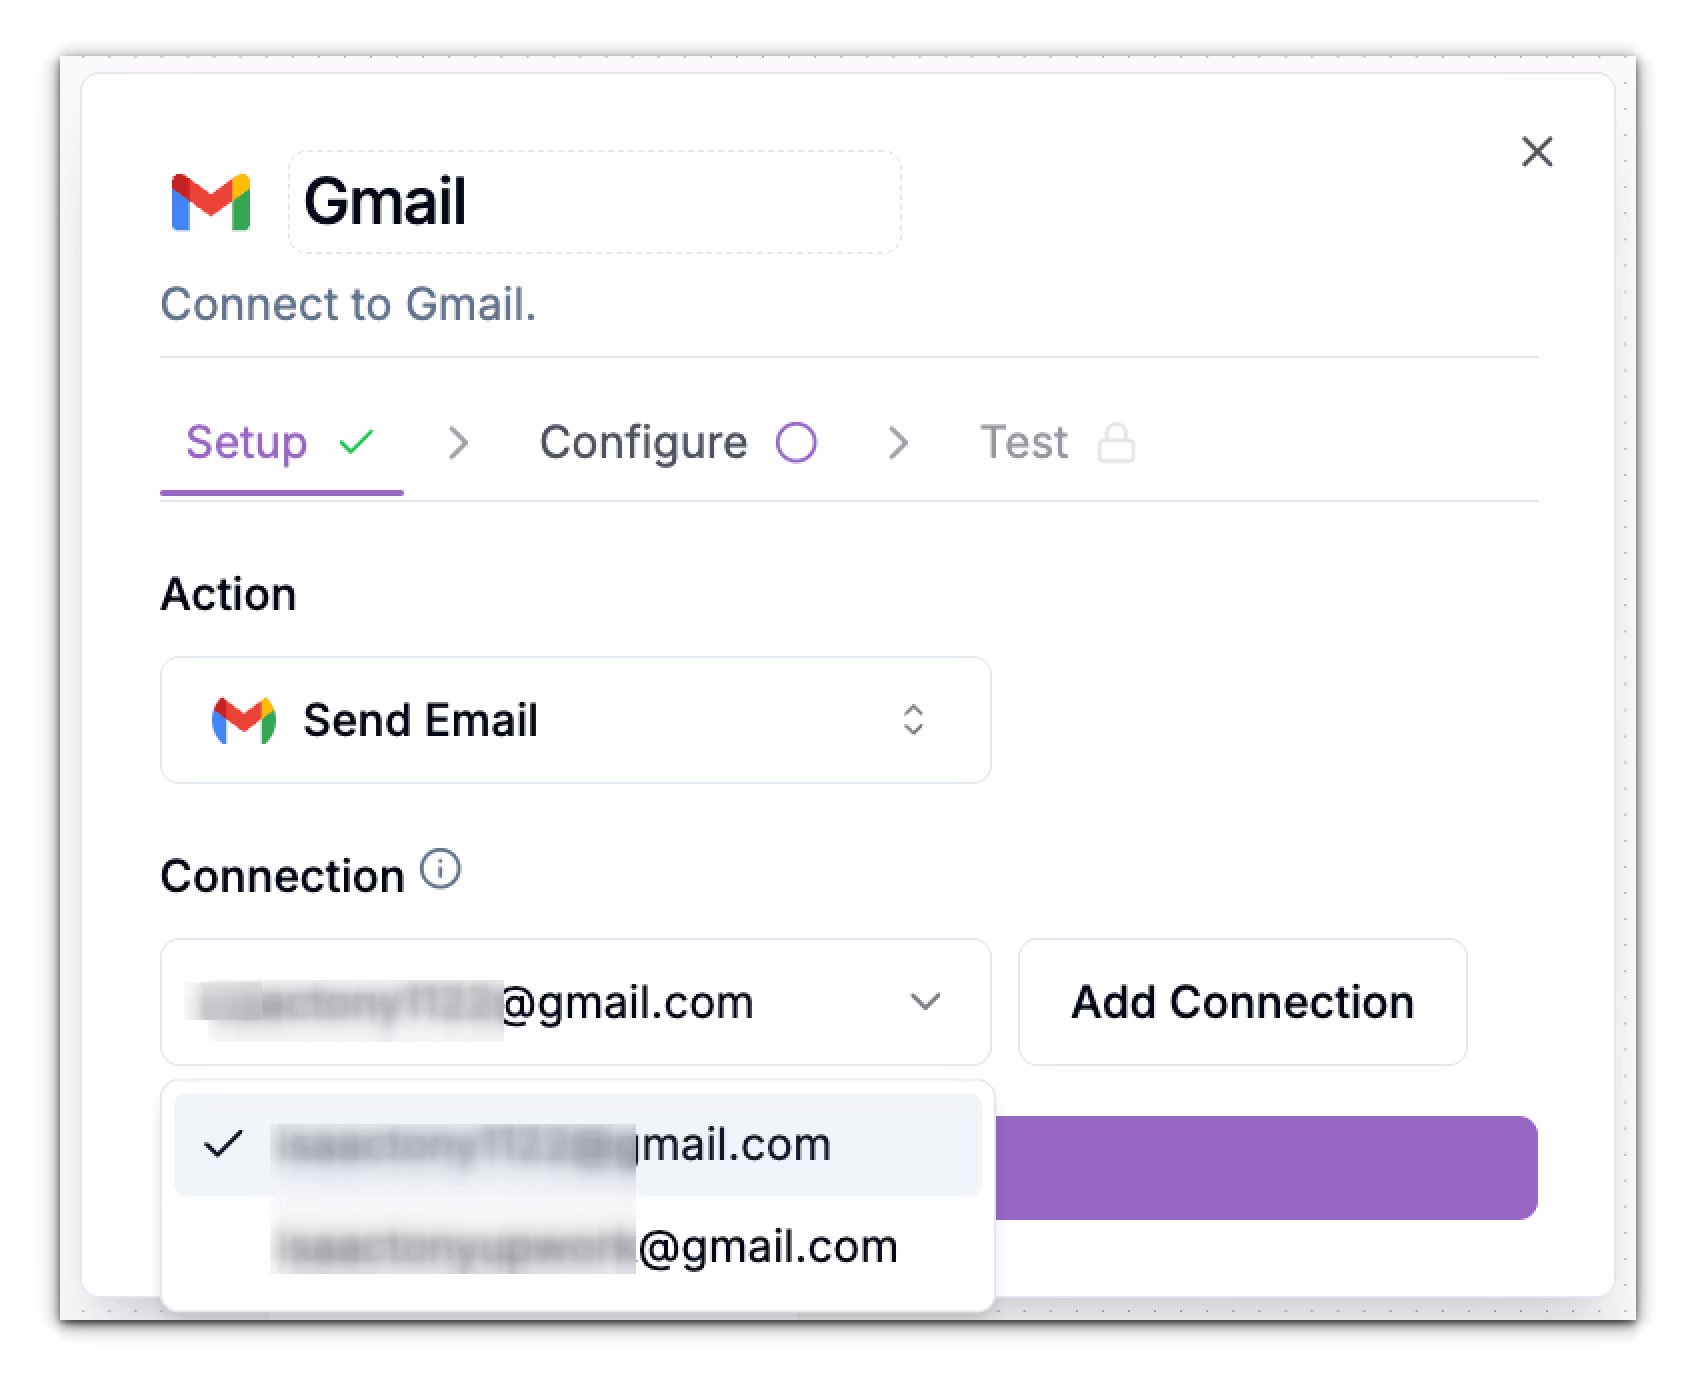
Connect Your Gmail Account
Before you can send emails, Phonely needs permission to access your Gmail account securely.
Click Add Connection
A “Linking your Gmail account” window will open.
Click Connect
You’ll be redirected to Google’s authentication page.
Sign in with the Gmail account you want to use.
Allow Phonely to access your Gmail for sending emails
Once connected, you’ll see your Gmail account listed in the Connection dropdown.
 Next, define what email should be sent.
Required Fields
| Field | Description |
|---|
| To | The recipient’s email address. |
| Subject | The subject line of your email (e.g., Follow-up from our conversation). |
| Body | The main content of your email. You can include plain text or HTML. |
Advanced Settings
Expand Advanced Settings to customize your email further.
| Setting | Description |
|---|
| Body Type | Choose between Plain Text (default) or HTML. Select HTML if you want formatted emails (bold, links, etc.). |
| Cc / Bcc | Add carbon-copy or blind-copy recipients if you want to share the message with other team members. |
| From Name | Specify how your name appears in the recipient’s inbox (e.g., John Doe). |
| Reply To | Define an address for replies (useful if you want responses to go to a shared inbox). |
| Interim Message | Enable this to play a short spoken message to the caller (e.g., “Please hold while I send your email.”). |
| Post Interim Message Delay | Adds a small pause after the interim message before proceeding. |
| Interim Message Prompt | A 3–7 word phrase shown to your AI assistant to generate the caller message (e.g., “Hold on while we complete your request”). |
| Call Outcome Tagging | Add a tag to the call record for analytics, such as email_sent or gmail_followup. |
Choose between plain text or HTML formatting for your email body. HTML allows for rich formatting like bold, italic, links.
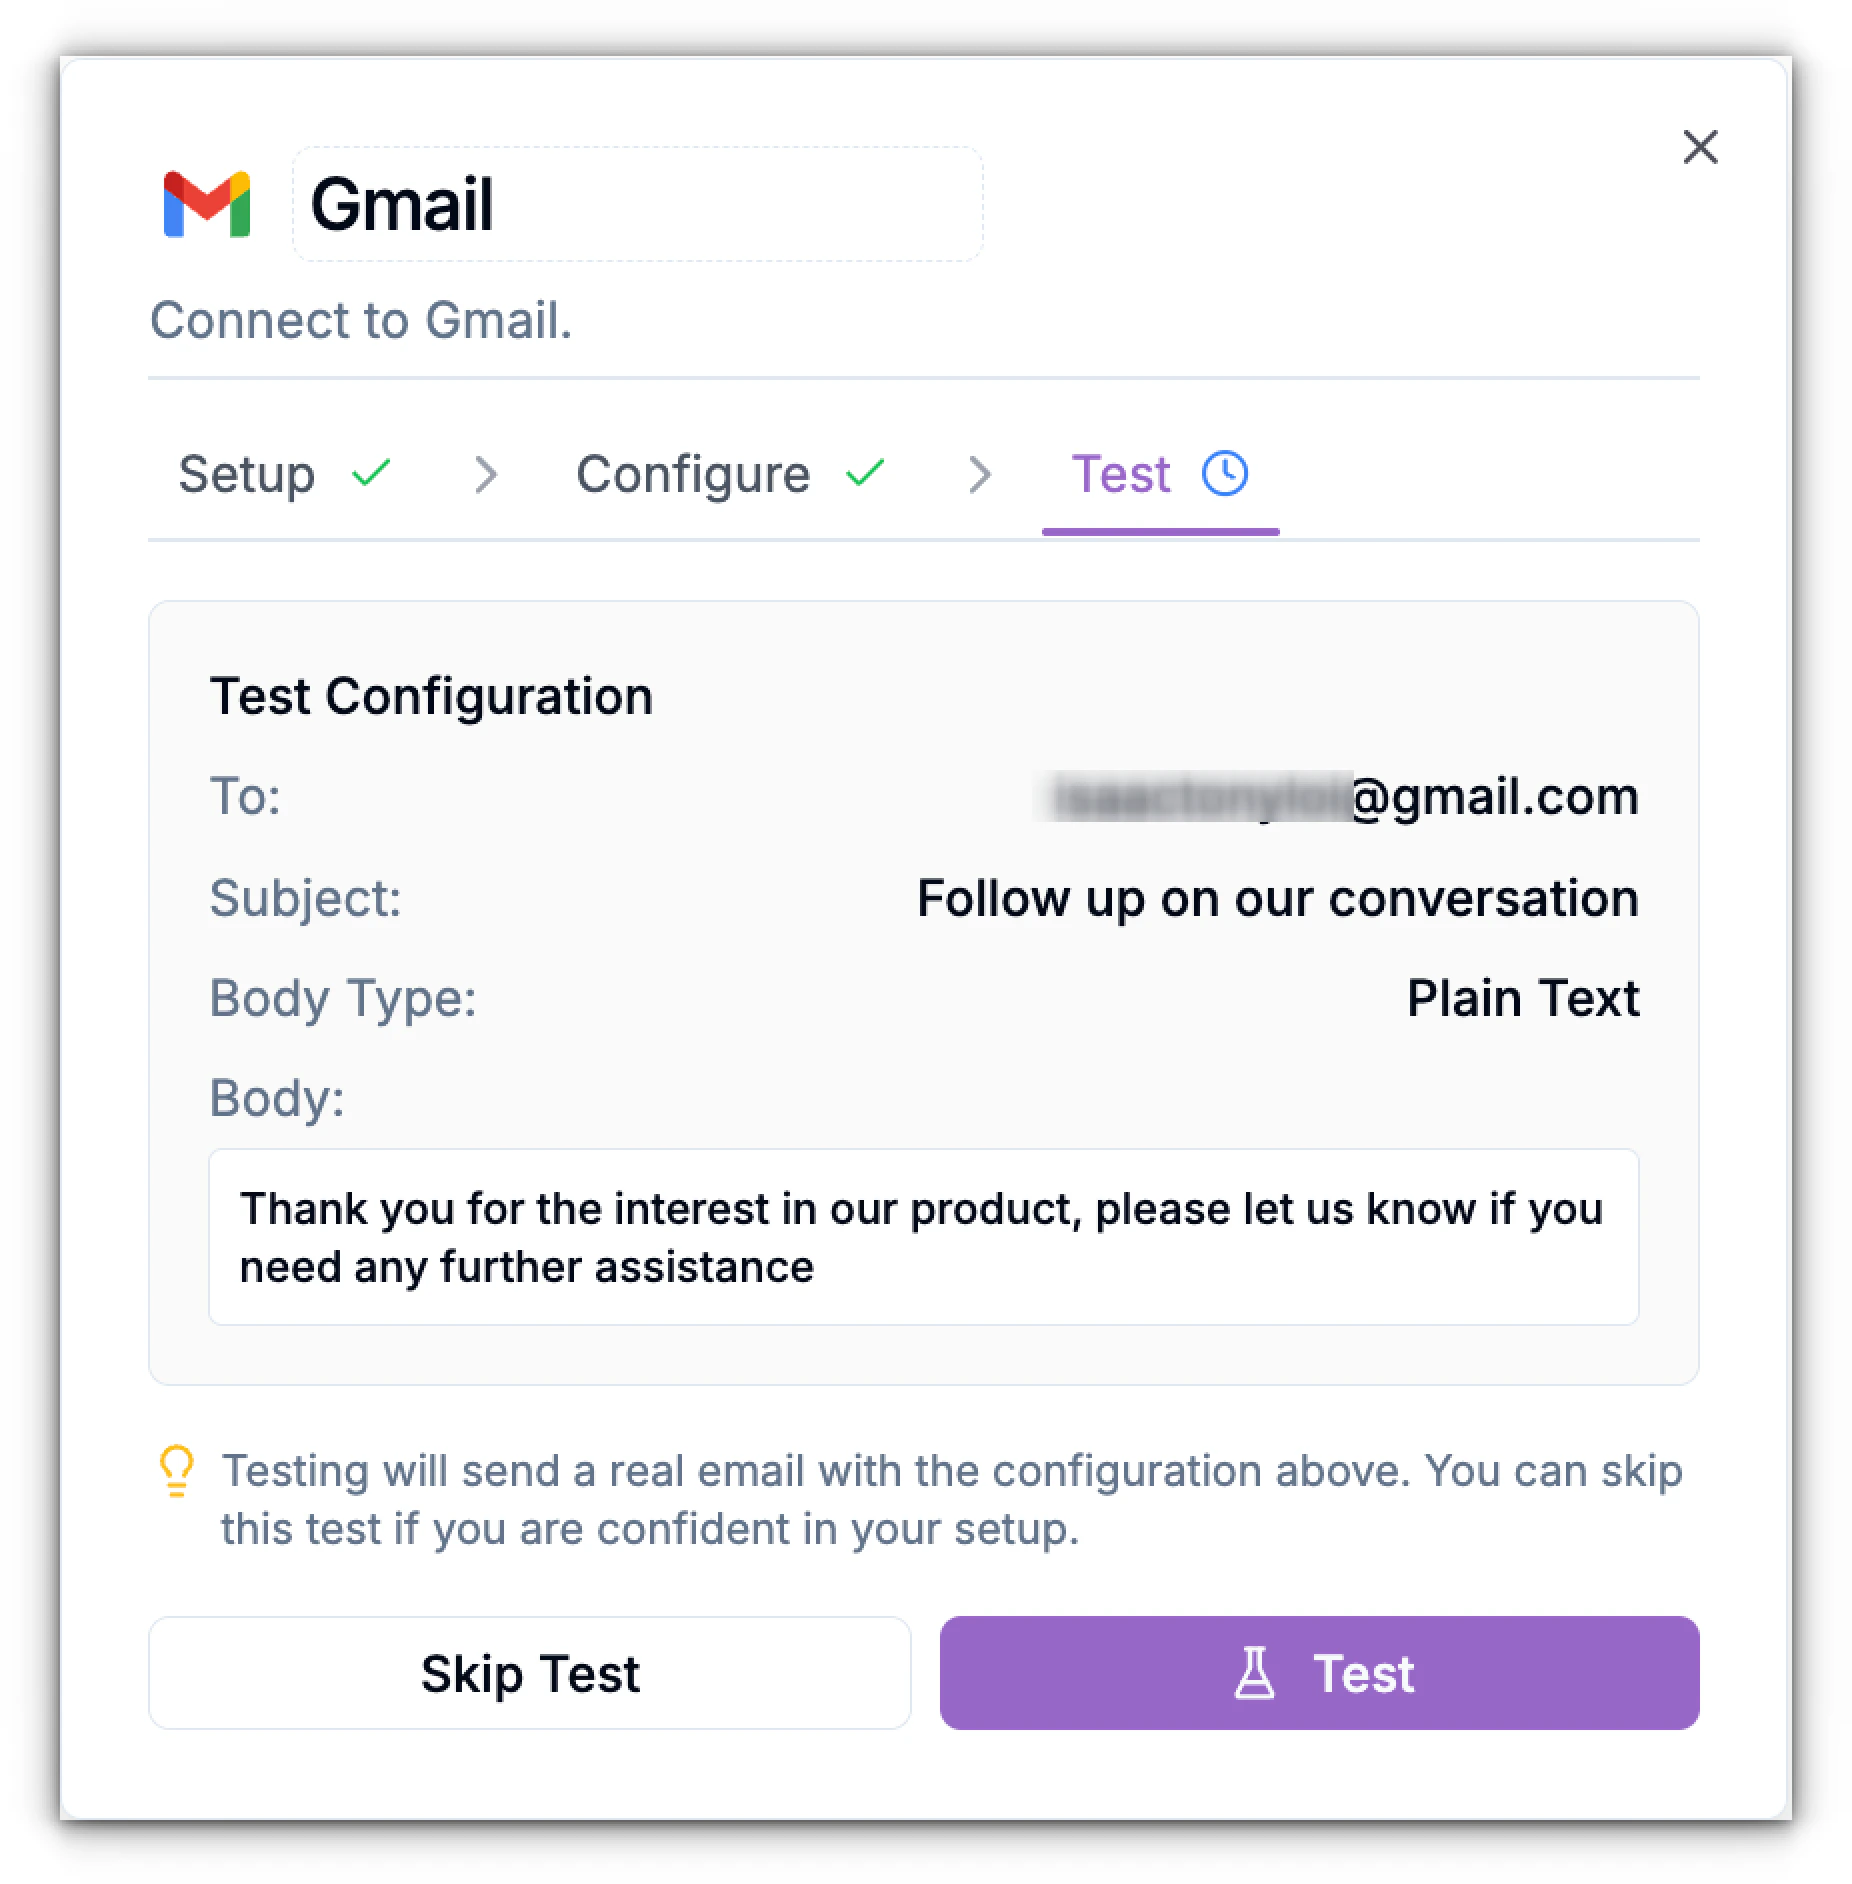
Test the Gmail Action
The Test tab lets you verify your configuration by sending a real email.
- Review your test configuration.
You’ll see all the details you set:
- Click Test.
Phonely will send an actual email to the address provided with the details entered in the subject and body fields.
If you do not want to test this out skip test
Save and Connect to the Next Block
Once the test succeeds:
- The Gmail block’s Setup, Configure, and Test steps all show green checkmarks (✓).
- You can now connect the next block in your flow.