How it Works
The API Request block acts as a bridge between Phonely and external applications. You can use it to:- Send caller data such as names, phone numbers, emails, or custom variables to another system
- Retrieve information like order status, appointment availability, or account details
- Trigger automations in tools like Zapier, Make, Slack, or internal APIs
- Execute webhooks during or after a call
How to Use it
In your Flow Editor, locate the block where the API call should occur, then click the ➕ (plus) icon. To add an API Request block:- Open your Flow Editor.
- Locate the point in the flow where the API interaction should occur.
- Click the ➕ (plus) icon beneath or beside an existing block.
- Under Actions, select API Request.

Setup
When you open the block, you’ll see two ways to define your API request:Option 1: Import from cURL
If you already have a cURL command (for example, from Postman or API documentation):- Paste the full cURL command into the cURL Command field.
- Click Import from cURL. Phonely automatically extracts the method, endpoint, headers, and body.
Option 2: Build Manually
If you don’t have a cURL command, click Build Manually. You’ll then define all settings step by step in the Configure tab.
Configuration
The Configure tab is where you define what your API request should do.
API Method
Select the type of request from the dropdown:
GET– Retrieve data from a system.POST– Send new data.PUTorPATCH– Update an existing record.DELETE– Remove a resource.
Example: Choose POST when sending call data to an external app.
Headers
Headers define metadata or authentication details for your API call. Click + Add to add key-value pairs such as:
GET– Retrieve data from a system.POST– Send new data (most common).PUTorPATCH– Update an existing record.DELETE– Remove a resource.
Example: Choose POST when sending call data to an external app.
Query Parameters
Use this if your API uses query strings in the URL (e.g., filtering or pagination).
Body (For POST, PUT, PATCH Requests)
For POST, PUT, or PATCH requests, you can define a request body. Phonely supports multiple body types, selectable directly in the UI.Enter the endpoint where the request should go. This is the destination for your data.
Use this when the request does not require a body.Headers define metadata or authentication details for your API call. Click + Add to add key-value pairs such as:x-www-form-urlencoded
Use this when the API expects traditional form data. Each key-value pair is sent as form data, commonly required by legacy systems or OAuth flows.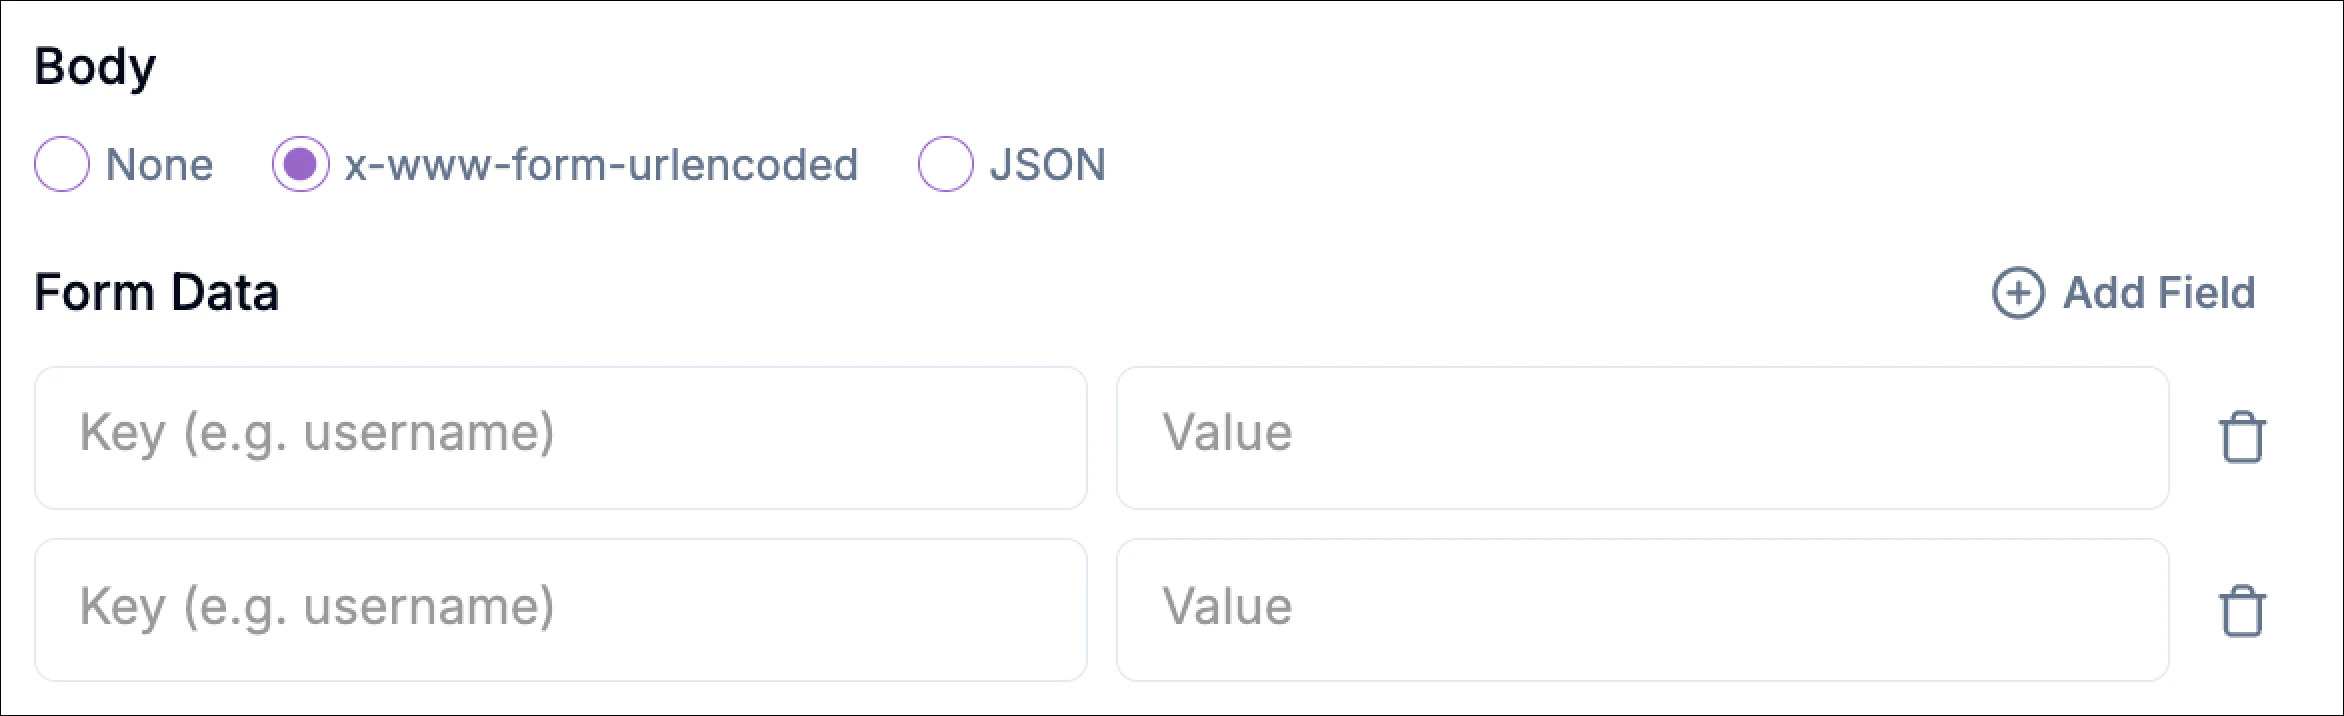
Use this when sending structured data in JSON format (most modern APIs).
You can switch the editor to Code mode to write raw JSON directly.
Supported Body Types
NoneUse this when the request does not require a body.Headers define metadata or authentication details for your API call. Click + Add to add key-value pairs such as:x-www-form-urlencoded
Use this when the API expects traditional form data. Each key-value pair is sent as form data, commonly required by legacy systems or OAuth flows.
Use this when sending structured data in JSON format (most modern APIs).
You can switch the editor to Code mode to write raw JSON directly.
Advanced settings
Click to expand this section. These options help control the flow behavior during API communication.Example:
Click Continue to save and move on to the Test step.
| Setting | Description |
|---|---|
| Enable Error Handling | Lets you catch failed API calls and redirect the flow. |
| Retry on Failure | Retries automatically if the server doesn’t respond. |
| Interim Message | Sends a short message to the caller (e.g., “Please hold while I send your request.”). |
| Post Interim Message Delay | Adds a short pause after the interim message. |
| Call Outcome Tagging | Add labels for analytics or call reports (e.g., “api_success” or “crm_update”). |
Test Stage
Testing ensures your configuration works before you publish your flow.- Click Test.
Phonely will send the request exactly as you configured. - The response will display instantly, showing whether it succeeded or failed.
When building workflows, you can now hover over API request and code block variables to instantly preview test data. This reduces debugging time and improves confidence before publishing flows

Use cases for API Requests
| Scenario | Action | Example Use Case |
|---|---|---|
| CRM integration | POST | Send collected lead data to HubSpot or Zoho CRM |
| SMS gateway | POST | Send a text message via Twilio |
| Data lookup | GET | Fetch an order status or product info |
| Notification | POST | Trigger a Slack or Discord webhook |
| Ticket creation | POST | Create a support ticket in Zendesk or Freshdesk |