Once created, you can reuse this actions across multiple call flows, share it with your organization, or even publish it to the marketplace. Think of a custom action as a mini reusable workflow inside your larger flow. It behaves like a single block but contains its own inner logic, inputs, and outputs. When to Use a Custom Action Custom Actions are ideal when you need to:
- Combine multiple blocks into a single, reusable action.
- Reuse the same multi-step process across multiple agents or flows.
- Standardize logic such as appointment booking, identity verification, or eligibility checks.
- Update logic in one place and automatically apply changes everywhere it’s used.
Building a Custom Action (Appointment Example)
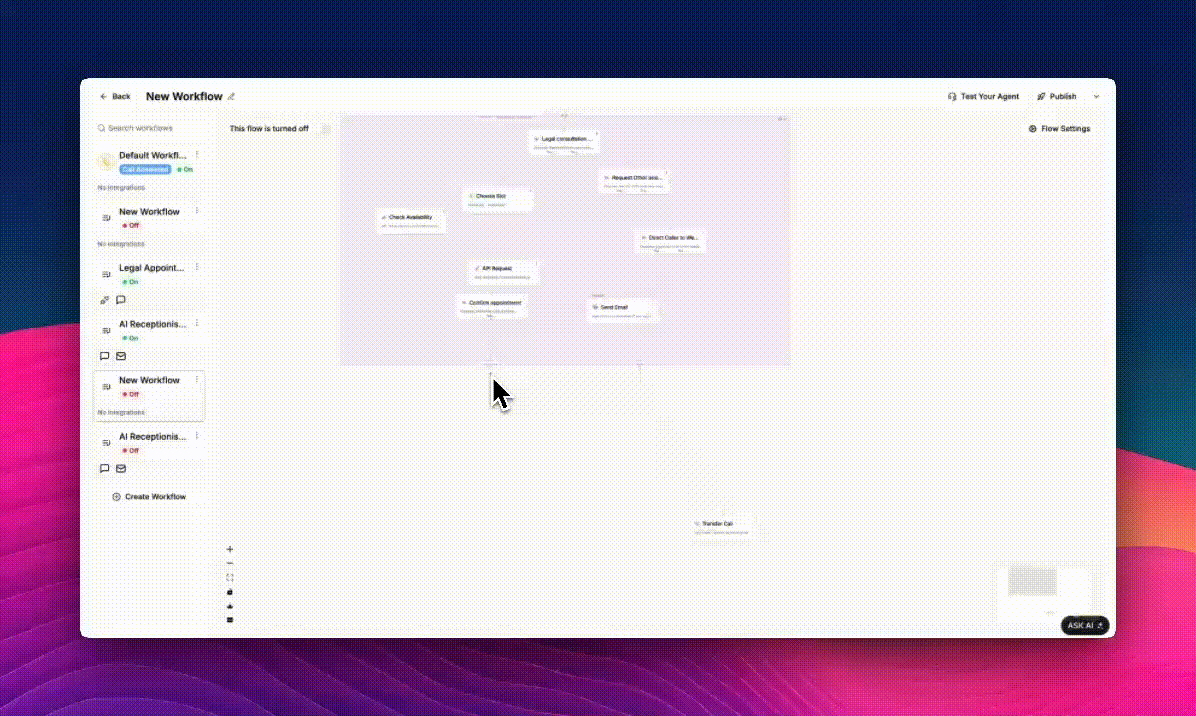
Let’s build an appointment custom action that collects a caller’s preferred time, checks availability, and books the appointment. Once created, this custom action can be reused across any workflow where callers need to schedule an appointment, without rebuilding the logic from scratch.
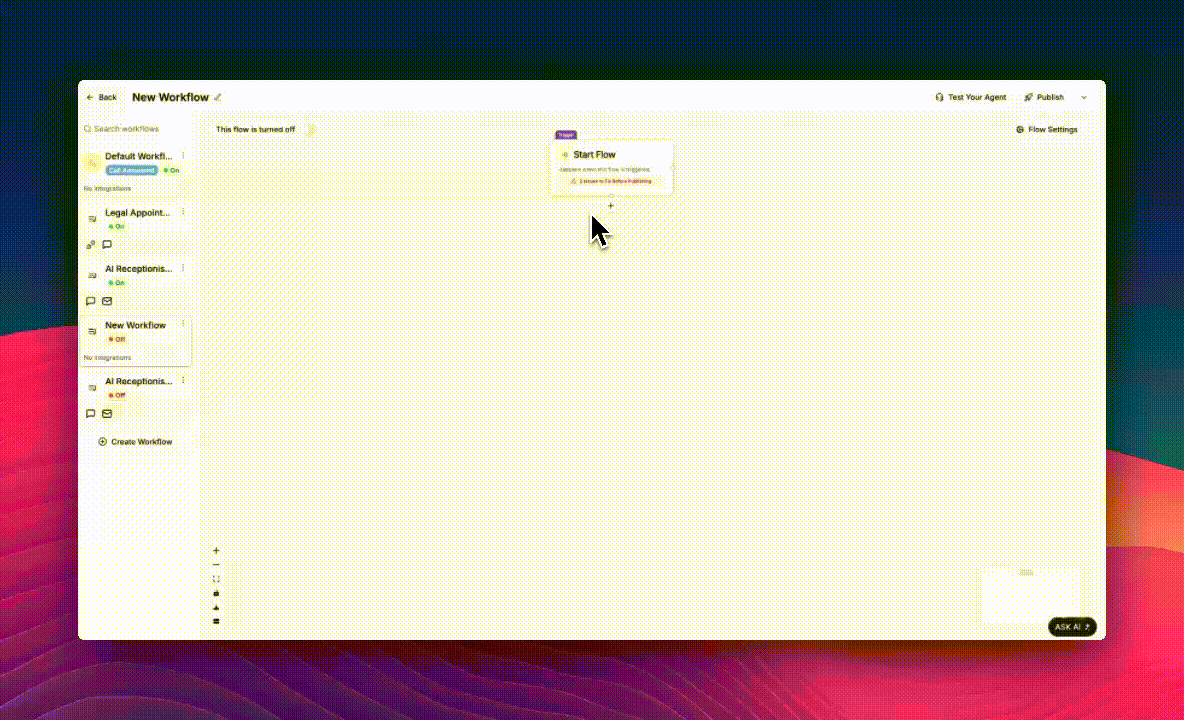
Inside the purple area, click the + button below the Start node to begin adding blocks.

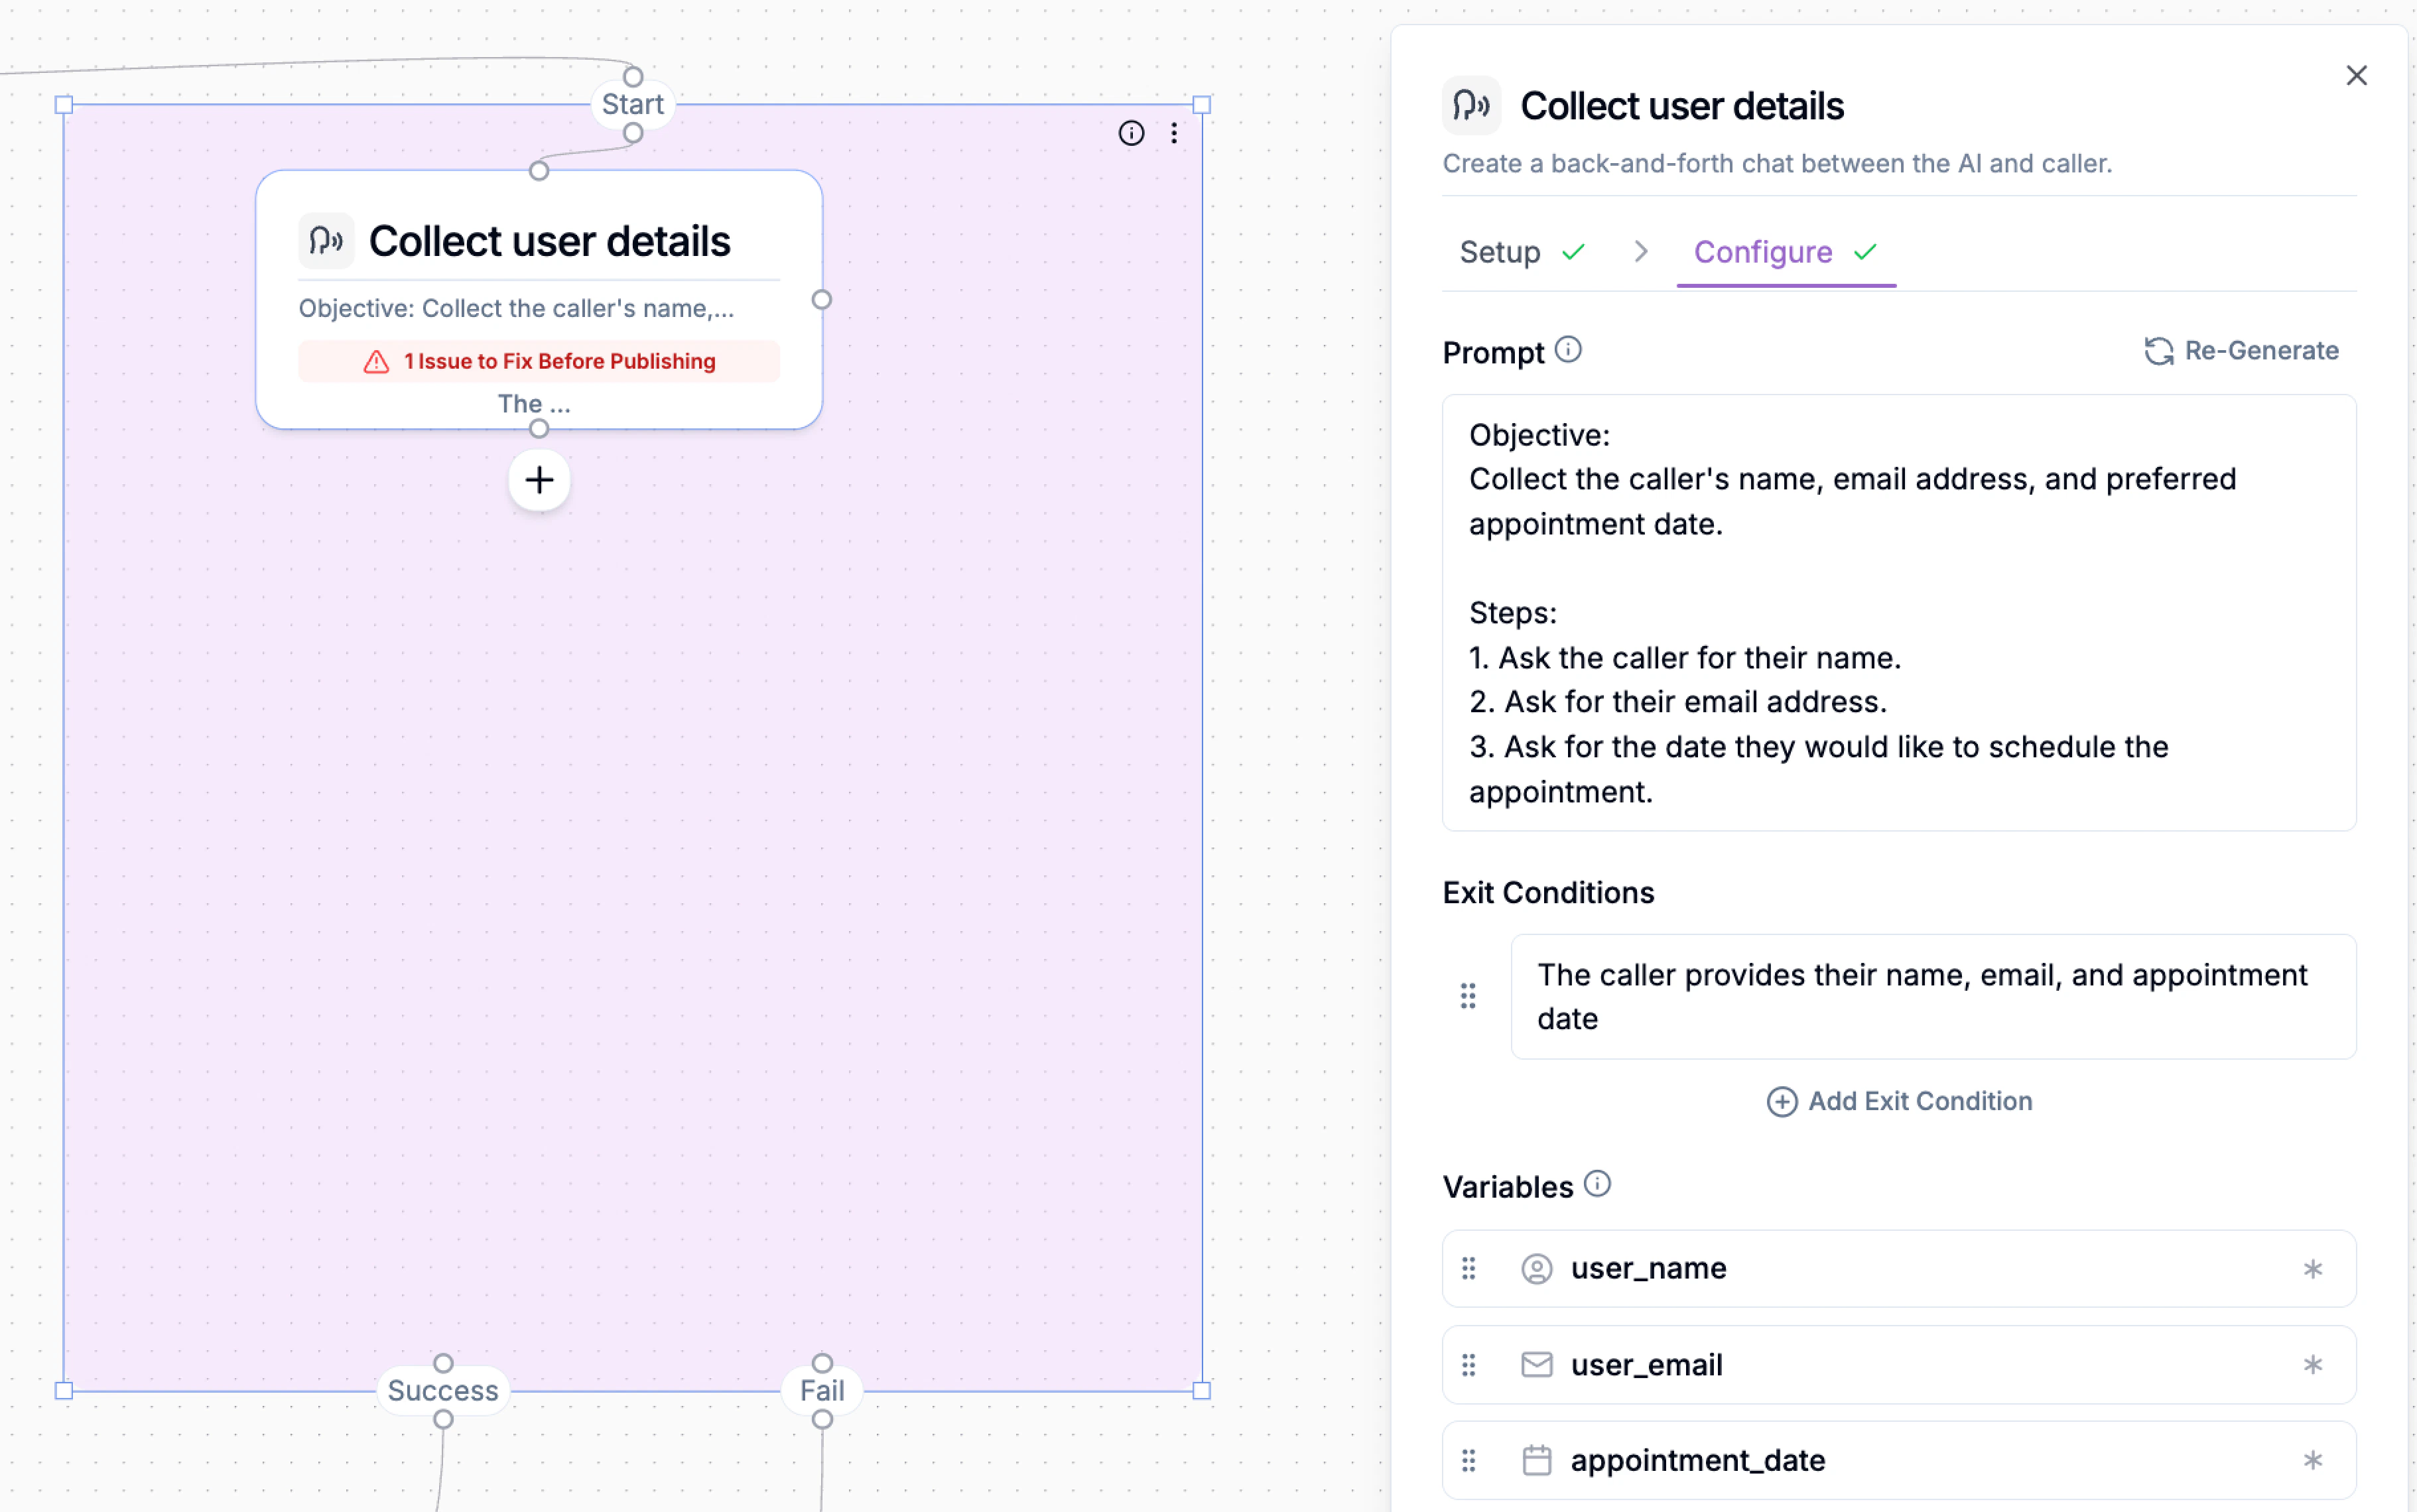
Collect Appointment Preferences
Start by gathering the caller’s preferred date or time. Add a Talk or Collect block to ask something like:“What day would you like to schedule your consultation?”Store the response in a variable such as
booking_date.
Check Availability (Google Calendar)
Next, check whether that time is available.- Click + and select Google Calendar
- Choose Check Availability
- Select the calendar
- Set the search window and slot duration
- Limit results to business hours
- Choose how many slots to return

Let the Caller Choose a Slot
Add another Talk or Collect block to present the options: “I have availability at 10 AM or 2 PM. Which works for you?”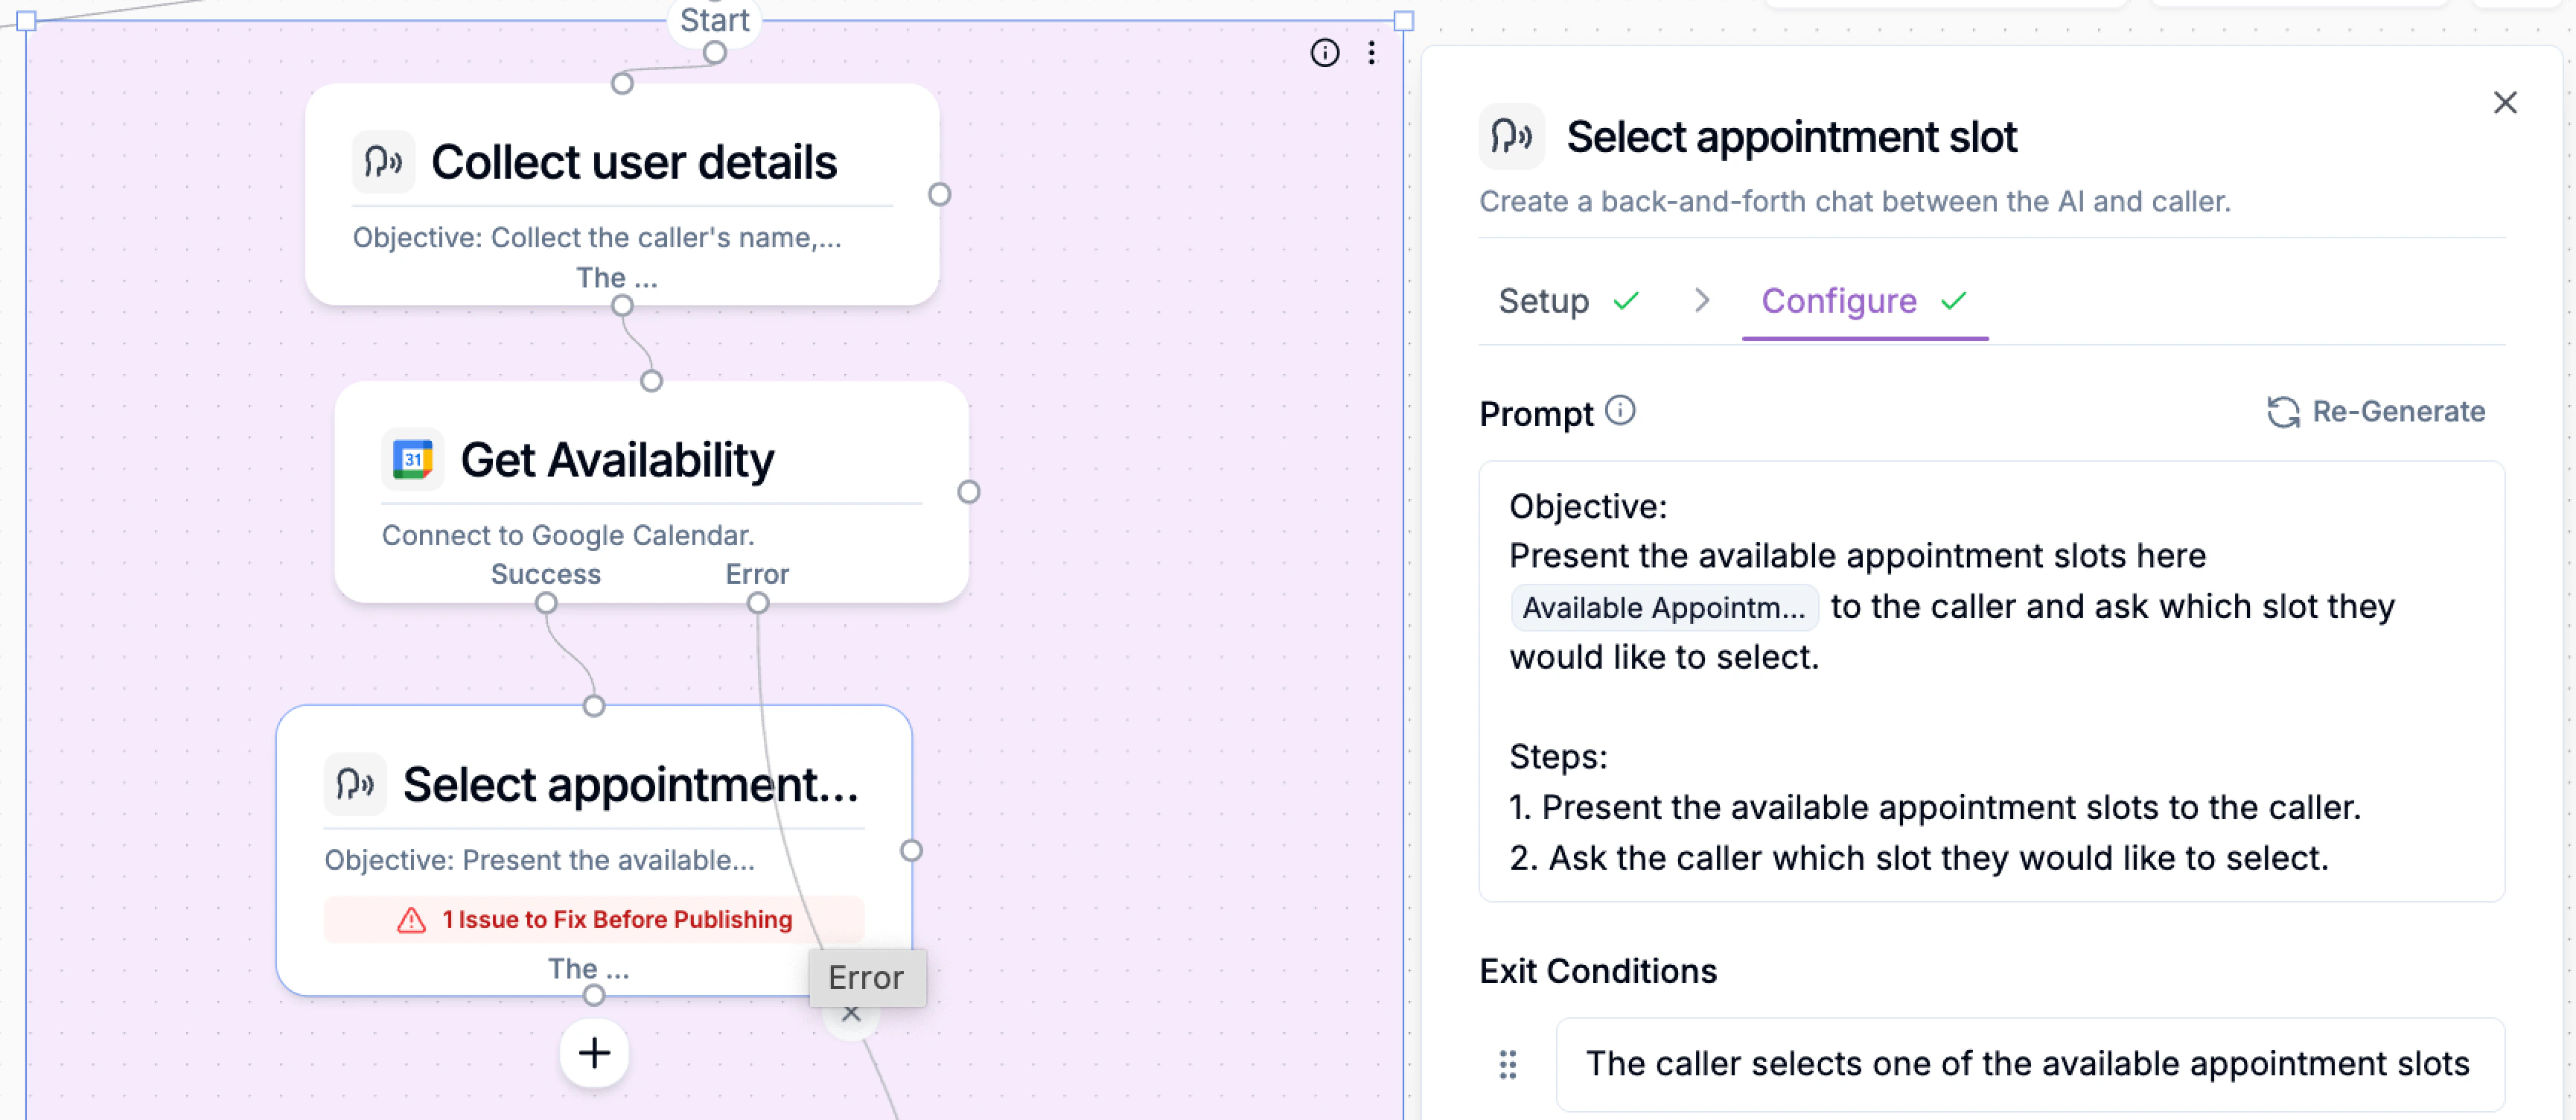
Create the Appointment
Once the caller selects a time:- Click +
- Select Google Calendar
- Choose Create Appointment
- Calendar ID
- Start and end time using
selected_slot - Attendee email (from a collected variable)
- Title and optional description.

Connect Output Paths
Output nodes define how your custom action communicates results back to the main flow.They act as exit points - determining what happens once your action finishes, whether it succeeds, fails, or the caller ends the process.
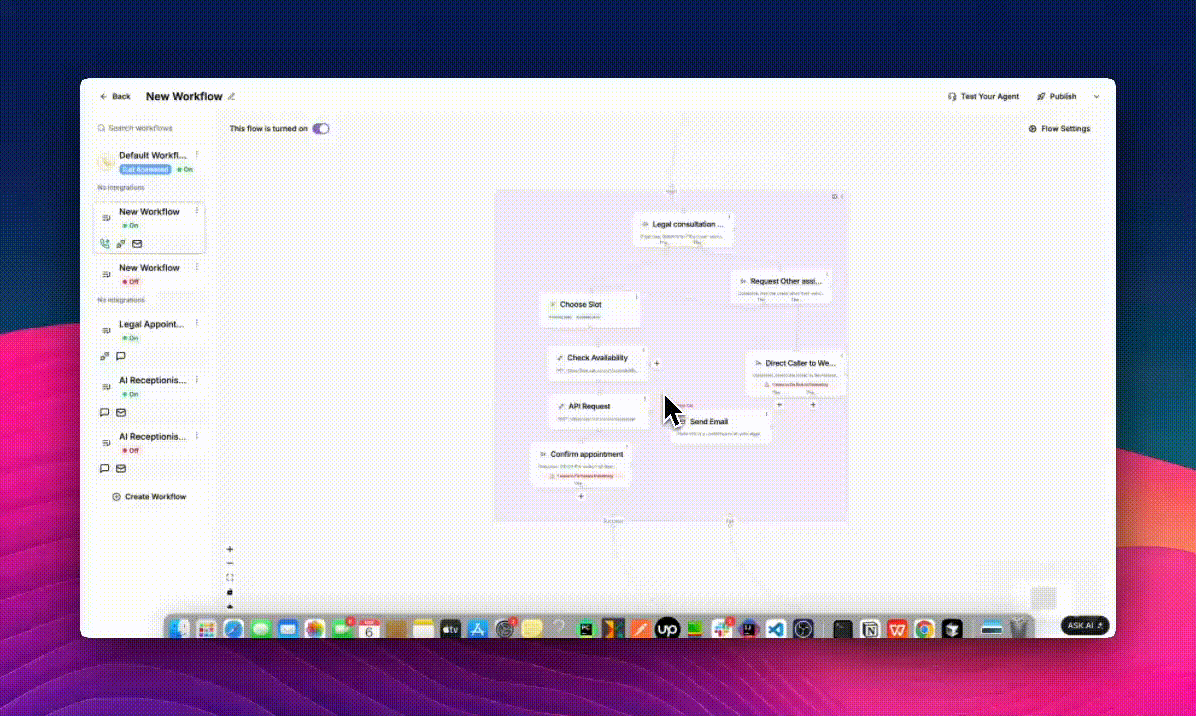
- Success: The action completed successfully. i.e The appointment was booked and confirmed.
- Fail: Something went wrong during the process. i.e The booking API request failed or returned an error.
- Not Interested: The caller declined to proceed. i.e The client decided not to book or continue with the call.
- Click any empty area inside the purple custom action box (the group area).
- The Global Settings panel will slide in from the right side.
- Under Output Paths, you’ll see existing nodes (e.g., Success, Fail, Not Interested).
- To create a new one, click ➕ Add Output Path button, then enter the name - for example, Escalate or _Reschedule. _
- Click Done to save your changes.
Connect to End Call and Post-Call Actions
Once your appointment logic is complete and all outcome paths are defined, you need to connect your custom action to the End Call block and any post-call actions that should run after the conversation finishes. Add the End Call Block At the bottom of your flow, click the + button and select End Call. This block finalizes the interaction once all other actions have run. Link Each Output Path to Its Next Step Make sure every outcome path from your Custom Action connects to the appropriate block:| Output Path | Typical Connection | Example Action |
|---|---|---|
| Success | End Call> Send SMS or Send Email | “Your consultation is confirmed for Thursday at 2 PM.” |
| Error | > Escalate to Support or Transfer Call | Route the caller to a live receptionist if booking fails. |
| Not Interested | > End Call | Politely close the call: “Alright, no problem — thank you for your time.” |
- Send Email: Send an internal summary to your legal assistant or client.
- Send SMS: Send a text reminder or confirmation link.
- API Request: Log the appointment into your CRM or case-management system.
- Code Block: Run custom logic - for example, update case status or trigger automation in another tool.
Publish or Save
Once your custom action is complete and tested, the next step is to publish or save it as a draft, either for private testing, internal team use, or public sharing. Publishing determines who can access, reuse, and configure the action in other call flows.
- Click the ⋯ (three vertical dots) at the top-right corner of the purple custom action area.
- From the dropdown menu, select one of the following options:
| Option | Purpose |
|---|---|
| Save as Draft | Keeps the custom action private to your current flow. Ideal for ongoing testing or early prototypes. |
| Publish to Organization | Shares the custom action with your team members. Everyone in your organization can add it to their own call flows and update to newer versions. |
| Publish to Marketplace | Submits the action for public review and distribution, making it available to all users on Phonely. |
Configure Customizable Fields
After selecting a publish option, Phonely will prompt you to configure fields.This step defines which variables other users can edit when they use your custom action in their own flows.
- The Configure Fields window opens automatically. Here you’ll see all available nodes, such as headers and query parameters, listed on the left panel.
- Check the boxes next to the parameters that you want users to customize for example:
- On the right side, Phonely shows editable text fields labeled: “User will enter value here.” This indicates that the selected parameter will be visible and configurable by others.
- Click Next to continue once you’ve chosen all relevant fields.

Finalize Details and Submit
After configuring fields, you’ll move to the finalize custom action window.This is where you define how your integration will appear to others.
- Integration Name: Choose an existing integration or create a new one.
- Description: Provide a clear summary of what your custom action does.
- Icon: Select an icon to represent your custom action.
- Action Name: Enter a short, clear title for the action.
- Click Submit to finalize and publish.

Your Custom Action is now ready to use
After submission, you’ll receive a confirmation message indicating that your custom action has been successfully created or updated. Depending on your chosen option:- Draft: Appears only within your current project.
- Organization: Appears in your team’s shared action library.
- Marketplace: Submitted for review by Phonely’s moderation team before public listing.