> ## Documentation Index
> Fetch the complete documentation index at: https://docs.phonely.ai/llms.txt
> Use this file to discover all available pages before exploring further.
# Call Flows
> Build complex conversations, connect with your tools and more with flows
Flows are the visual blueprints that define exactly how your AI phone agent behaves, from the greeting, to data collection, to decisions, actions, and the final call outcome. They describe what the agent says, what it asks, what it stores, what APIs it calls, and how the conversation moves forward.
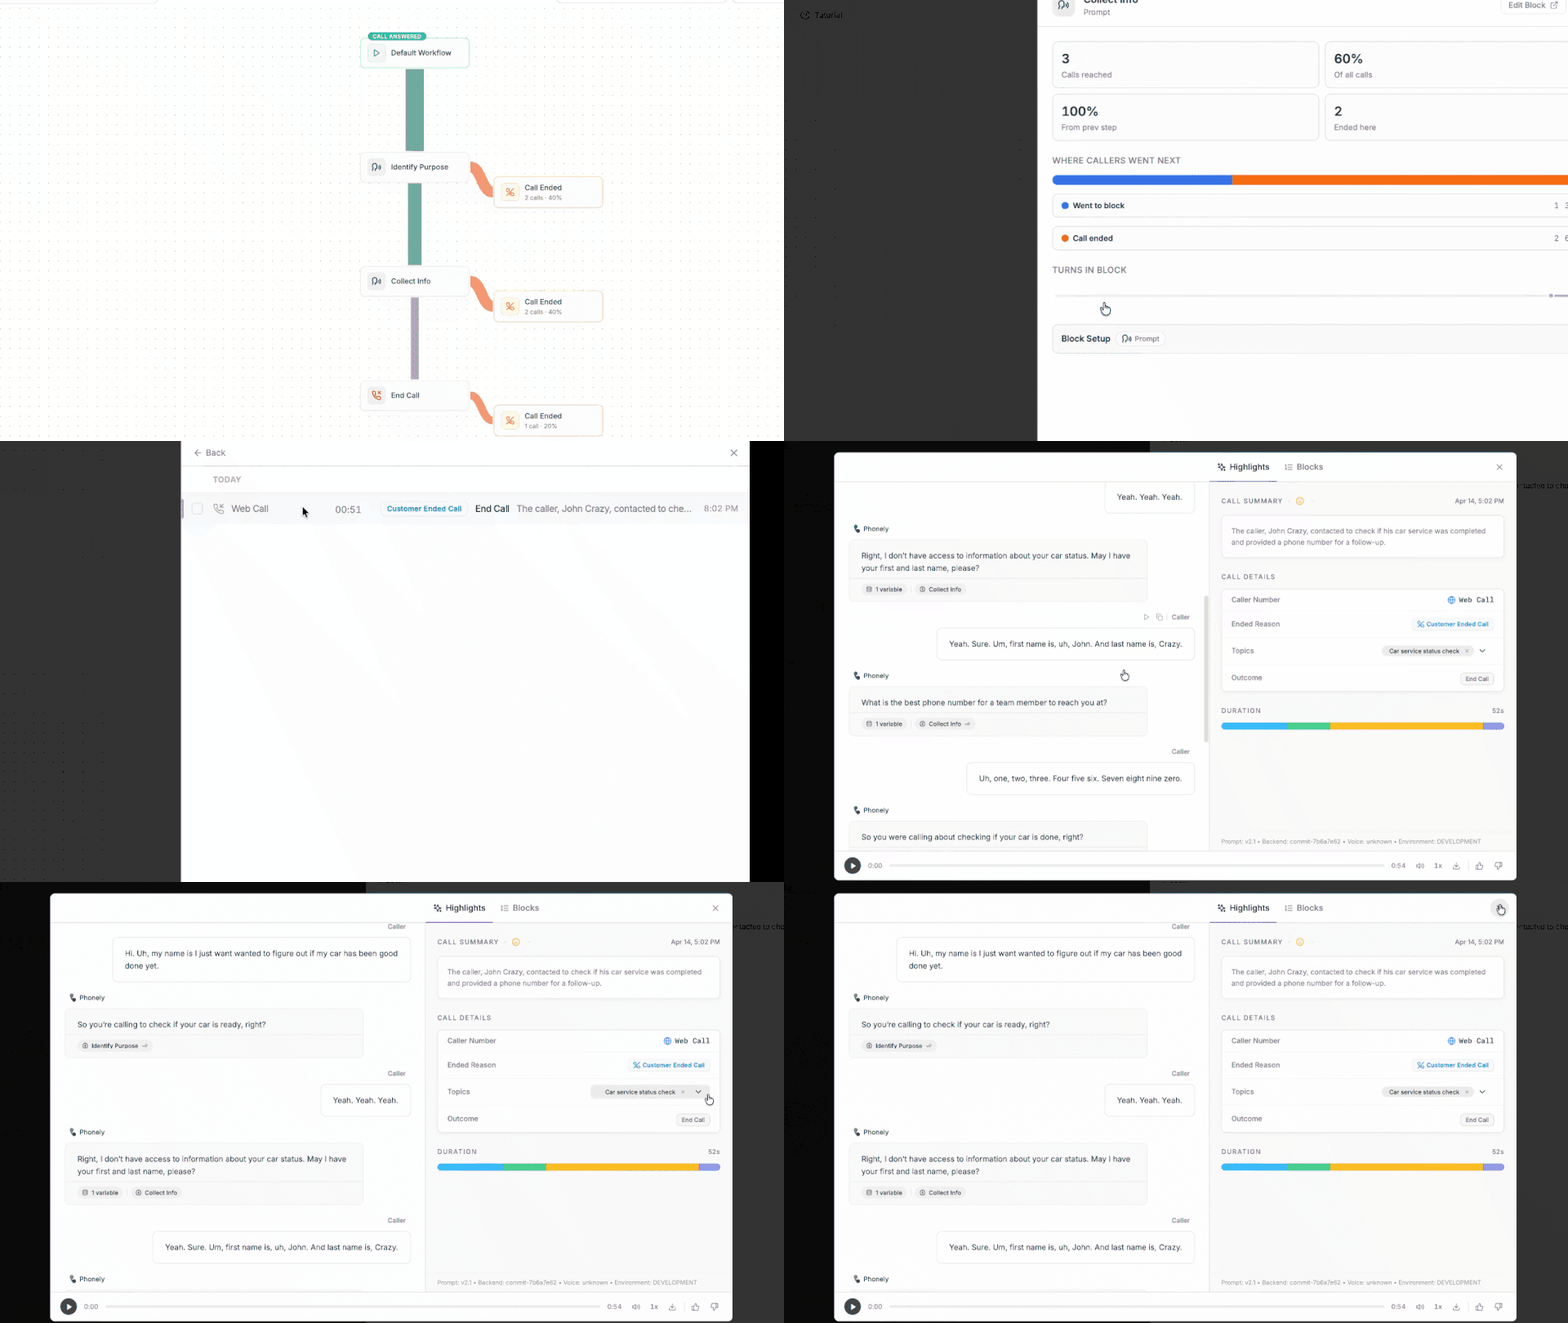 Flows are made of several core elements:
### 1. Blocks
Blocks are the individual steps in your workflow. Each block performs one clear function, such as:
* Speaking to the caller (Talk)
* Collecting information (Collect).
* Applying logic or conditions (Filter, Time Filter)
* Calling an external system (API Request, Google Sheets, Code)
* Transferring or ending a call (Transfer Flow, End Call)
* Sending messages (Email, SMS)
* Running post-call actions.
Blocks are intentionally focused complex behavior is created by connecting blocks together, not by overloading a single block.
### 2. Connections & Exit Conditions
Connections determine how the conversation moves forward.
An edge can represent:
* A simple continuation (always go next)
* A conditional path (only proceed if a condition is met)
* An exit outcome (success, failure, escalation, etc)
#### Exit condition tooltips
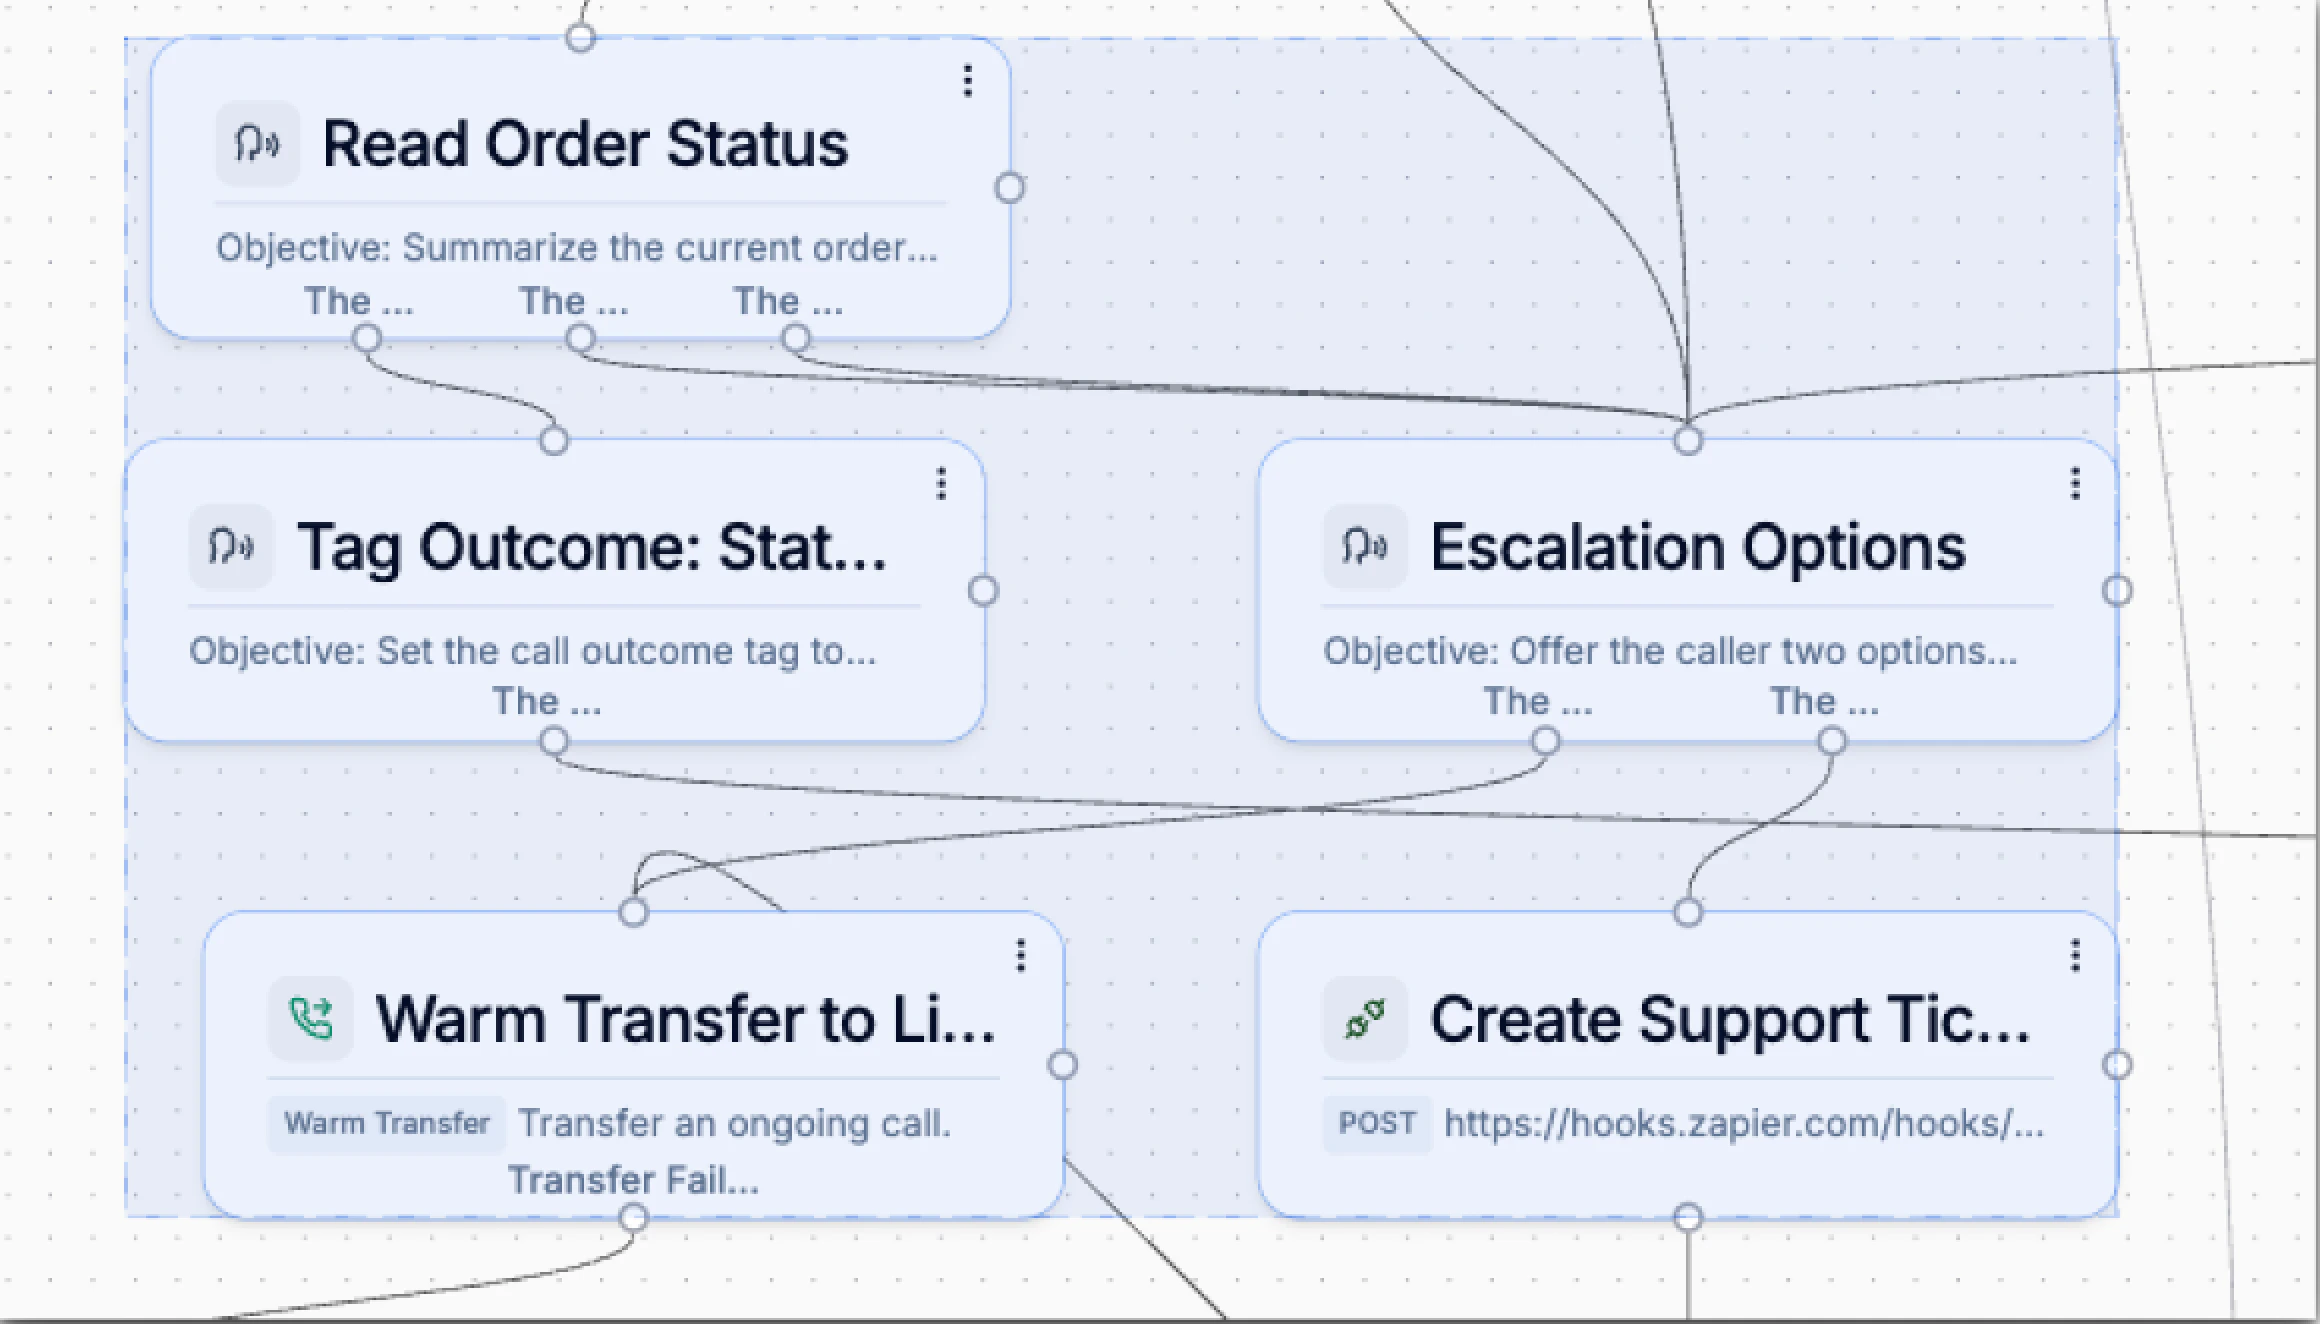
When you hover over a connection handle or edge, Phonely now displays a tooltip explaining which condition is applied, why the edge exists or what will cause the call to take that path.
Flows are made of several core elements:
### 1. Blocks
Blocks are the individual steps in your workflow. Each block performs one clear function, such as:
* Speaking to the caller (Talk)
* Collecting information (Collect).
* Applying logic or conditions (Filter, Time Filter)
* Calling an external system (API Request, Google Sheets, Code)
* Transferring or ending a call (Transfer Flow, End Call)
* Sending messages (Email, SMS)
* Running post-call actions.
Blocks are intentionally focused complex behavior is created by connecting blocks together, not by overloading a single block.
### 2. Connections & Exit Conditions
Connections determine how the conversation moves forward.
An edge can represent:
* A simple continuation (always go next)
* A conditional path (only proceed if a condition is met)
* An exit outcome (success, failure, escalation, etc)
#### Exit condition tooltips
When you hover over a connection handle or edge, Phonely now displays a tooltip explaining which condition is applied, why the edge exists or what will cause the call to take that path.
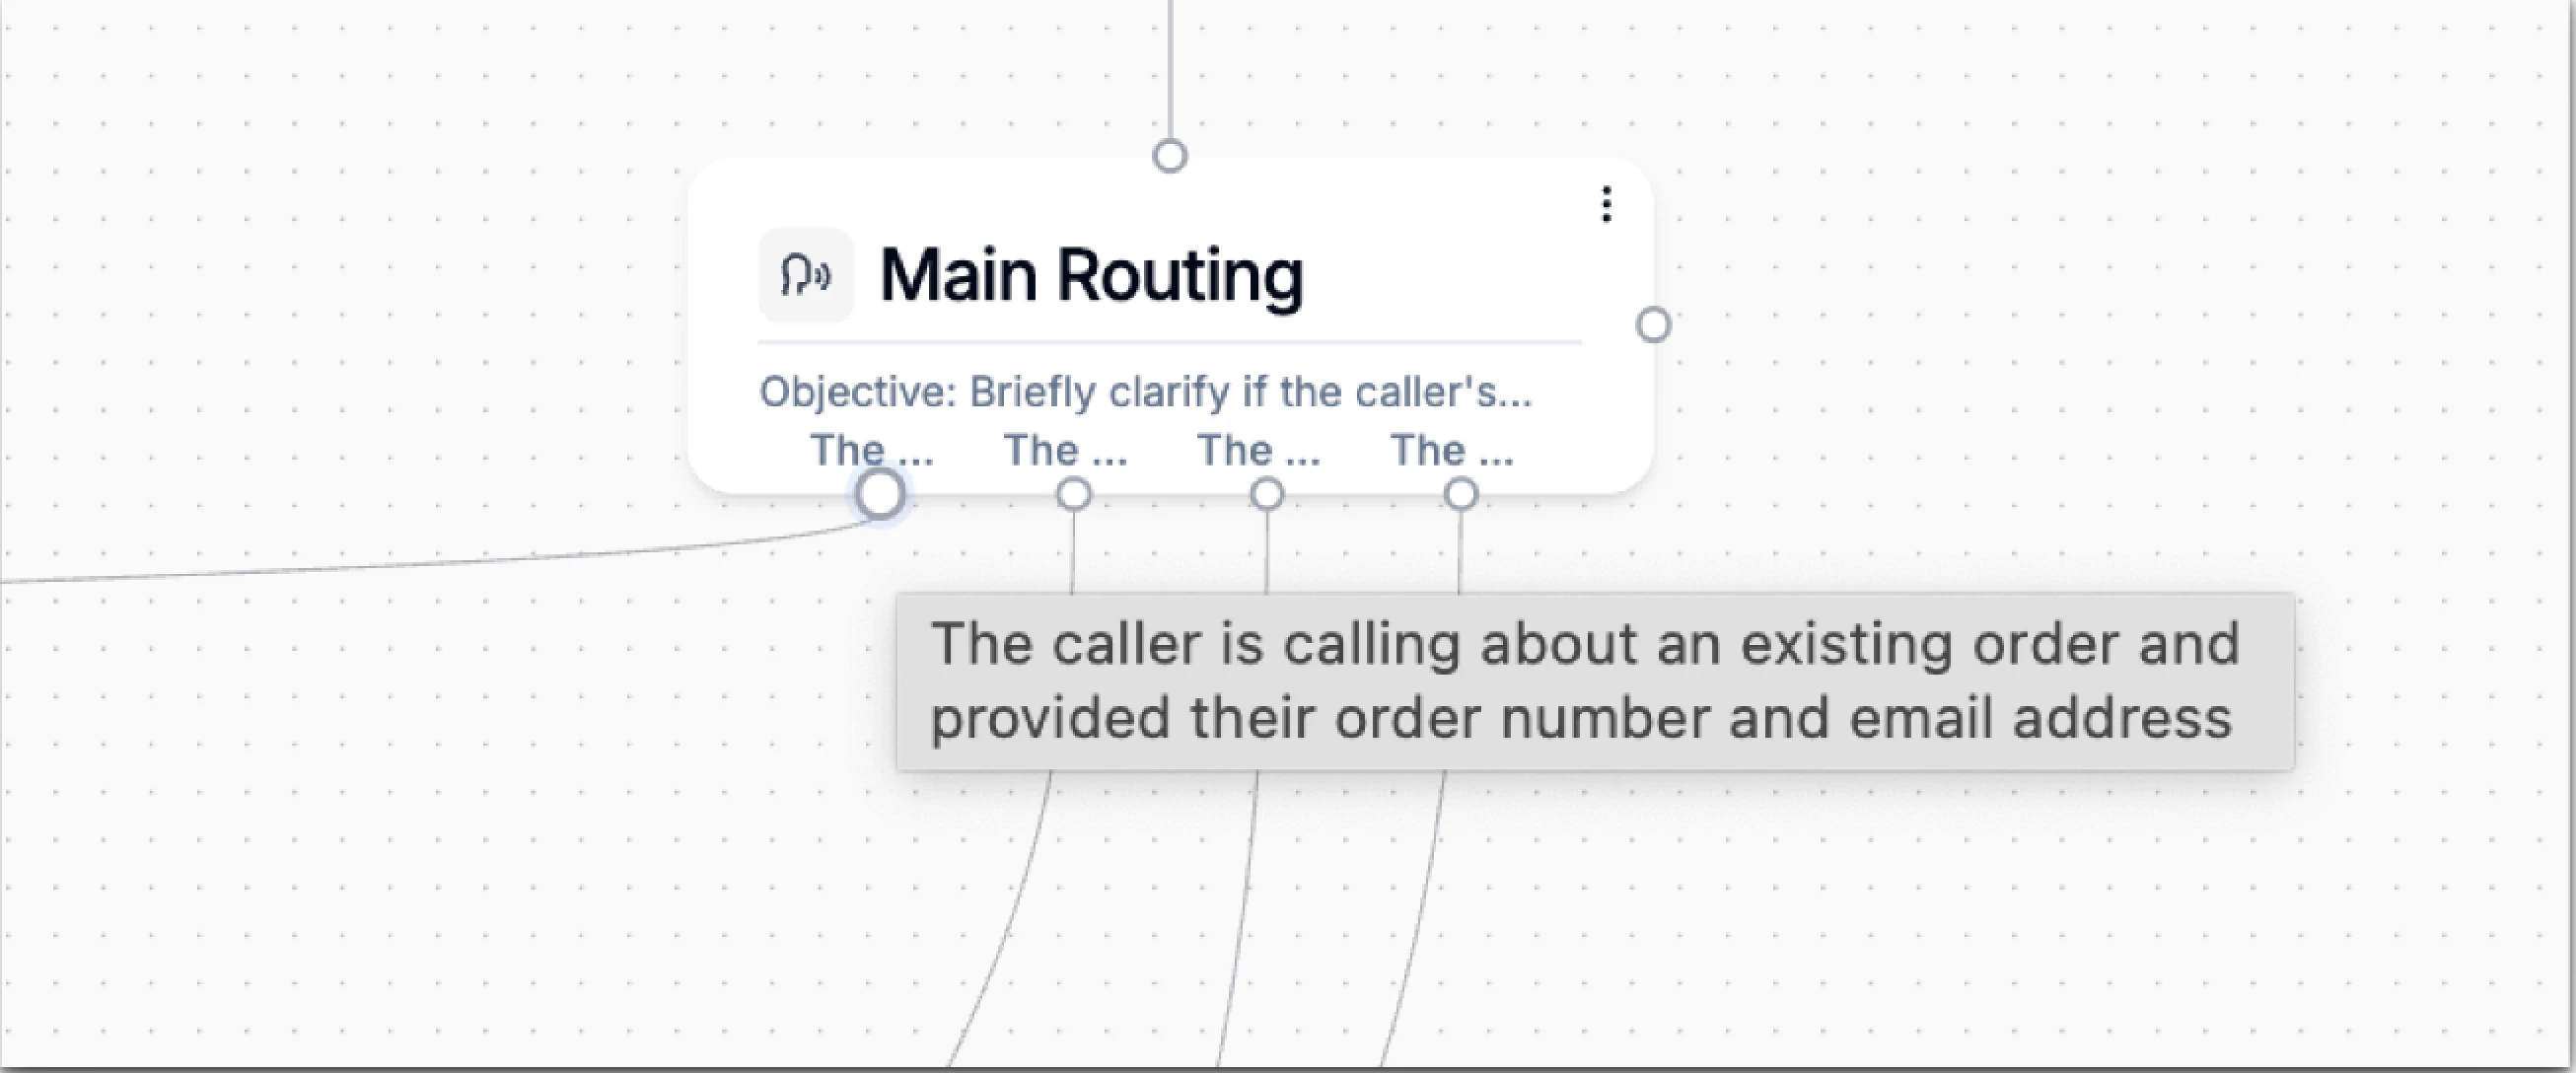 This makes large or complex flows easier to understand and debug at a glance.
### 3. Variables
Variables store information during the call, such as:
* Caller-provided inputs.
* API responses.
* System-generated data (timestamp, outcomes, etc.)
This makes large or complex flows easier to understand and debug at a glance.
### 3. Variables
Variables store information during the call, such as:
* Caller-provided inputs.
* API responses.
* System-generated data (timestamp, outcomes, etc.)
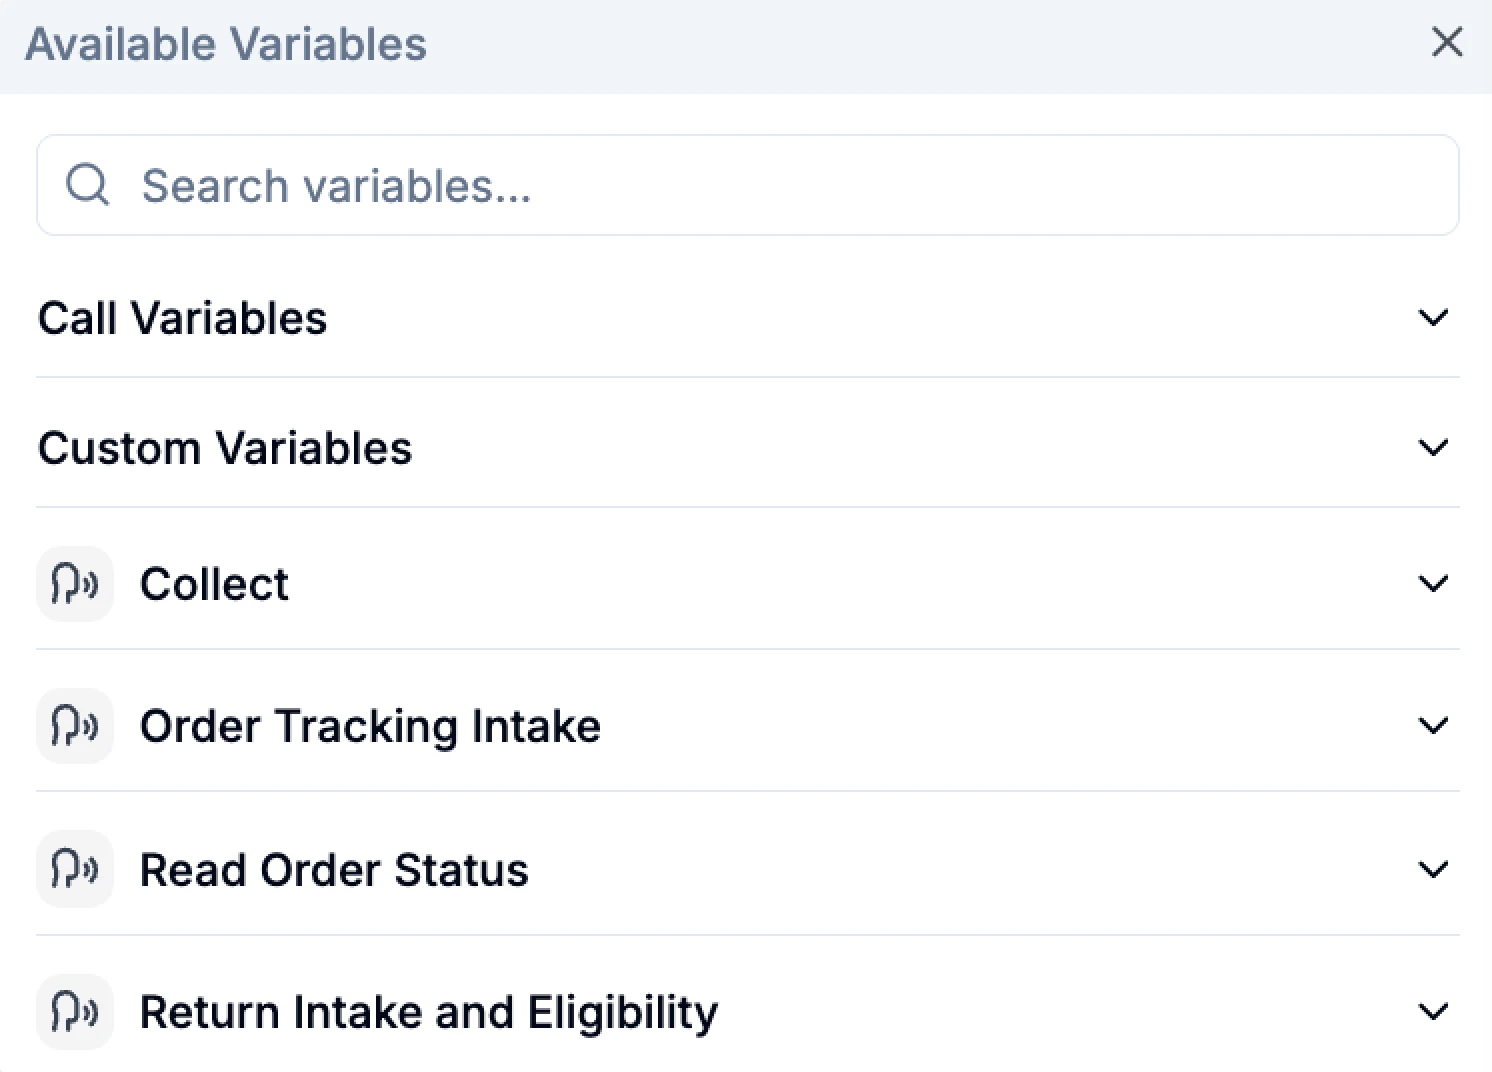 They act as the agent’s short-term working memory for the duration of the call.
## Canvas Controls
Phonely includes several canvas tools to help you navigate and organize large workflows.
You'll find tools for:
* Add new blocks
* Using sticky notes
* Organizing blocks
* Replacing invalid variables
* Undo/Redo actions
* Viewing your change history
See the dedicated [toolbar quick actions guide](/key-concepts/flow-canvas-controls) for more details.
## Create a Flow
The canvas is where you visually design and manage your workflow.
They act as the agent’s short-term working memory for the duration of the call.
## Canvas Controls
Phonely includes several canvas tools to help you navigate and organize large workflows.
You'll find tools for:
* Add new blocks
* Using sticky notes
* Organizing blocks
* Replacing invalid variables
* Undo/Redo actions
* Viewing your change history
See the dedicated [toolbar quick actions guide](/key-concepts/flow-canvas-controls) for more details.
## Create a Flow
The canvas is where you visually design and manage your workflow.
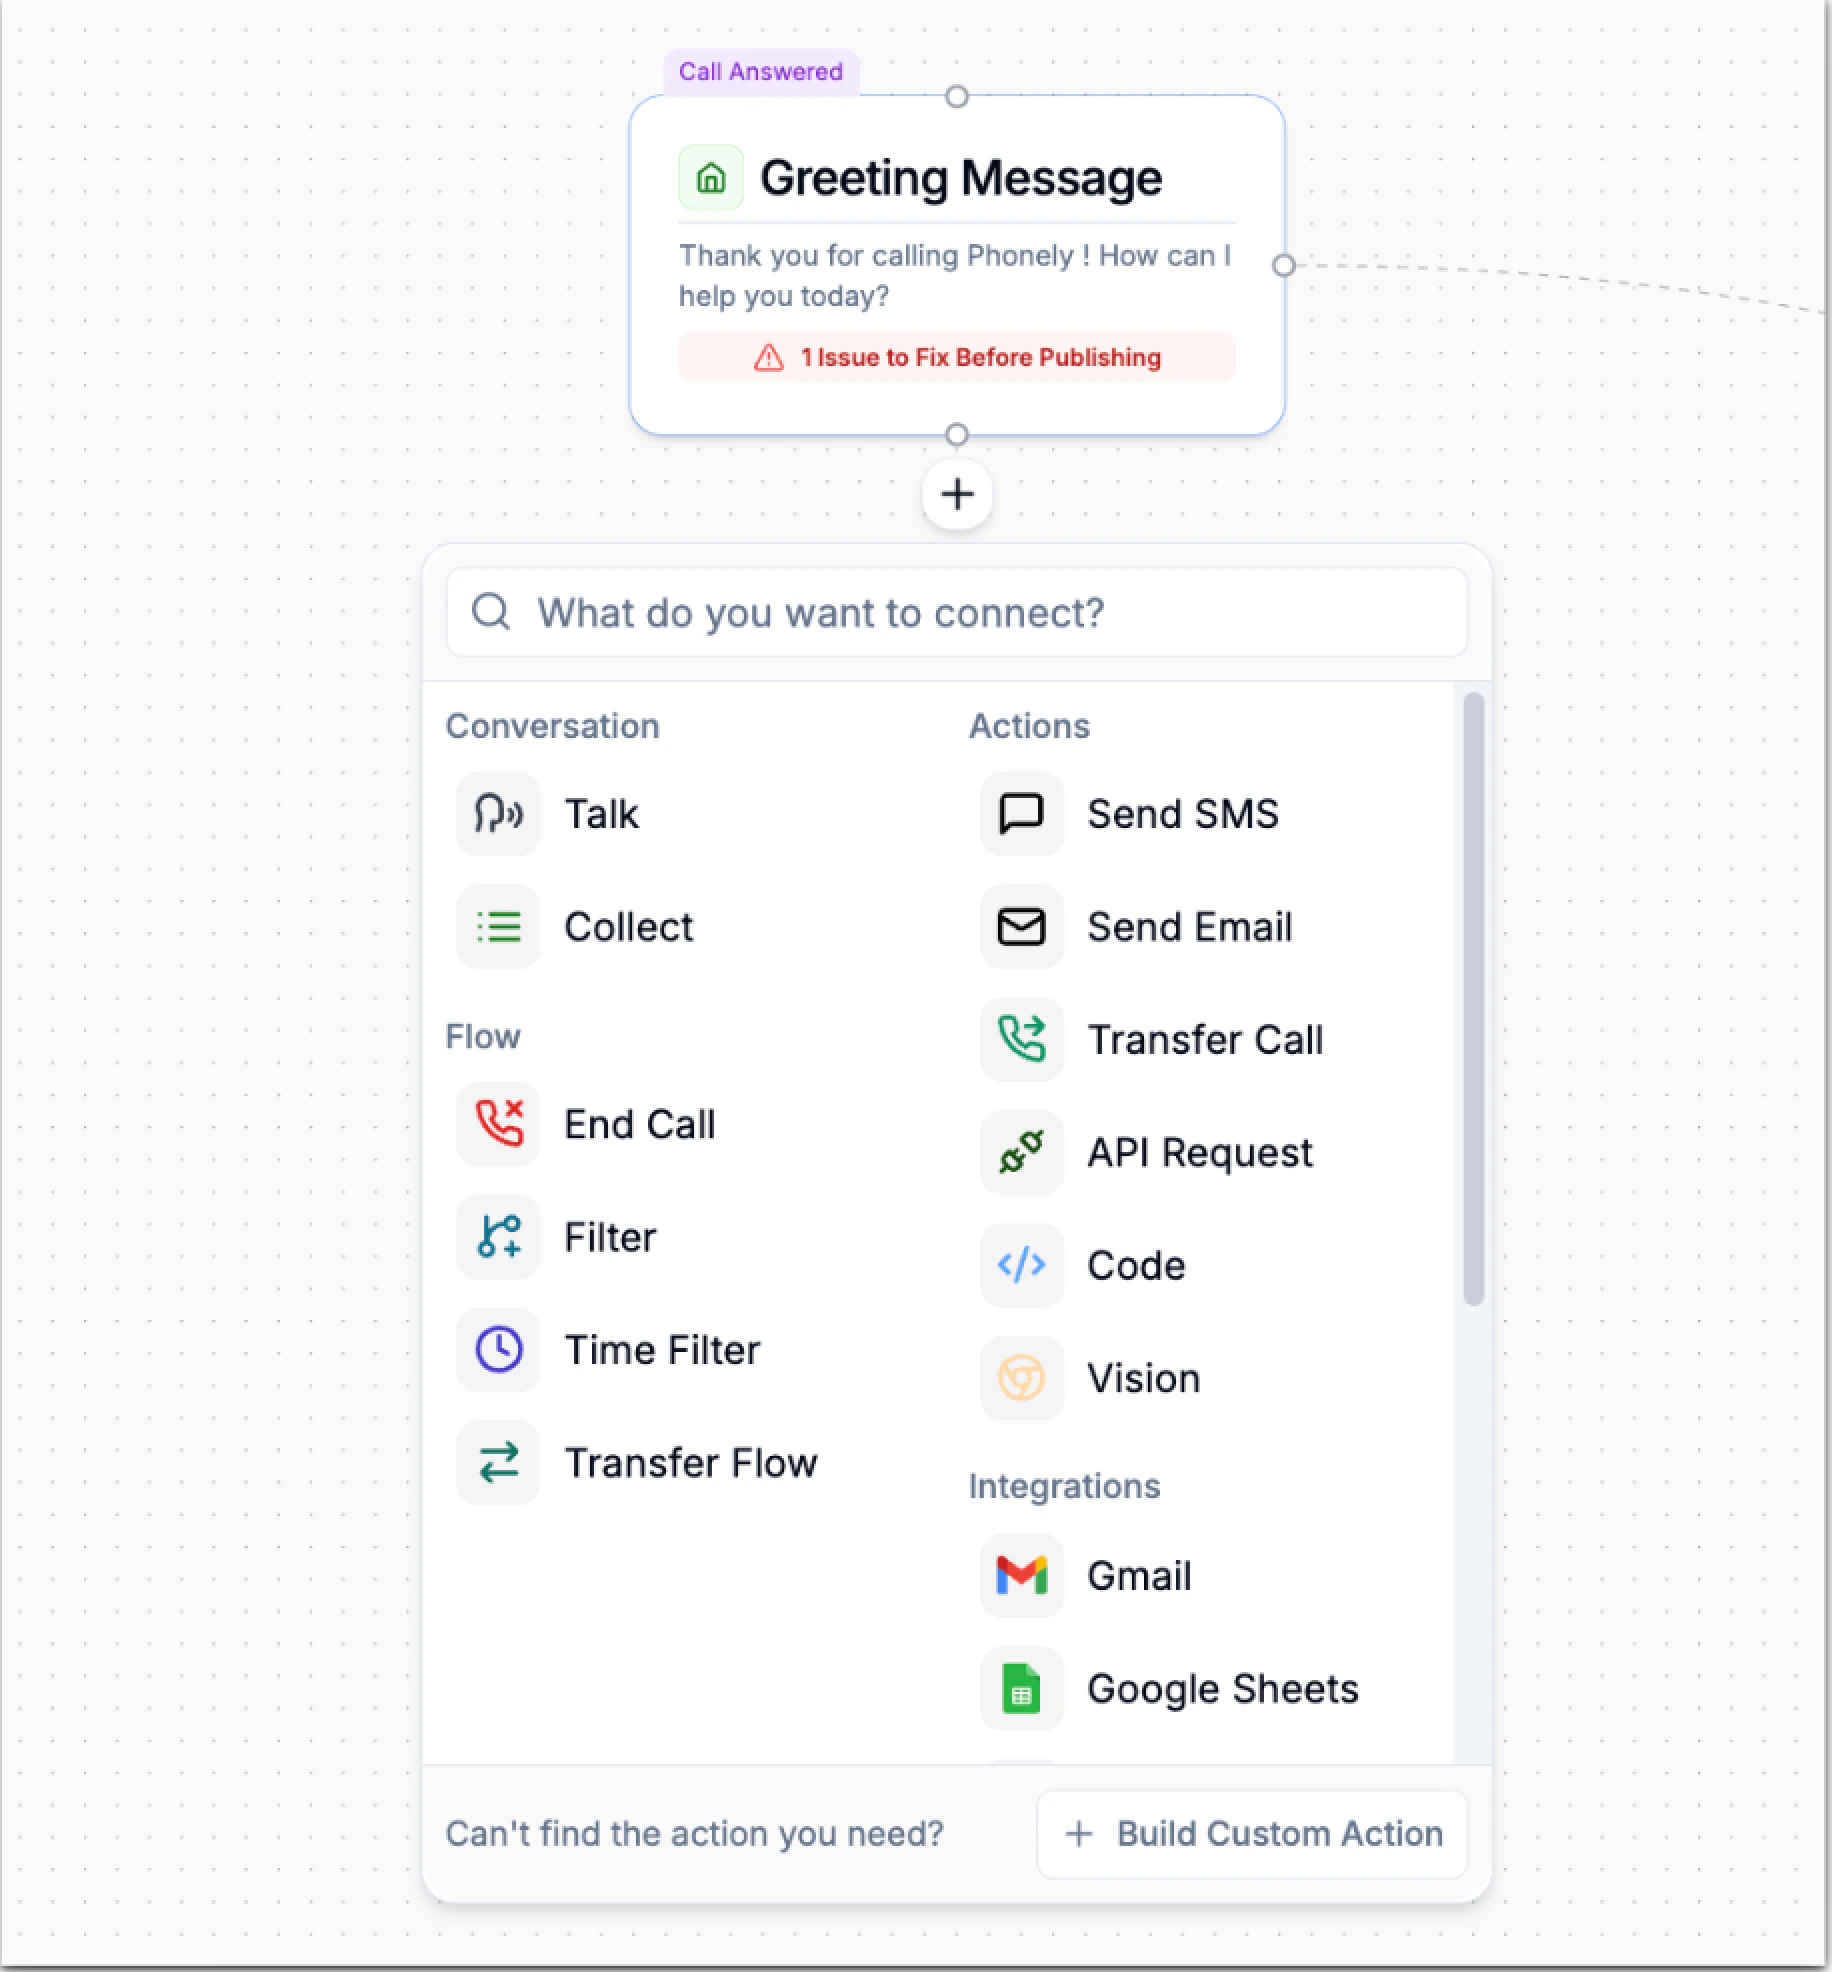 Each block contains different settings, and the options you see will depend on the type of block you’re setting up.
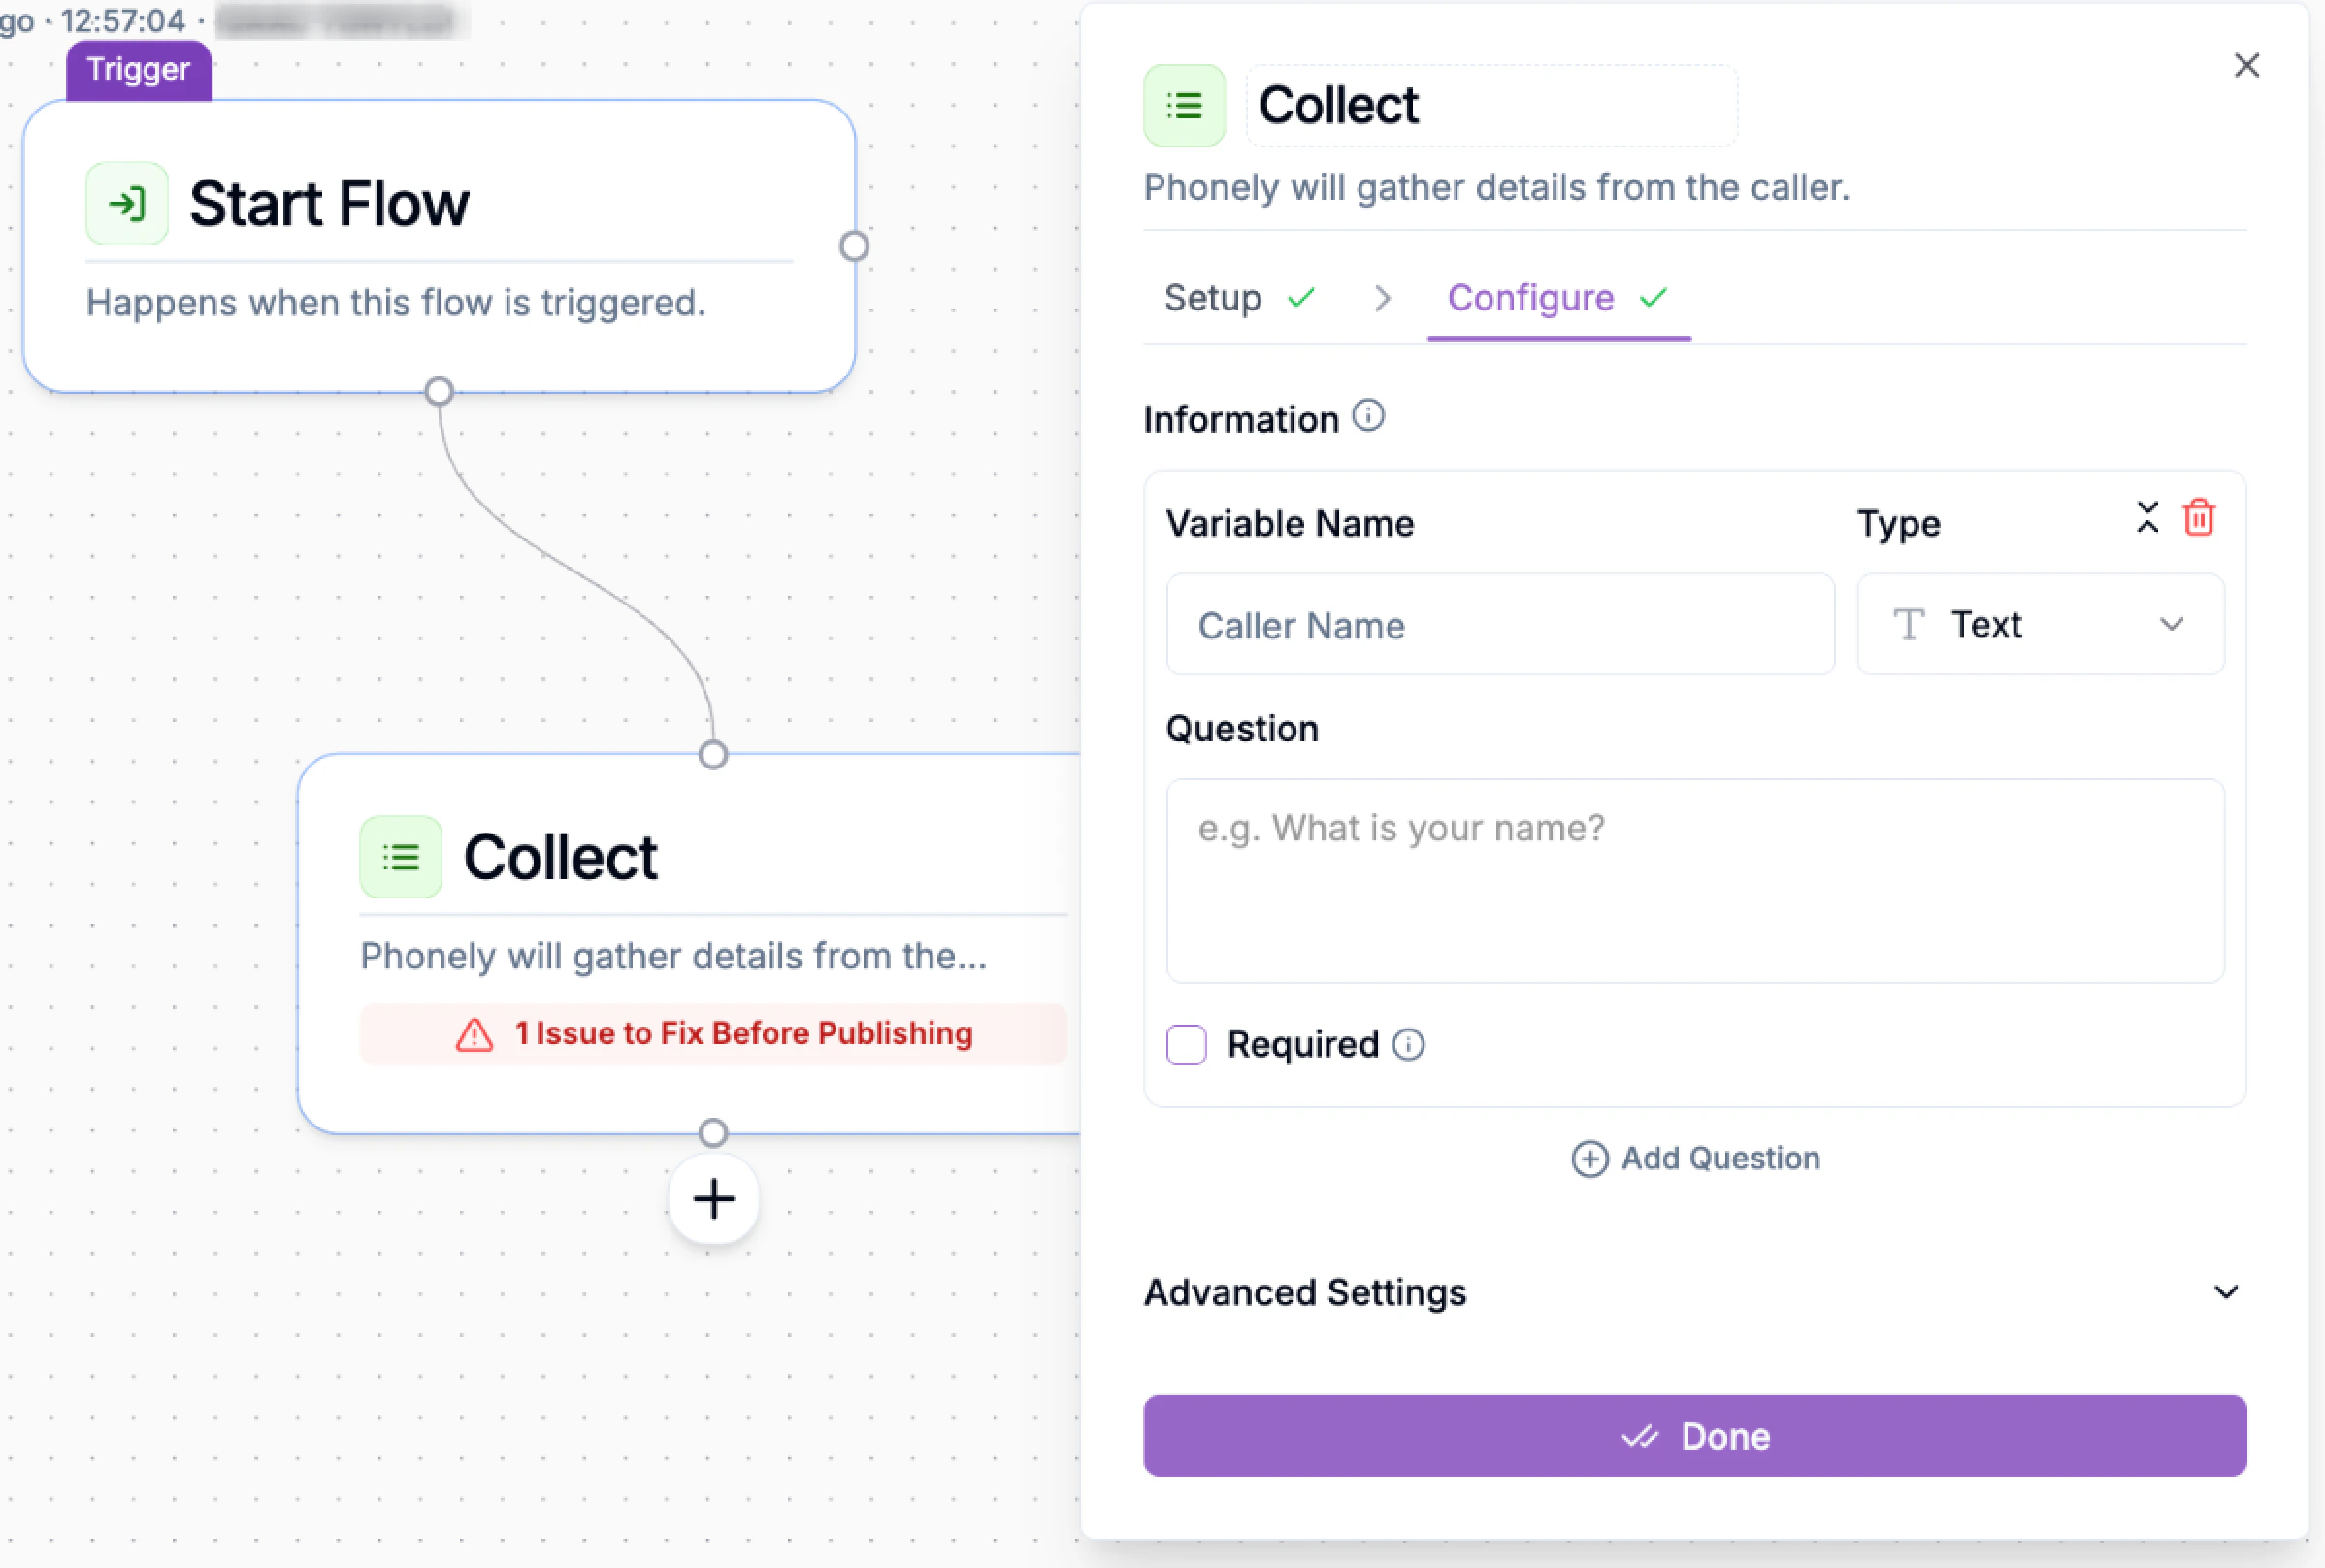 You can change connections between blocks by hovering over an edge clicking the **X** button, and then place your cursor over the output node of one block and drag the edge to connect to the input node of another block.
Every save creates a new version you can review or revert.
Publishing makes the version live for real callers.
### Copy & Paste Across Tabs
You can now select one or multiple blocks. Copy them and then paste them into another open Phonely tab. This allows you to reuse logic across flows and build variations without starting from scratch.
You can change connections between blocks by hovering over an edge clicking the **X** button, and then place your cursor over the output node of one block and drag the edge to connect to the input node of another block.
Every save creates a new version you can review or revert.
Publishing makes the version live for real callers.
### Copy & Paste Across Tabs
You can now select one or multiple blocks. Copy them and then paste them into another open Phonely tab. This allows you to reuse logic across flows and build variations without starting from scratch.
 ### Save, Version, and Publish
Every save creates a new **version**. Versions can be reviewed or reverted.
When publishing, review the version details and confirm the version you want to make live for callers.
### Call variables
Variables are dynamic containers that persist for the duration of the call - like the agent's working memory.
Use Collect blocks for caller input, API Request blocks for external data, or add custom variables via the Variable modal.
Reference by name with @variable\_name or select from the Variable modal. Use them in prompts, conditions, and API payloads.
### Variable types
Variables in Phonely can store different types of data. Choose the appropriate type when collecting information from callers or storing data from API responses.
| Type | Data Type | Description |
| :------------- | :--------- | :----------------------------------------- |
| **text** | `string` | General text |
| **number** | `number` | Numeric values |
| **date** | `ISO date` | Dates in ISO format |
| **time** | `HH:mm` | Times in 24-hour format |
| **name** | `string` | Caller names |
| **email** | `string` | Email addresses |
| **phone** | `string` | Phone numbers |
| **url** | `string` | Web addresses |
| **address** | `object` | Street, city, region, postal code, country |
| **currency** | `number` | Monetary values |
| **percentage** | `number` | Percent values |
| **duration** | `string` | Time spans |
| **custom** | `any` | User-defined schema |
### Call outcome tagging
Outcome tags enable analytics, reporting, and automations after the call ends.
Call outcomes are configured at the **block level**. Each block in your workflow can have an outcome tag assigned to it. When a call ends on that block, the call is tagged with that block's outcome.
If the block where the call ends does not have an outcome tag set, Phonely falls back to the **last block the call visited** that had an outcome defined.
This means you only need to tag the blocks that represent meaningful endpoints or milestones in your flow, you don't need to tag every block.
### Save, Version, and Publish
Every save creates a new **version**. Versions can be reviewed or reverted.
When publishing, review the version details and confirm the version you want to make live for callers.
### Call variables
Variables are dynamic containers that persist for the duration of the call - like the agent's working memory.
Use Collect blocks for caller input, API Request blocks for external data, or add custom variables via the Variable modal.
Reference by name with @variable\_name or select from the Variable modal. Use them in prompts, conditions, and API payloads.
### Variable types
Variables in Phonely can store different types of data. Choose the appropriate type when collecting information from callers or storing data from API responses.
| Type | Data Type | Description |
| :------------- | :--------- | :----------------------------------------- |
| **text** | `string` | General text |
| **number** | `number` | Numeric values |
| **date** | `ISO date` | Dates in ISO format |
| **time** | `HH:mm` | Times in 24-hour format |
| **name** | `string` | Caller names |
| **email** | `string` | Email addresses |
| **phone** | `string` | Phone numbers |
| **url** | `string` | Web addresses |
| **address** | `object` | Street, city, region, postal code, country |
| **currency** | `number` | Monetary values |
| **percentage** | `number` | Percent values |
| **duration** | `string` | Time spans |
| **custom** | `any` | User-defined schema |
### Call outcome tagging
Outcome tags enable analytics, reporting, and automations after the call ends.
Call outcomes are configured at the **block level**. Each block in your workflow can have an outcome tag assigned to it. When a call ends on that block, the call is tagged with that block's outcome.
If the block where the call ends does not have an outcome tag set, Phonely falls back to the **last block the call visited** that had an outcome defined.
This means you only need to tag the blocks that represent meaningful endpoints or milestones in your flow, you don't need to tag every block.
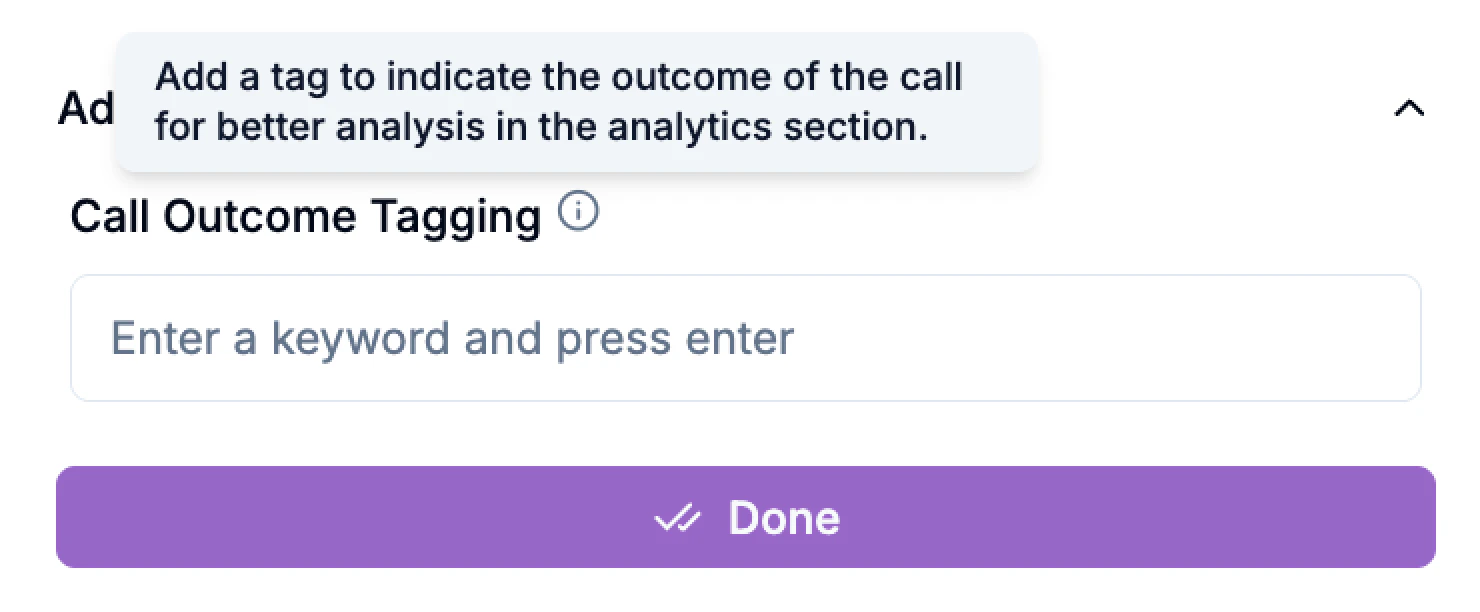 Some examples of tags that you can use include: **appointment scheduled**, **lead qualified,** **customer satisfied, escalation needed, no show followup**, etc.
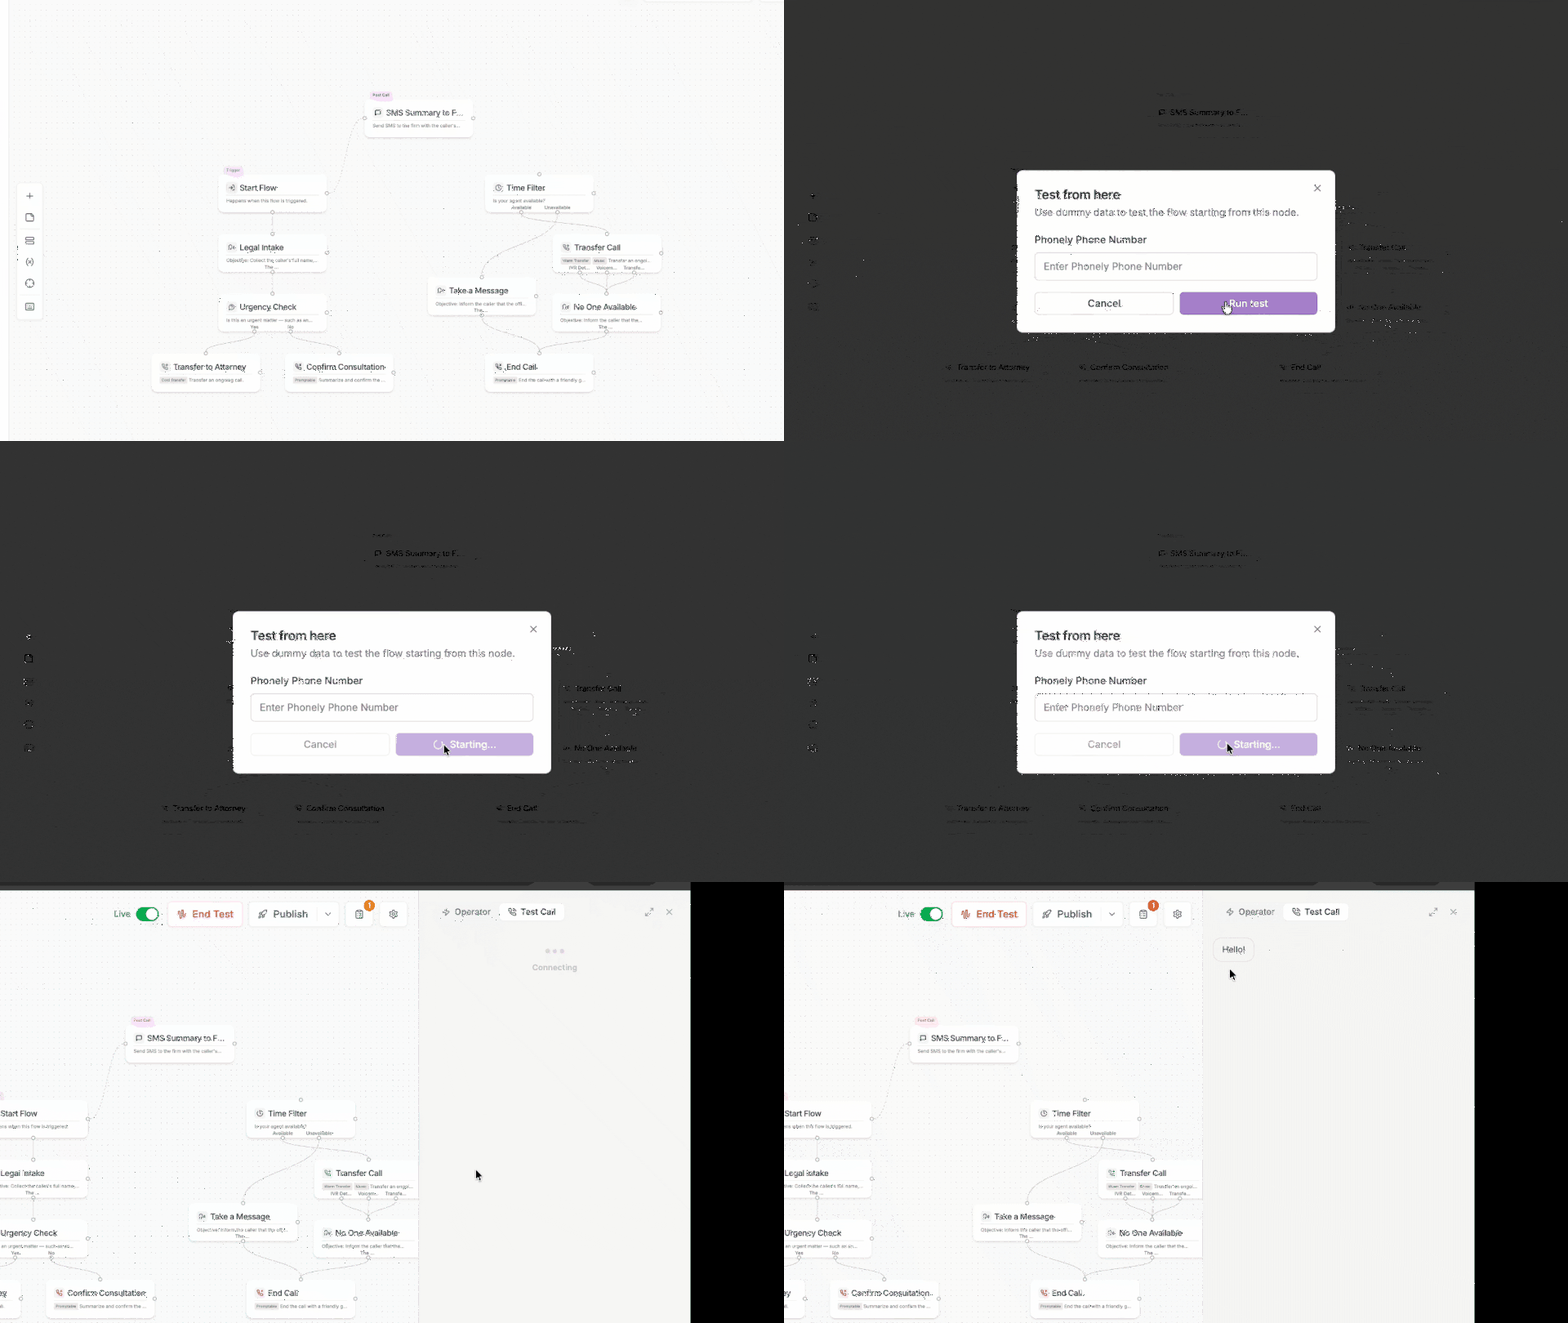 ## Testing & best practices
Validate recognition and branch logic with real audio.
Seed test values for `@name`, `@phone`, etc.
Walk each branch and confirm expected prompts.
Force empty/malformed inputs to validate fallbacks.
Route calls to non-production DIDs.
Watch transcripts and events in the dashboard.
Track response times, success rates, transfers.
Compare alternative prompts/flows.
## Design guidelines
Keep prompts natural and concise, offer clear next steps, plan for interruptions, and confirm critical data before proceeding.
Test all branches, add fallback edges, watch performance metrics, and keep external dependencies resilient.
Use descriptive names, validate inputs, handle missing data gracefully, and scrub sensitive data when not needed.
## Troubleshooting guide
Verify block connections, confirm required variables are set, test blocks individually, and check API auth/endpoints.
Review Talk block voice settings, try alternate voices, adjust rate and pauses, and check variable interpolation.
Confirm destination numbers/agents, test fallbacks, and verify timing and availability windows.
Check spelling/case, ensure values are set before use, validate data types, and test prompts using variables.
Test endpoints in isolation, verify credentials and headers, confirm request/response schemas, and watch rate limits/timeouts.
## Conclusion
You now have the essentials to design reliable, natural AI phone experiences:
Build with Start Call, Talk, and End Call
Use Collect and Question blocks.
Add API Request and conditional edges.
Use Filter and Time Filter to route intelligently.
Apply simulation and live testing practices above.
## Testing & best practices
Validate recognition and branch logic with real audio.
Seed test values for `@name`, `@phone`, etc.
Walk each branch and confirm expected prompts.
Force empty/malformed inputs to validate fallbacks.
Route calls to non-production DIDs.
Watch transcripts and events in the dashboard.
Track response times, success rates, transfers.
Compare alternative prompts/flows.
## Design guidelines
Keep prompts natural and concise, offer clear next steps, plan for interruptions, and confirm critical data before proceeding.
Test all branches, add fallback edges, watch performance metrics, and keep external dependencies resilient.
Use descriptive names, validate inputs, handle missing data gracefully, and scrub sensitive data when not needed.
## Troubleshooting guide
Verify block connections, confirm required variables are set, test blocks individually, and check API auth/endpoints.
Review Talk block voice settings, try alternate voices, adjust rate and pauses, and check variable interpolation.
Confirm destination numbers/agents, test fallbacks, and verify timing and availability windows.
Check spelling/case, ensure values are set before use, validate data types, and test prompts using variables.
Test endpoints in isolation, verify credentials and headers, confirm request/response schemas, and watch rate limits/timeouts.
## Conclusion
You now have the essentials to design reliable, natural AI phone experiences:
Build with Start Call, Talk, and End Call
Use Collect and Question blocks.
Add API Request and conditional edges.
Use Filter and Time Filter to route intelligently.
Apply simulation and live testing practices above.