> ## Documentation Index
> Fetch the complete documentation index at: https://docs.phonely.ai/llms.txt
> Use this file to discover all available pages before exploring further.
# Connect Google Drive
> Learn how to connect your google drive and upload assets such as call recordings, transcripts, or other files generated during a call
The Google Drive integration in Phonely allows you to automatically upload assets such as call recordings, transcripts, or other files generated during a call.\
This is especially useful for teams who want to centralize recordings, share them securely, or sync data with their existing file workflows.
 ### Add the Google Drive Action Block
1. In your call flow, click the **+** icon where you want to connect Google Drive, at the **Post-Call** stage.
2. From the available actions, choose **Google Drive**.
3. The Google Drive action block will appear on your canvas, labeled: Connect to Google Drive.
4. By default, the setup panel will open on the right side of your screen.
If it doesn’t open automatically, click the **Google Drive block** to expand its setup view.
### Choose the Action
In the setup panel, under Action, select what you want this integration to do.\
For example, from the dropdown list choose Upload Call Recording
This tells Phonely to automatically upload the caller’s recording to your connected Google Drive account after the call ends.
### Connect to Your Google Drive Account
1. Click the **Connect to Google Drive** button. This opens a secure Google authorization window.
2. You’ll see a pop up page that says: **Linking your Google Drive account.**
3. Please click **Connect** to log in to Google Drive and authorize access.
4. A new browser window or popup will appear asking you to sign in with your Google account.
5. Sign in using the account where you want recordings stored, then grant access by clicking **Allow**.
6. Once authorization is successful, the Google Drive popup will close automatically, and Phonely will confirm that your account is connected.
7. The **“Connect to continue”** button will now become active, allowing you to proceed with configuring and testing your Google Drive integration.
### Add the Google Drive Action Block
1. In your call flow, click the **+** icon where you want to connect Google Drive, at the **Post-Call** stage.
2. From the available actions, choose **Google Drive**.
3. The Google Drive action block will appear on your canvas, labeled: Connect to Google Drive.
4. By default, the setup panel will open on the right side of your screen.
If it doesn’t open automatically, click the **Google Drive block** to expand its setup view.
### Choose the Action
In the setup panel, under Action, select what you want this integration to do.\
For example, from the dropdown list choose Upload Call Recording
This tells Phonely to automatically upload the caller’s recording to your connected Google Drive account after the call ends.
### Connect to Your Google Drive Account
1. Click the **Connect to Google Drive** button. This opens a secure Google authorization window.
2. You’ll see a pop up page that says: **Linking your Google Drive account.**
3. Please click **Connect** to log in to Google Drive and authorize access.
4. A new browser window or popup will appear asking you to sign in with your Google account.
5. Sign in using the account where you want recordings stored, then grant access by clicking **Allow**.
6. Once authorization is successful, the Google Drive popup will close automatically, and Phonely will confirm that your account is connected.
7. The **“Connect to continue”** button will now become active, allowing you to proceed with configuring and testing your Google Drive integration.
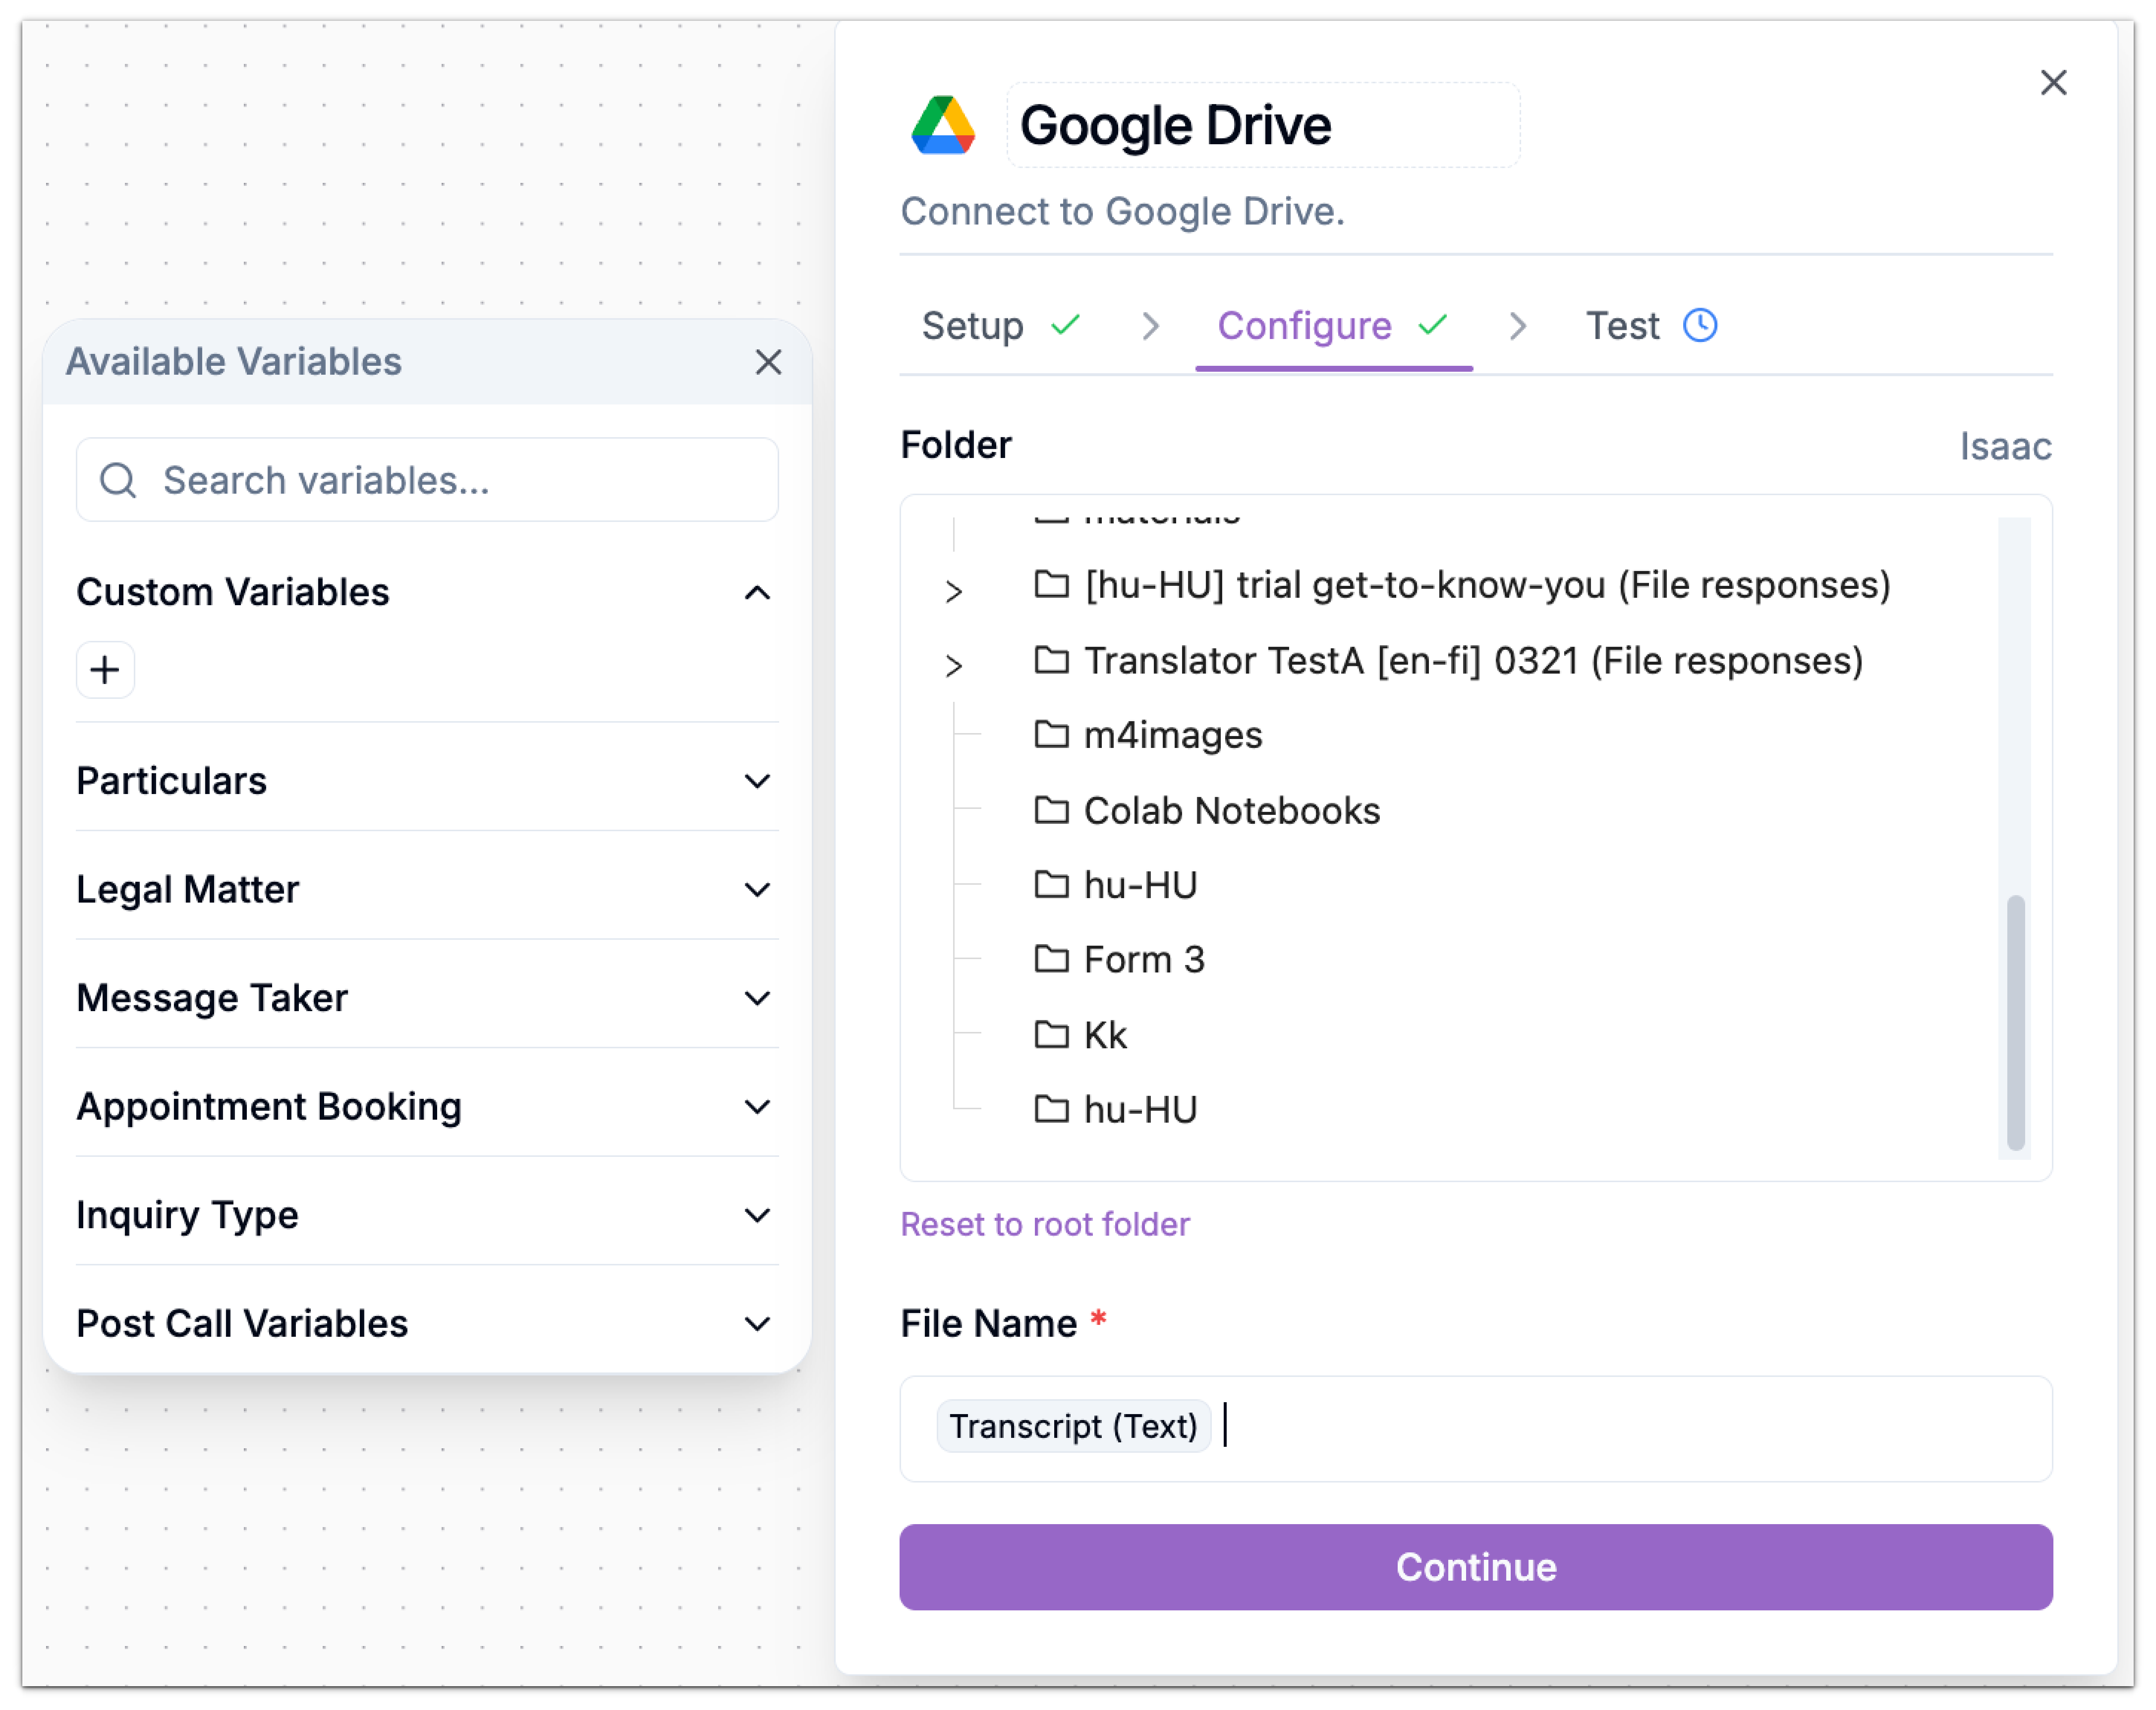 8. Complete Required Fields\
The **“Fill in required fields to continue”** button will remain inactive until all mandatory inputs (like folder and file name) are filled in. \
Once done, it will activate, allowing you to move to the next step.
Use a dedicated folder for recordings to keep your Drive organized and simplify file management later.
### Test the Connection
Before publishing, you can run a quick test:
1. Go to the **Test** tab.
2. Click **Test** - Phonely will attempt to upload a sample file to your connected Drive.
Testing will upload a sample call recording to your Google Drive using the configuration above. You can skip this test if you are confident in your setup. If it fails, recheck your authentication and folder permissions.
### Use in Post-Call Workflows
The Google Drive block is most effective when placed at the end of your flow, after the call is complete. \
Typical use cases:
* Uploading a call recording for quality review.
* Storing voicemail messages or customer transcripts.
* Creating a shared archive for compliance or documentation.
8. Complete Required Fields\
The **“Fill in required fields to continue”** button will remain inactive until all mandatory inputs (like folder and file name) are filled in. \
Once done, it will activate, allowing you to move to the next step.
Use a dedicated folder for recordings to keep your Drive organized and simplify file management later.
### Test the Connection
Before publishing, you can run a quick test:
1. Go to the **Test** tab.
2. Click **Test** - Phonely will attempt to upload a sample file to your connected Drive.
Testing will upload a sample call recording to your Google Drive using the configuration above. You can skip this test if you are confident in your setup. If it fails, recheck your authentication and folder permissions.
### Use in Post-Call Workflows
The Google Drive block is most effective when placed at the end of your flow, after the call is complete. \
Typical use cases:
* Uploading a call recording for quality review.
* Storing voicemail messages or customer transcripts.
* Creating a shared archive for compliance or documentation.